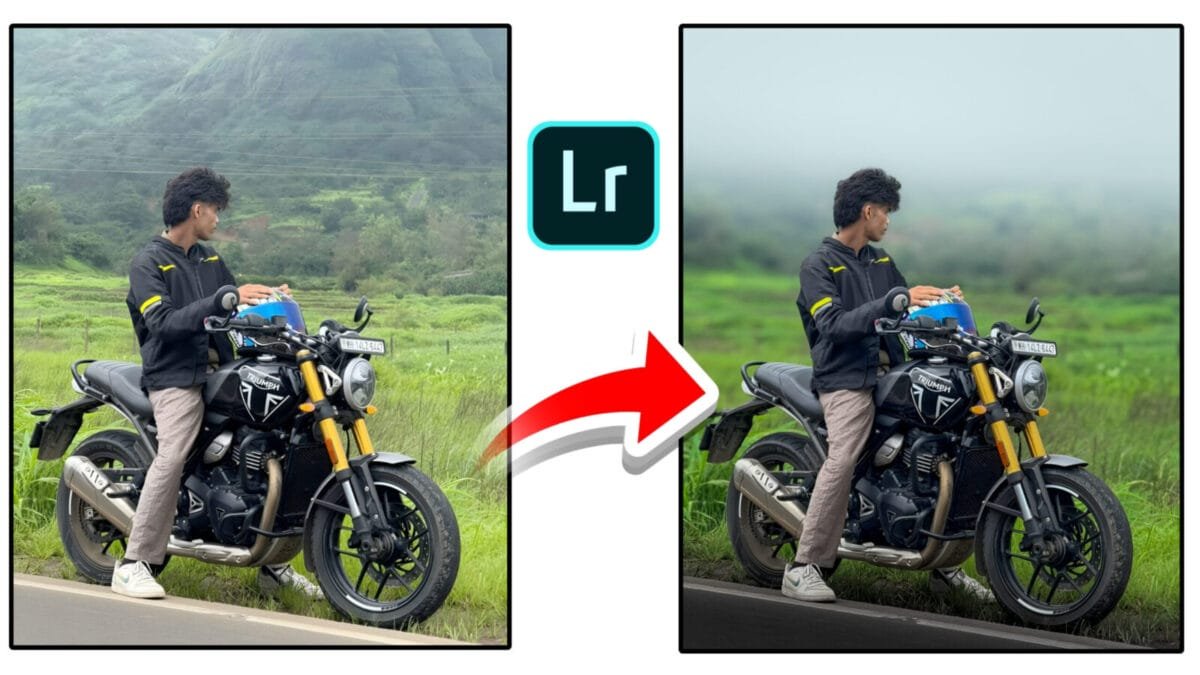
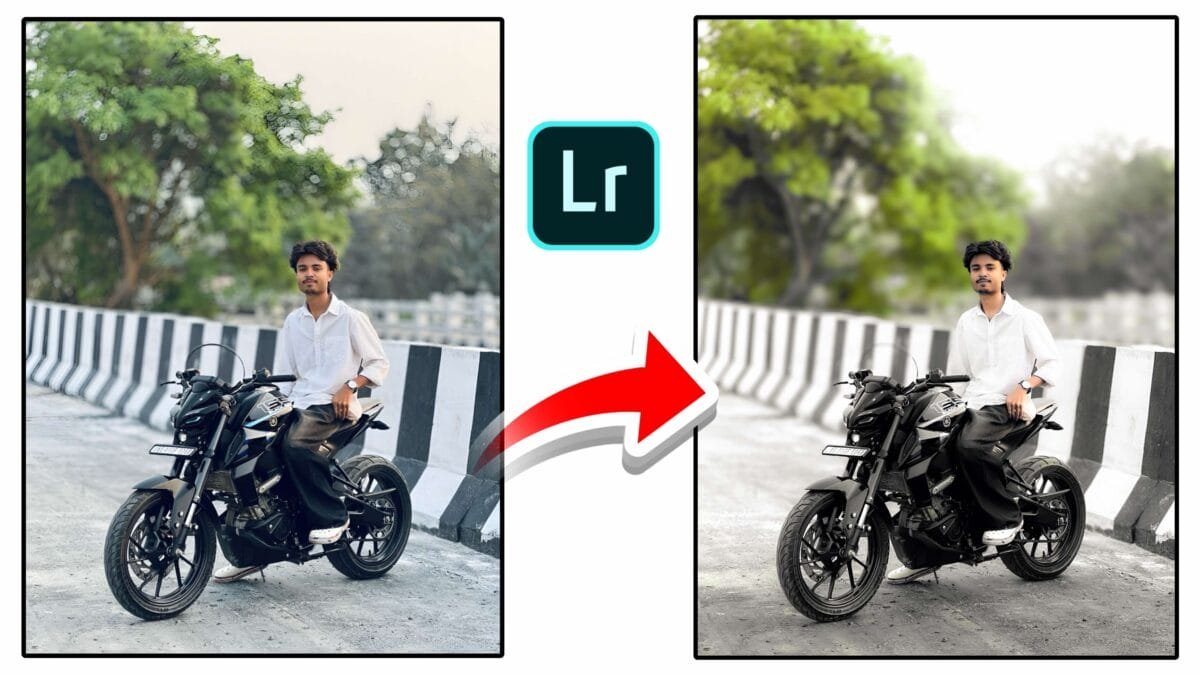
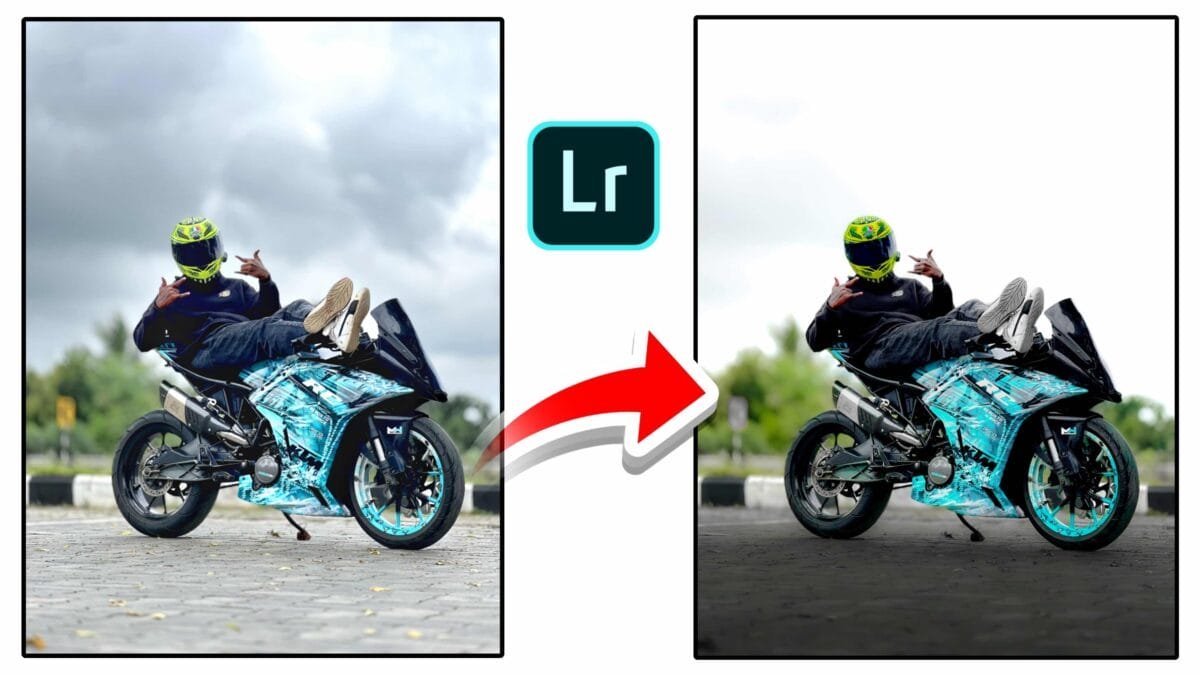
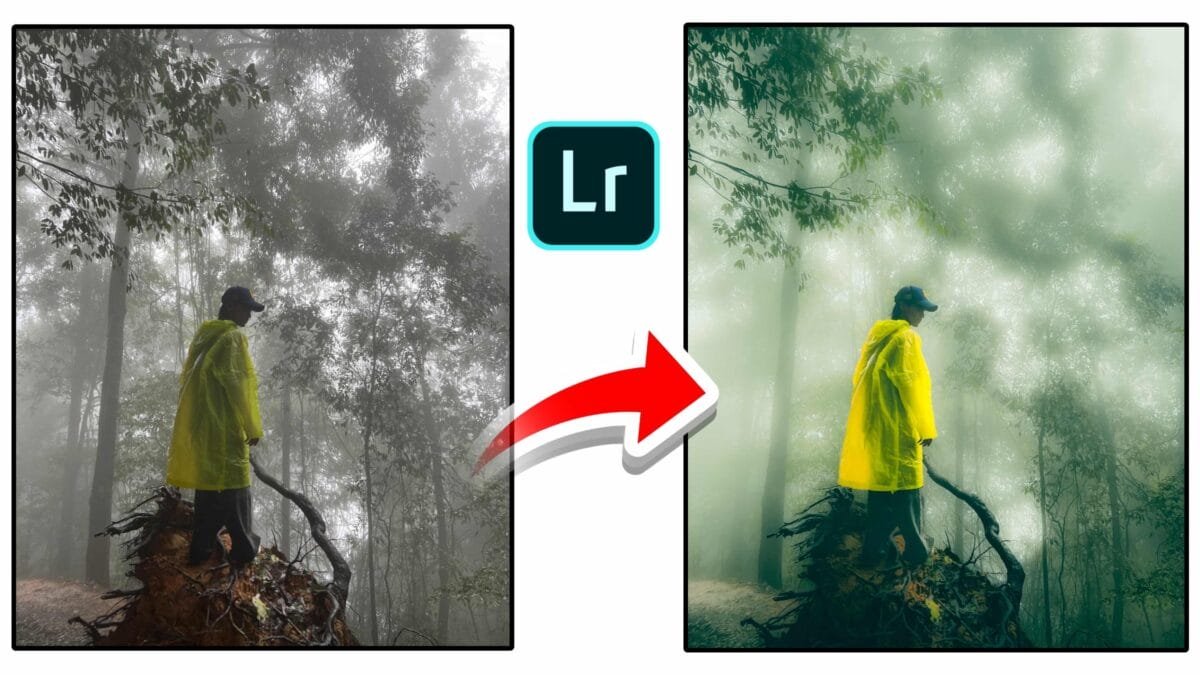
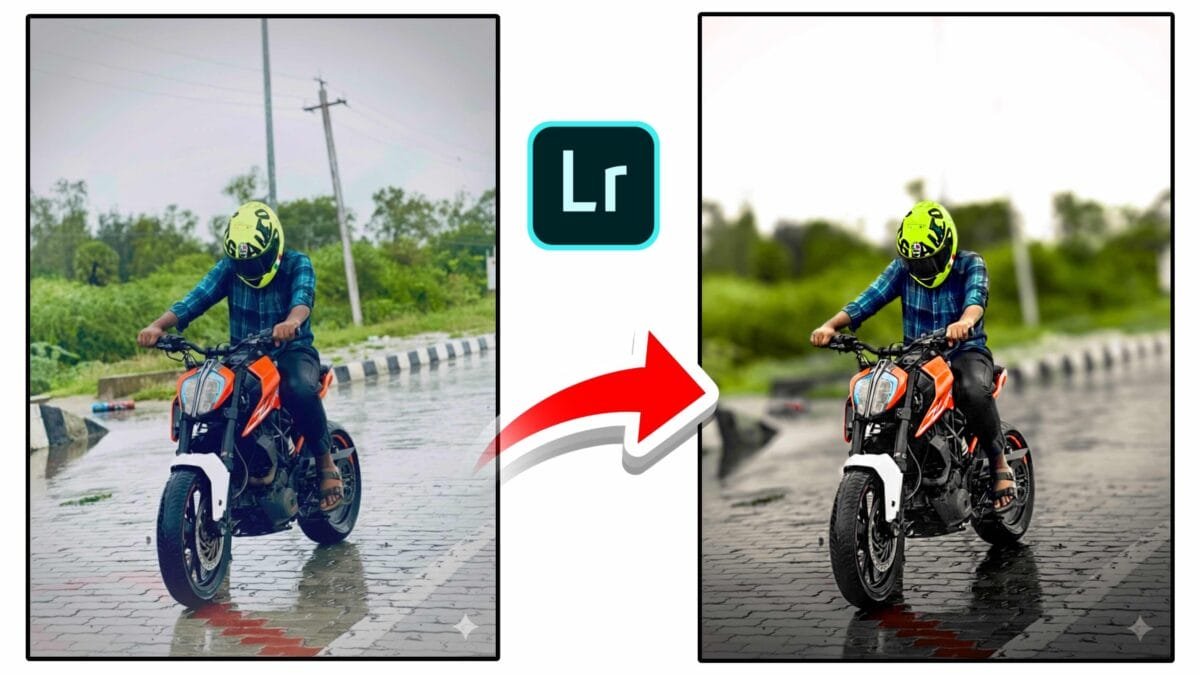
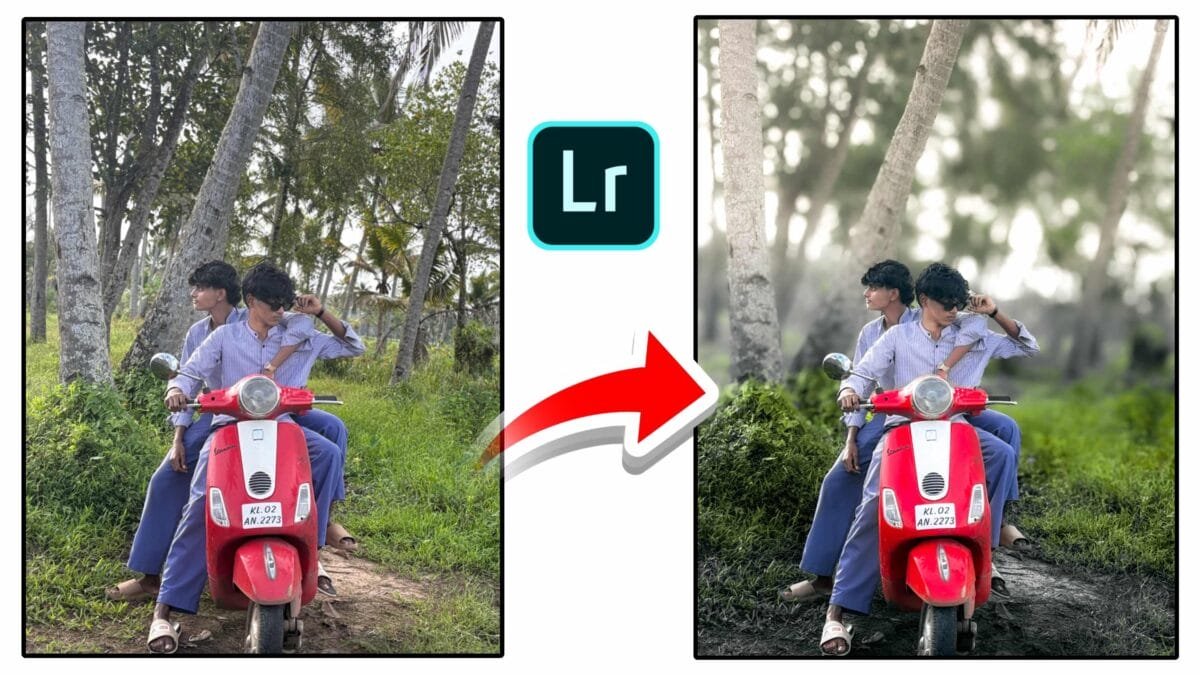
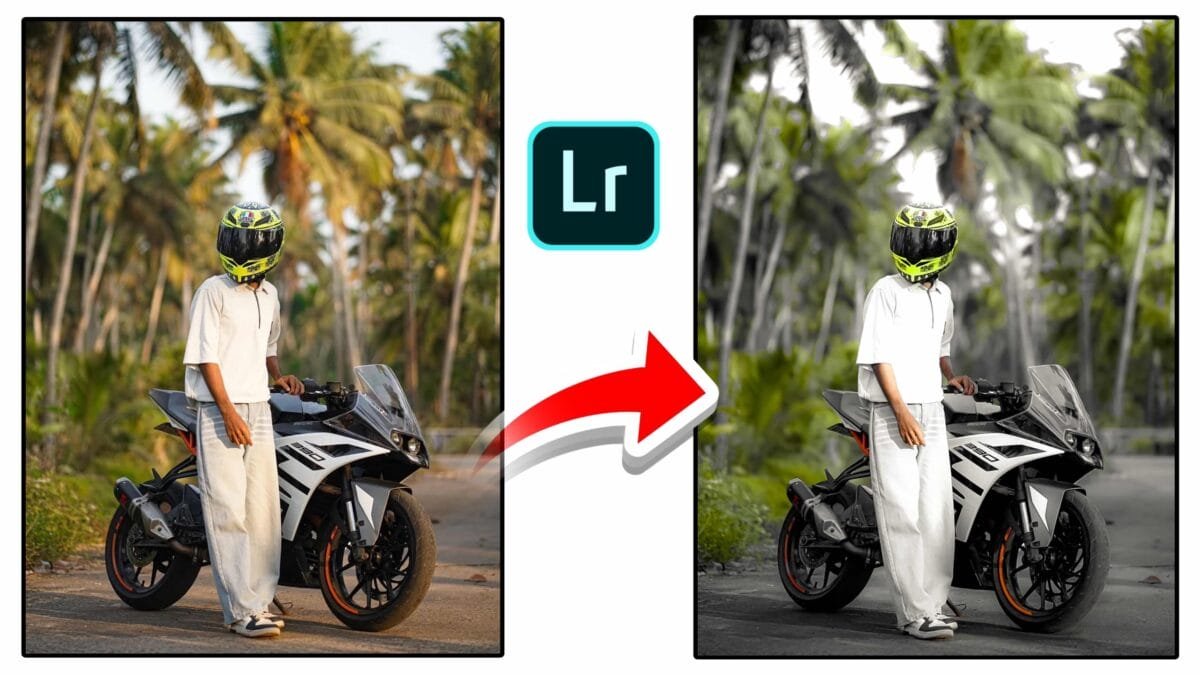
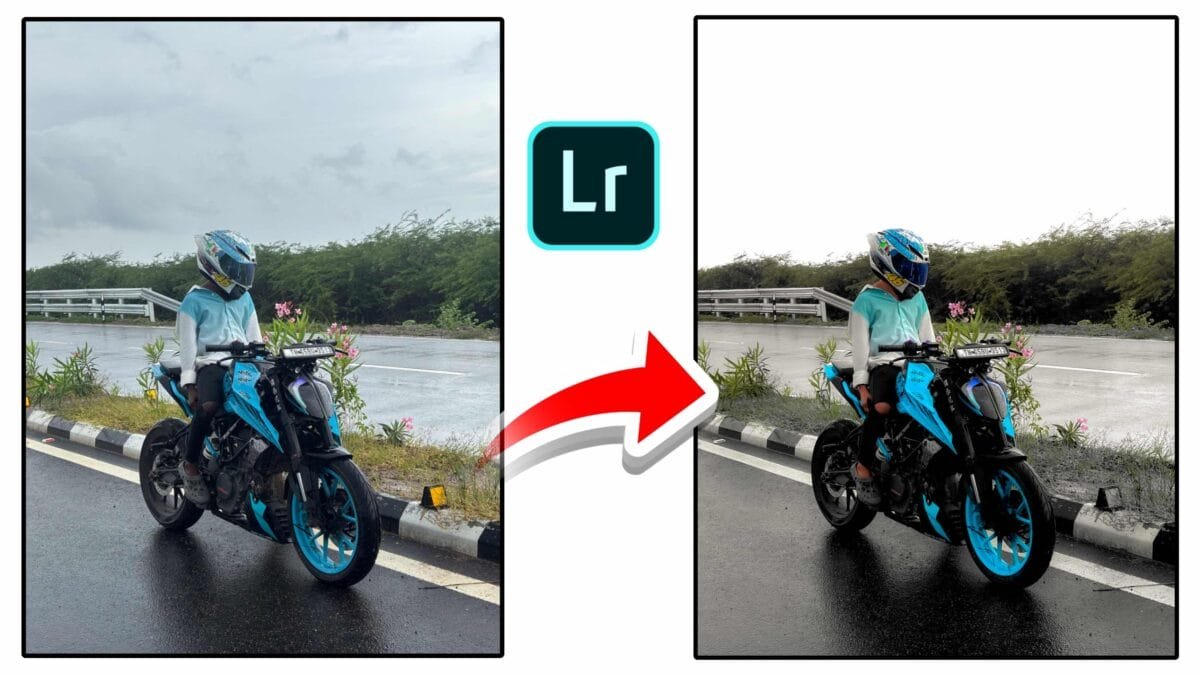
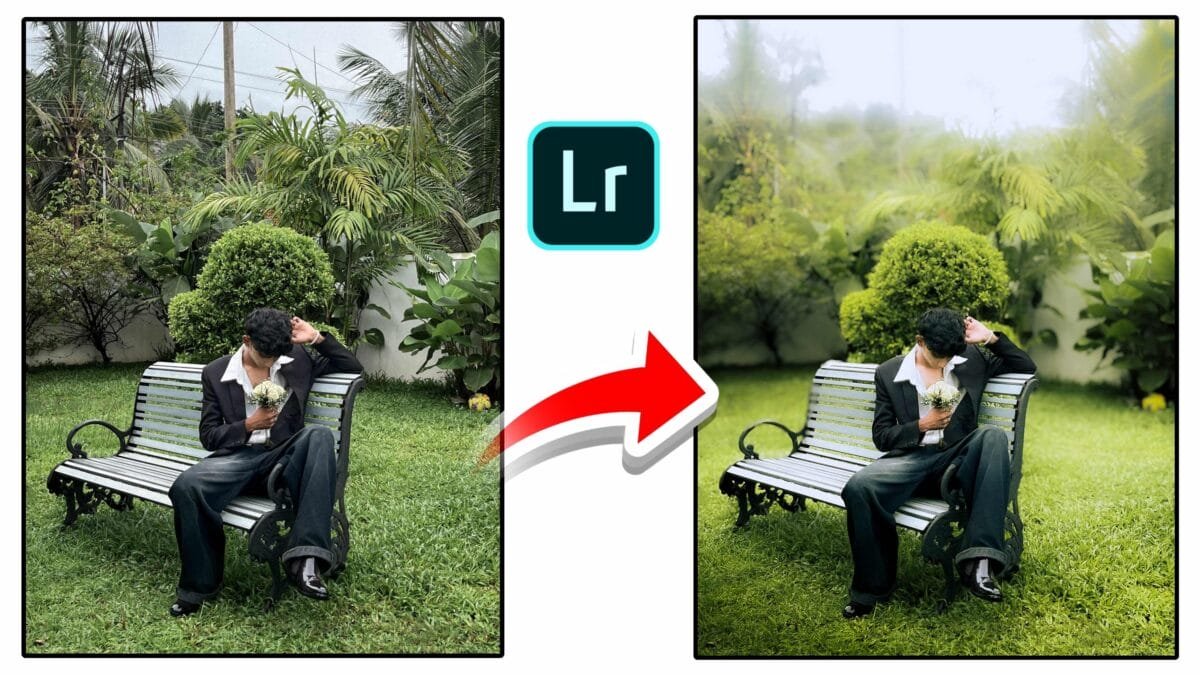
Complete Guide & Practical Workflow
Getting skin tones right is one of the most important parts of portrait retouching. Natural, flattering skin tones make your subject look healthy and believable — while poor corrections can create unnatural colors, banding, or loss of texture. This guide walks through practical steps and tools (Lightroom, Photoshop, and general color theory) so you can adjust skin tones accurately for any skin type or lighting situation.
Why Skin Tone Matters
Skin tone communicates health, mood, and realism. Accurate skin color preserves identity, while stylized grading can add mood — but even when stylizing, starting from a correct base makes the final edit convincing.
Basic Principles Before You Start
- Work non-destructively: use layers, masks, or virtual copies.
- Fix exposure & white balance first: color shifts are easier to correct after tone is correct.
- Preserve texture: avoid over-smoothing; keep pores and micro-contrast.
- Target adjustments: use masks, range selectors, or HSL to limit edits to skin tones.

Step-by-Step Workflow (Lightroom / Raw Processor)
1. Global Corrections
- Exposure & Contrast: correct global exposure so skin sits mid-tone unless you purposefully want a high-key or low-key look.
- White Balance: fix WB using a neutral area (gray card or neutral highlight). If no neutral is available, use the subject’s teeth/eyes as a rough guide but be cautious.
- Profile & Tone Curve: apply a suitable Camera/Creative profile and gentle S-curve for contrast.
2. Targeted Color with HSL / Color Mixer
Use the HSL (Hue / Saturation / Luminance) panel to isolate skin tones. In most images, skin lives in the orange & red/magenta range — but this varies with lighting and ethnicity.
- Hue: nudge orange toward red or yellow to warm/cool skin. Small adjustments (±5–10) are usually enough.
- Saturation: reduce oversaturated highlights or boost small amounts for vibrance.
- Luminance: brighten or darken skin without altering hue.
3. Use Local Masks
Create a local mask for the face using AI subject selection, color range masks, or manual brushes. Apply subtle adjustments — often multiple small tweaks look more natural than one large change.
Advanced Techniques (Photoshop)
1. Frequency Separation
Frequency separation splits texture and color so you can smooth color/tonal transitions without damaging pores. Use low-frequency layer for color corrections (healing, cloning) and high-frequency layer for texture sharpening.
2. Selective Color & Curves (Per-Channel)
Use Selective Color or Curves on individual R/G/B channels to refine skin hues. Tiny per-channel curves changes can remove green/magenta casts and shift tones subtly.
3. Dodge & Burn for Tone Shaping
Dodge & burn sculpts form and evens local exposure. Paint with low-opacity brushes on separate layers (set to Soft Light) and keep strokes subtle — this also helps skin appear more dimensional before color adjustments.
4. Color Lookup Tables (LUTs) & Calibration
For stylized grading, apply a LUT or tweak Camera Calibration to set a pleasing base. Always check skin after LUTs and correct any hue shifts with targeted HSL edits or layer masks.
Tips for Different Skin Tones
- Fair skin: avoid over-warming; small increases in warmth and midtone luminance usually work best.
- Olive skin: watch for green casts — shift hue slightly toward red/yellow and reduce green saturation.
- Medium/darker skin: prioritize preserving highlight detail and avoid clipping; lift shadows gently and use targeted luminance controls to maintain depth.
- Freckles and texture: use targeted masks to preserve or enhance distinct features — don’t flatten everything.
Common Problems & Fixes
| Problem | Fix |
|---|---|
| Too yellow or orange | Cool WB slightly, reduce orange saturation, adjust hue toward red/yellow balance |
| Green cast | Lower green saturation, raise magenta in Selective Color or tweak red/green curves |
| Loss of texture | Reduce global smoothing, reintroduce detail with high-frequency layer or clarity/sharpness on masked subject |
| Over-processed look | Lower effect opacity, use subtle multi-step edits instead of aggressive single-step changes |
Final Checks & Export
- Zoom to 100% to inspect edges and texture.
- Check skin in different color spaces (sRGB vs. Display P3) if you target web vs print.
- Use softproofing for print to avoid surprises—paper and printer profiles affect tone and saturation.
- Export a small test image and view on a phone to ensure skin looks natural across devices.
Pro tip: Save your adjustments as a preset or action for repeatable base corrections, but always tweak per image — every face and lighting setup is unique.
Conclusion
Skin tone adjustment blends technical color correction with artistic taste. Start with accurate exposure and white balance, use targeted HSL and masks for local control, and apply advanced Photoshop techniques like frequency separation and dodge & burn only when needed. With careful, subtle edits you’ll preserve identity and texture while achieving flattering, natural-looking skin.
If you want, I can convert this into a blog-ready HTML file with Open Graph tags, suggested images, and a short social caption. Tell me which format you prefer.
