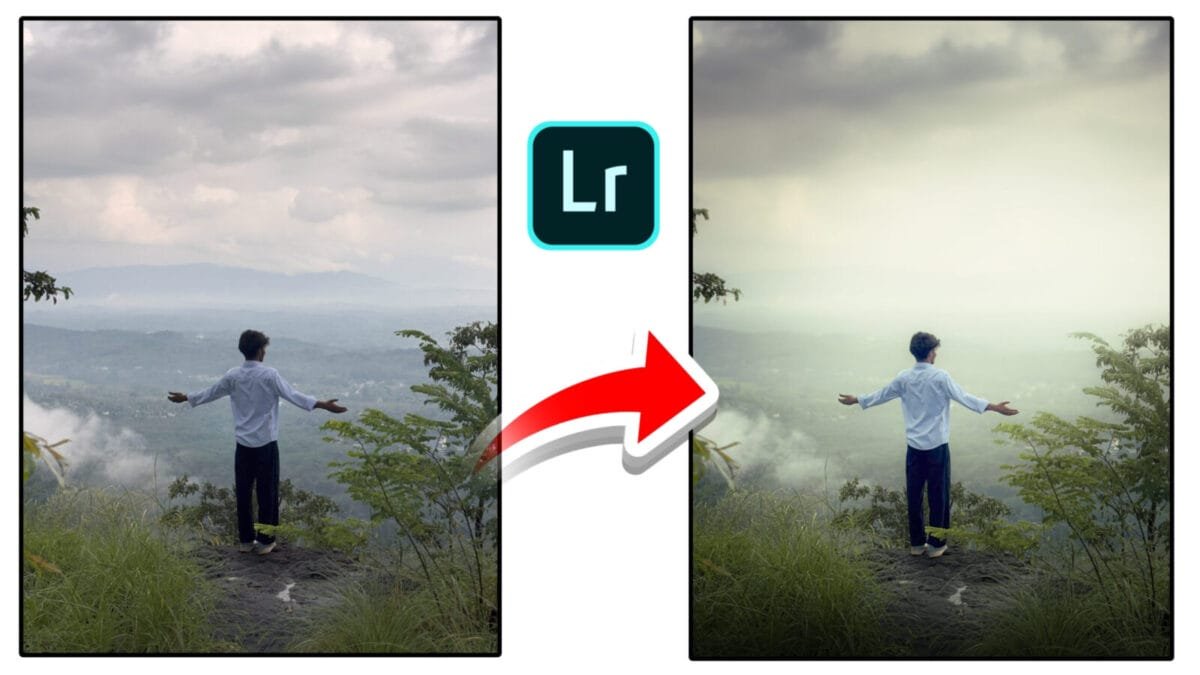
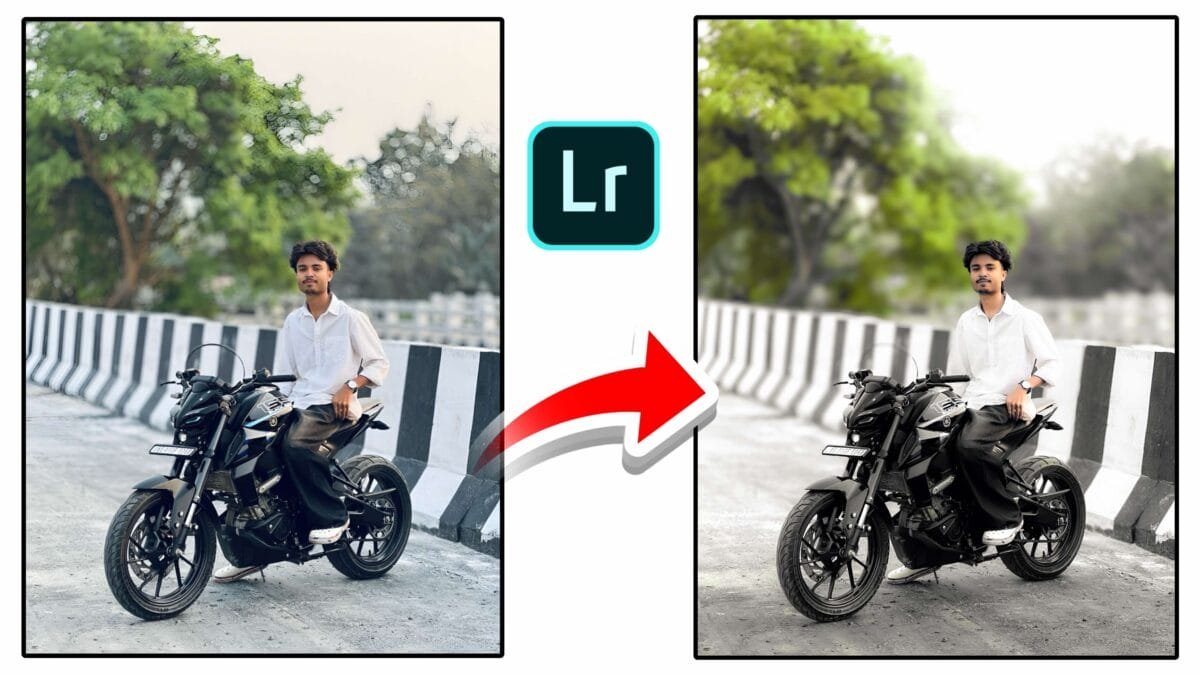
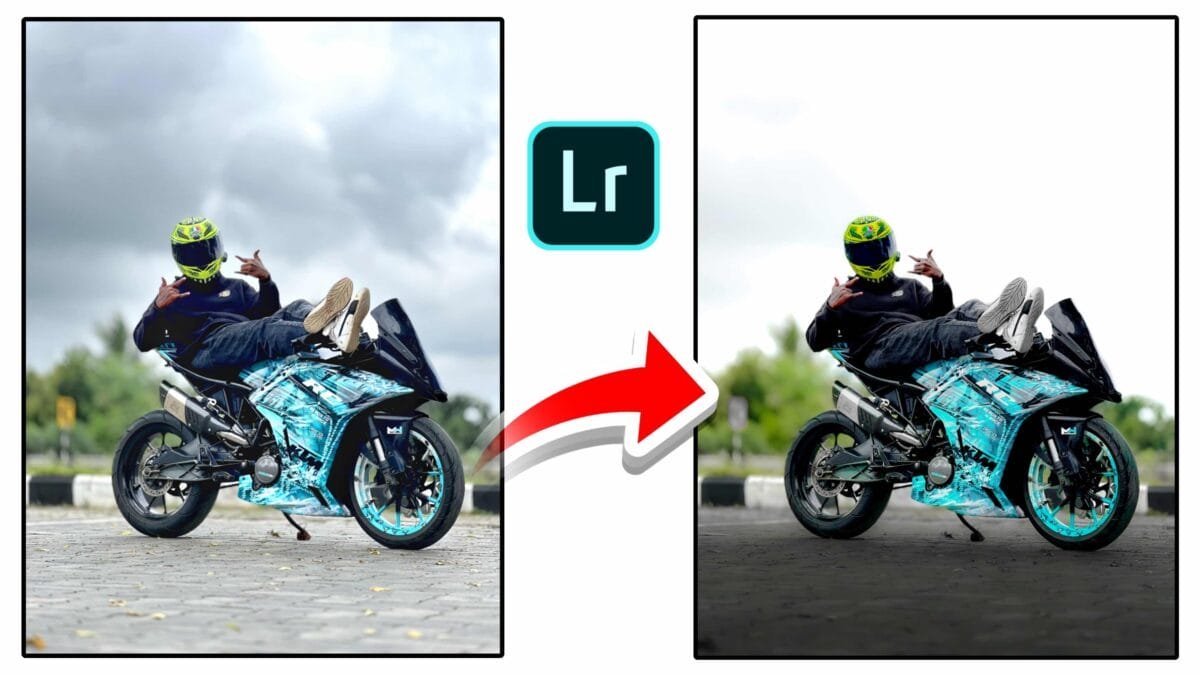
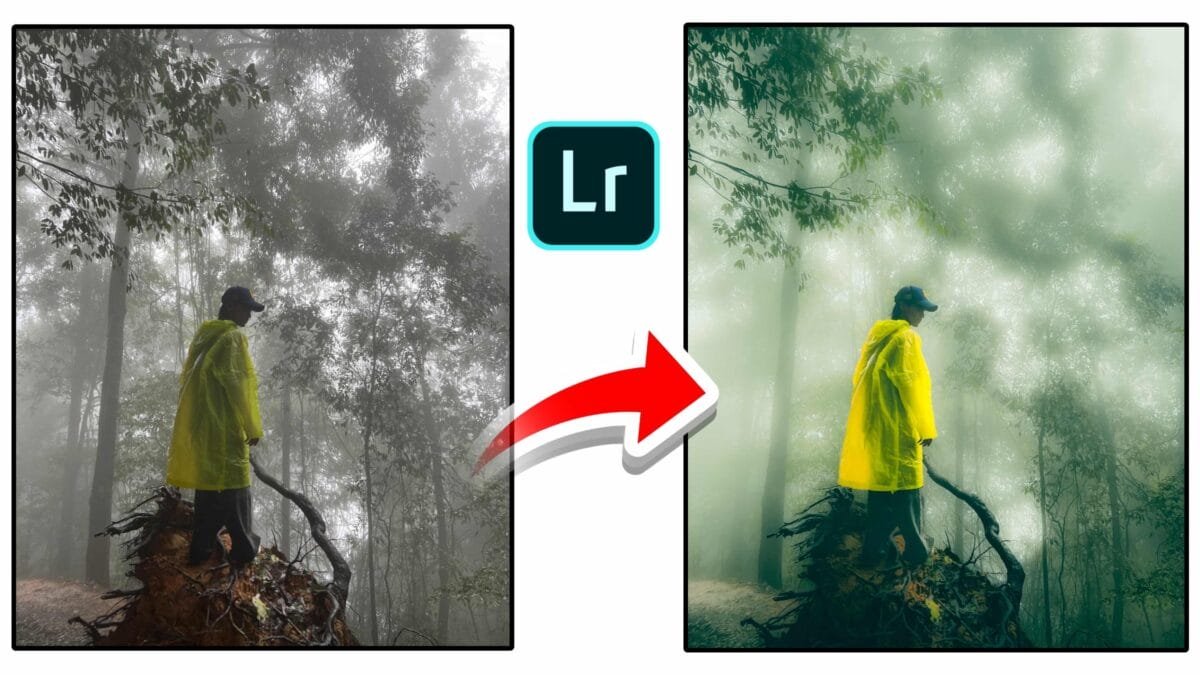
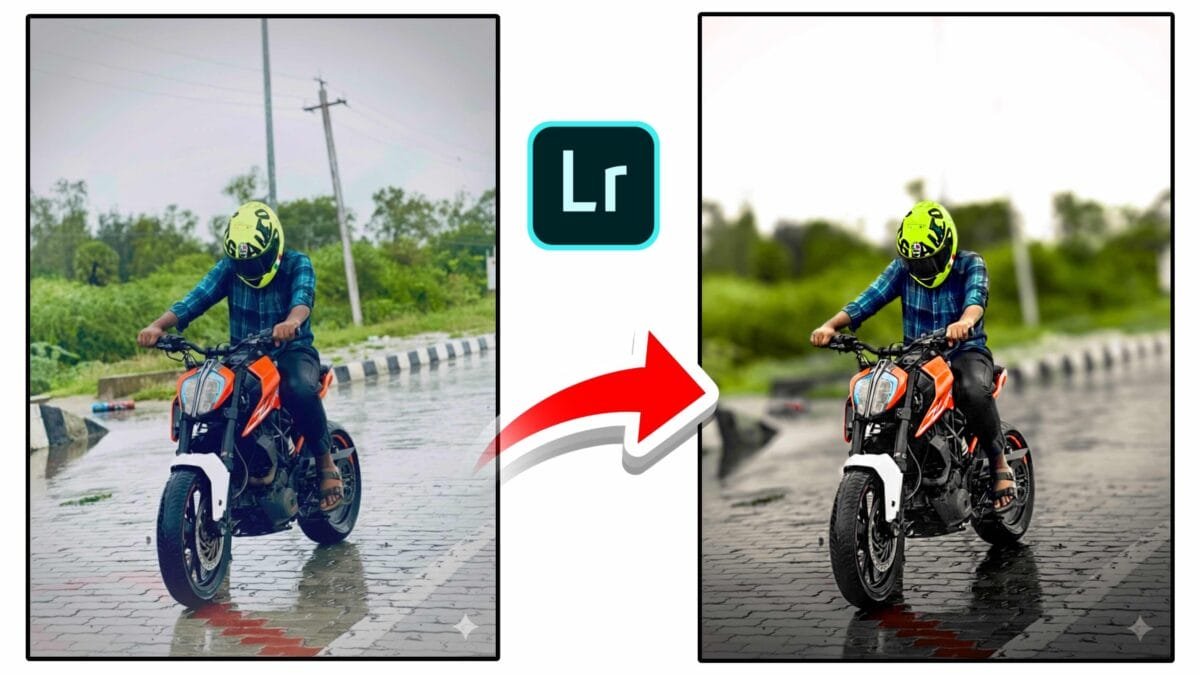
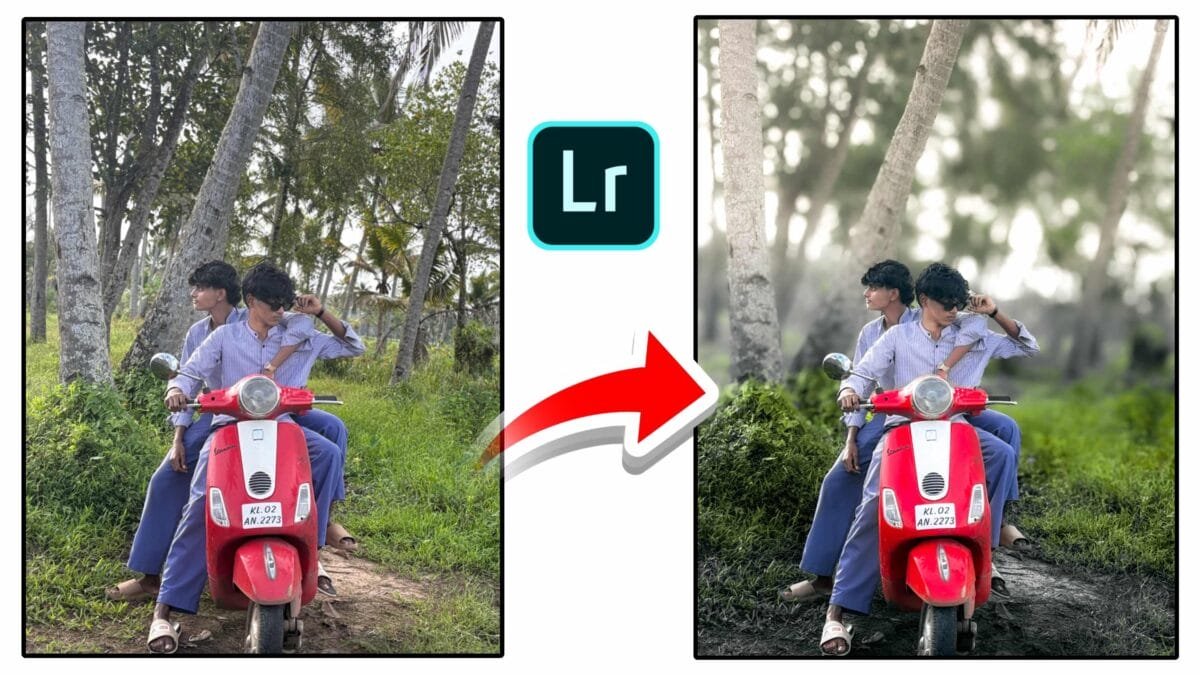
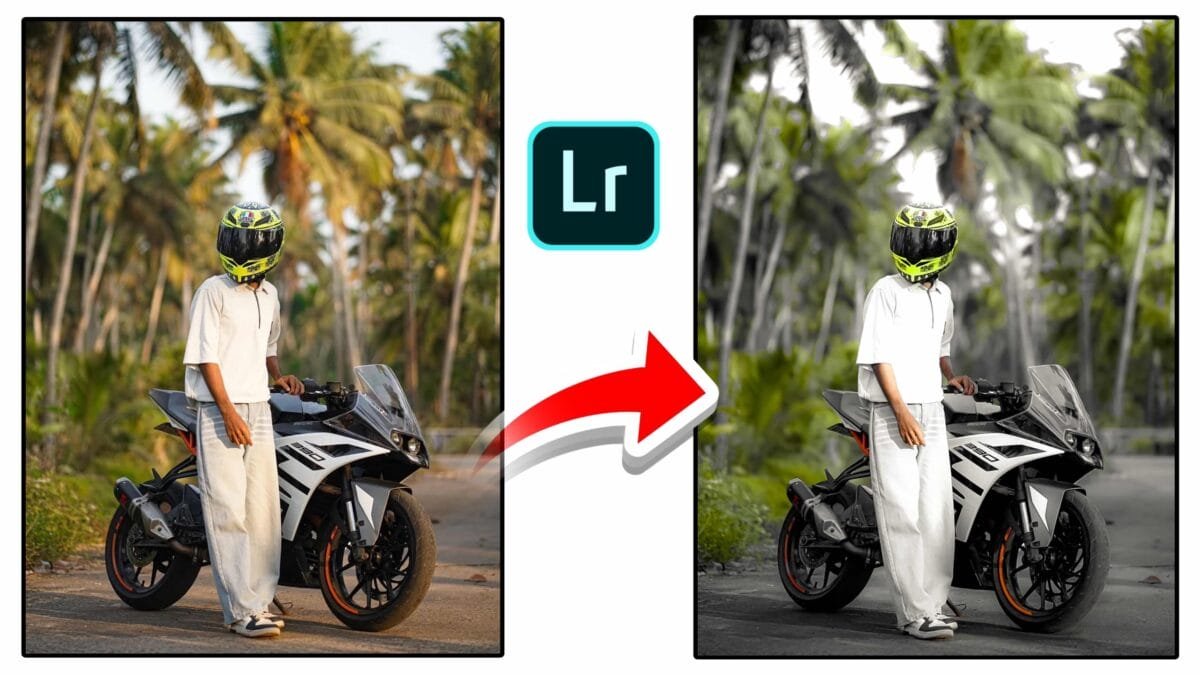
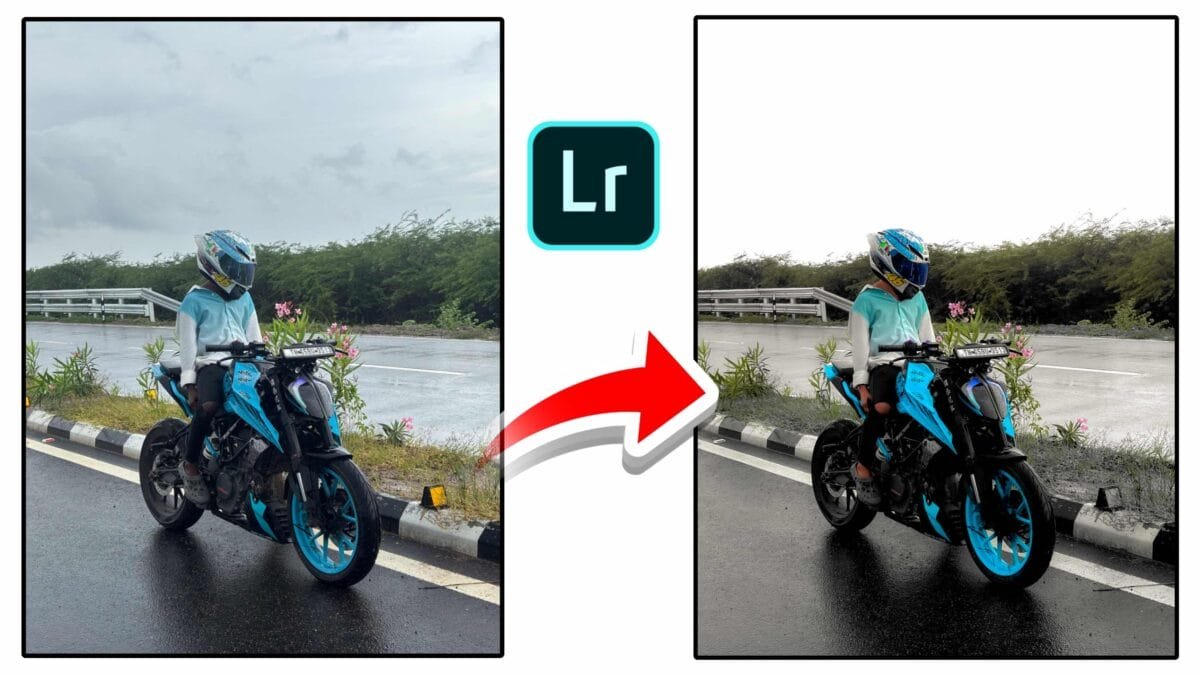
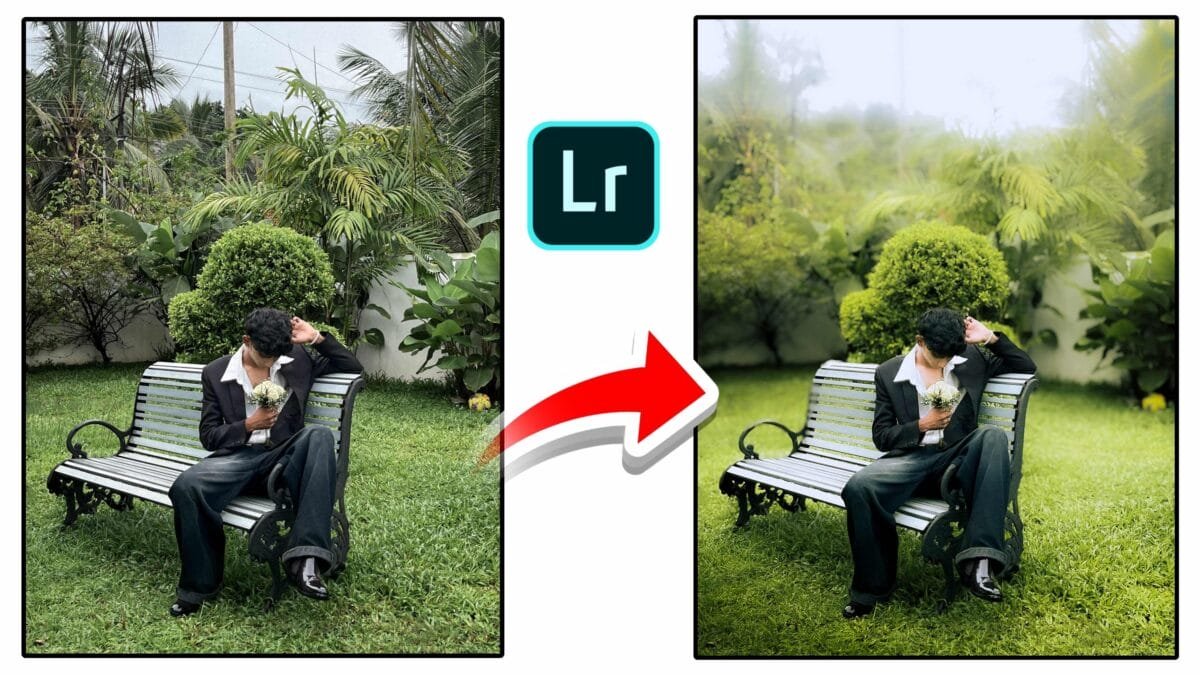
New Color Grading Options
Modern photo and video editors keep adding smarter, more flexible color grading tools. The latest updates bring a mix of creative controls and intelligent automation — from refined color wheels and HDR grading to LUT import/export and AI-adaptive profiles. In this article you’ll find a practical breakdown of the new options, examples of when to use them, and step-by-step tips to get cinematic, natural, or stylized looks fast.
What’s New in Color Grading?
Recent color grading updates across editing apps focus on three areas:
- Precision controls: Improved color wheels, per-channel curves, and targeted HSL tools for surgical edits.
- HDR & extended-range grading: Separate control over deep shadows, midtones, highlights, and super-highlights for modern sensors and HDR displays.
- AI & workflow automation: Adaptive grading profiles, subject-aware color protection, and easier LUT handling.
Key New Features Explained
1. Refined Color Wheels (Shadows / Midtones / Highlights)
Color wheels are more responsive and now include separate luminance sliders for each tonal range. This means you can push a hue into the shadows without unintentionally brightening or darkening those areas. Many editors also allow independent saturation/contrast per wheel.

2. HDR Color Grading
HDR grading introduces additional tonal bands beyond the classic three-way split. You can now adjust ultra-highlights (speculars) and very deep shadows independently — ideal for scenes with bright lights or wide dynamic range. HDR grading preserves detail while letting you craft a more cinematic contrast curve.
3. Per-Channel Curves & Color Mixer Enhancements
Per-channel tone curves (Red, Green, Blue) give you subtle color casts in specific tonal zones — essential for film emulation or removing color casts. The Color Mixer/HSL tools now include refined range targeting, making it easier to isolate skin tones, foliage, or skies.
4. LUT Support & Improved Profiles
Importing and exporting LUTs (1D/3D) has become more reliable and integrated. Many apps now allow you to preview LUTs non-destructively and blend them with the underlying grade using an amount slider. Built-in creative profiles (film emulations, camera matches) are better optimized for smooth transitions and fewer banding issues.
5. AI-Adaptive Color Profiles
AI-driven adaptive profiles analyze the photo or clip and suggest a graded starting point — balancing skin tones, highlights, and color harmony automatically. These profiles can be a great time-saver, especially for large batches or mobile editing.
6. Subject-Aware Color Protection
New masking options detect faces and skin tones and protect them from extreme hue or saturation changes while you grade the background. This keeps portraits looking natural even when you push dramatic looks elsewhere.
How to Use These Tools — A Simple Workflow
- Set a neutral base: Fix exposure, contrast, and white balance first. Grading over bad exposure compounds problems.
- Choose a profile or LUT: Apply an adaptive profile or LUT as a creative starting point, then reduce its amount to taste.
- Block in tones with color wheels: Use shadows/midtones/highlights to establish mood — subtle moves often work better than extremes.
- Refine with curves: Use RGB curves to push the overall contrast and per-channel curves to add color casts or remove shifts.
- Target problem areas: Use HSL or selective masks to tweak skin, sky, or foliage without affecting the whole image.
- Protect faces: Enable subject-aware protection and reduce saturation/hue drift on skin tones.
- Finish with grain & vignette: Add subtle film grain, vignette, or highlight roll-off to unify the look.
Pro tip: When using LUTs, keep an editable layer or ratio slider so you can dial the effect up or down later — LUTs are a shortcut, not a final answer.
Use Cases — When to Use Which Tool
| Goal | Recommended Tools |
|---|---|
| Cinematic teal & orange | Color wheels (shadows teal / highlights orange), curves for contrast, skin protection |
| Natural portrait retouch | Adaptive profile, HSL for skin, subject-aware protection |
| Vibrant landscapes | HSL boosts for blue/green, highlight recovery, localized masks |
| HDR / high-contrast scenes | HDR grading bands, micro-contrast control, highlight tone mapping |
Limitations & Best Practices
New tools are powerful but can introduce banding, posterization, or unnatural skin tones if overused. Always check at 100% on different displays, keep edits subtle, and use 16-bit workflows for heavy grading. For batch work, create adjustable presets rather than hard-applied LUTs.
Conclusion
The latest color grading options combine artistic flexibility with smart automation — allowing you to craft complex, cinematic looks faster and more predictably. Learn the core controls (wheels, curves, HSL, LUTs) first, then add AI profiles and subject-aware protection to speed up repetitive tasks and protect skin tones. With these tools, you can produce polished, consistent color across photo shoots and video projects.
Want this converted into a blog-ready file with Open Graph tags, suggested hero images, and SEO meta tweaks? I can prepare that next.
