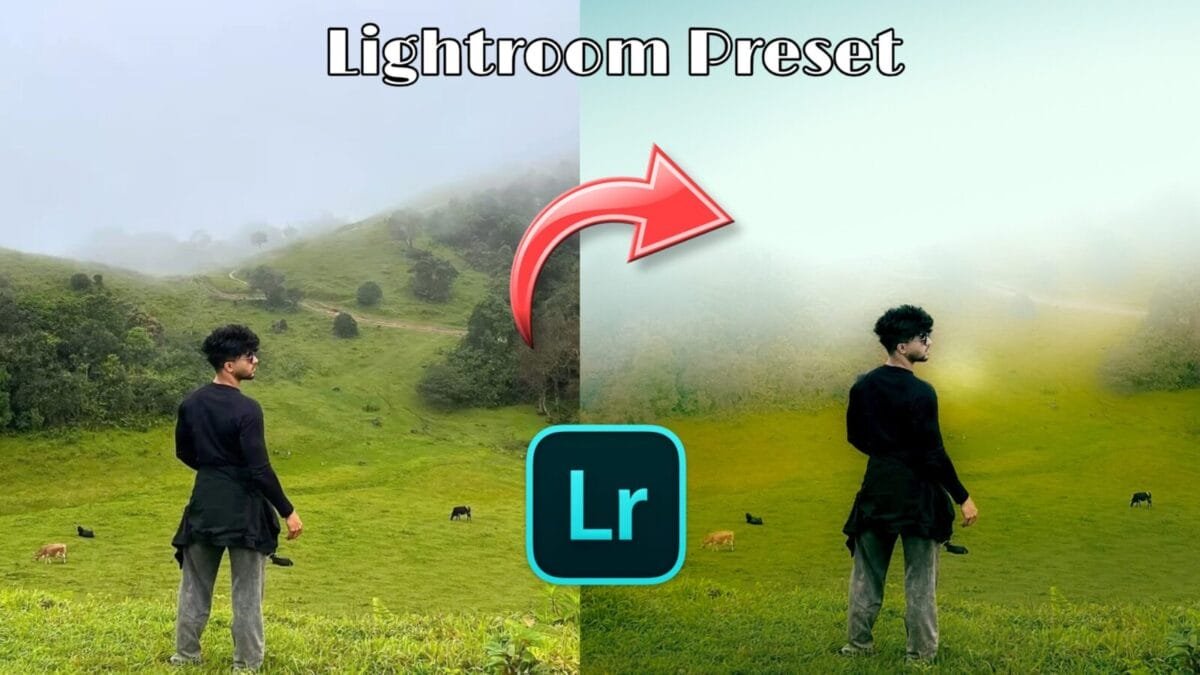
Adobe Lightroom has long been a favorite tool for photographers around the world, known for its powerful yet intuitive photo editing capabilities. Among its many features, the Masking Tool stands out as one of the most revolutionary enhancements introduced in recent versions. It allows photographers to make highly targeted adjustments to specific parts of an image, giving them greater control and creative freedom.
In this article, we’ll explore the Lightroom Masking Tool in detail—what it is, how to use it, and tips to get the most out of it.
What is the Lightroom Masking Tool?
The Masking Tool in Lightroom enables selective editing of specific areas of a photo without affecting the rest of the image. Rather than applying global adjustments to the entire picture, masking allows you to isolate certain subjects, backgrounds, skies, or even minute areas to apply customized enhancements.
This feature was significantly upgraded with the introduction of AI-powered selection tools such as “Select Subject” and “Select Sky” in Lightroom Classic, Lightroom CC, and Camera Raw. These intelligent tools have made precision editing more efficient and accessible—even for beginners.
Types of Masks in Lightroom
Lightroom offers several types of masking tools, each suited for different kinds of adjustments:
1. Brush
The Brush Mask allows you to manually paint over the areas you want to adjust. This is ideal for fine-tuning or targeting very specific areas.
2. Linear Gradient
This mask is perfect for editing large portions of an image, such as darkening a bright sky or enhancing the foreground.
3. Radial Gradient
Radial gradients are used for creating vignette effects or drawing attention to a subject by applying circular or oval adjustments.
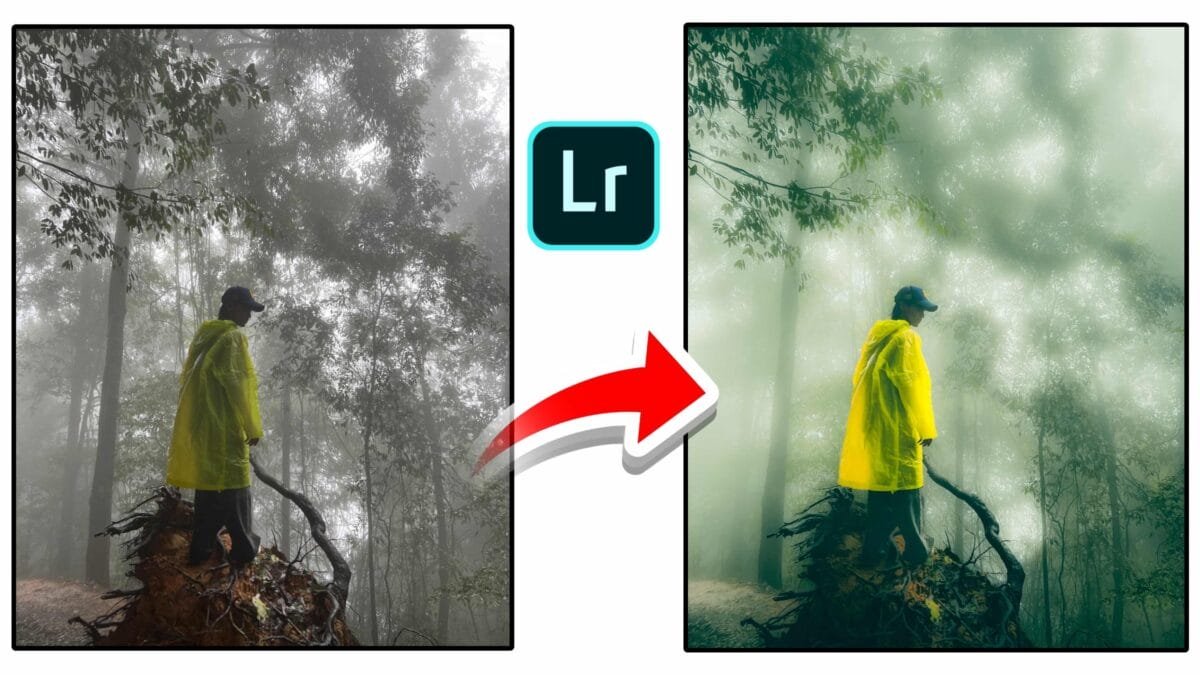
4. Color Range
The Color Range mask lets you select and edit areas of a photo based on specific colors. For example, you can enhance just the greens in a landscape or the reds in a sunset.
5. Luminance Range
This mask targets areas based on brightness levels, which is useful when you want to affect highlights, shadows, or midtones without disturbing the rest.
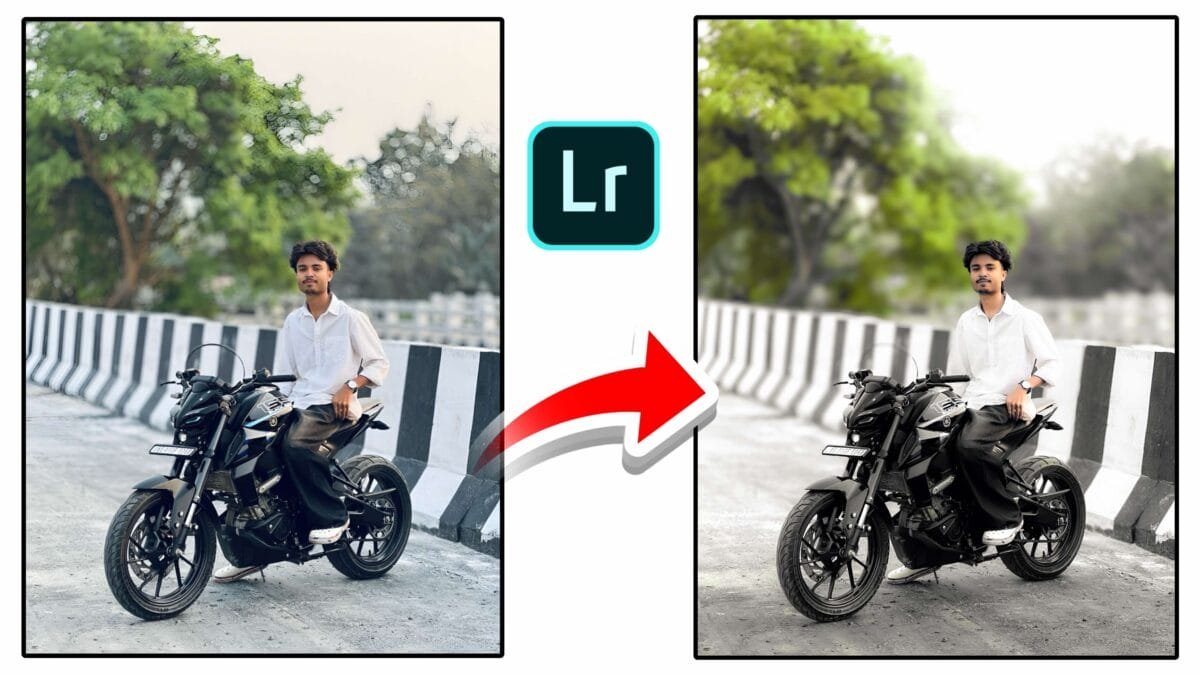
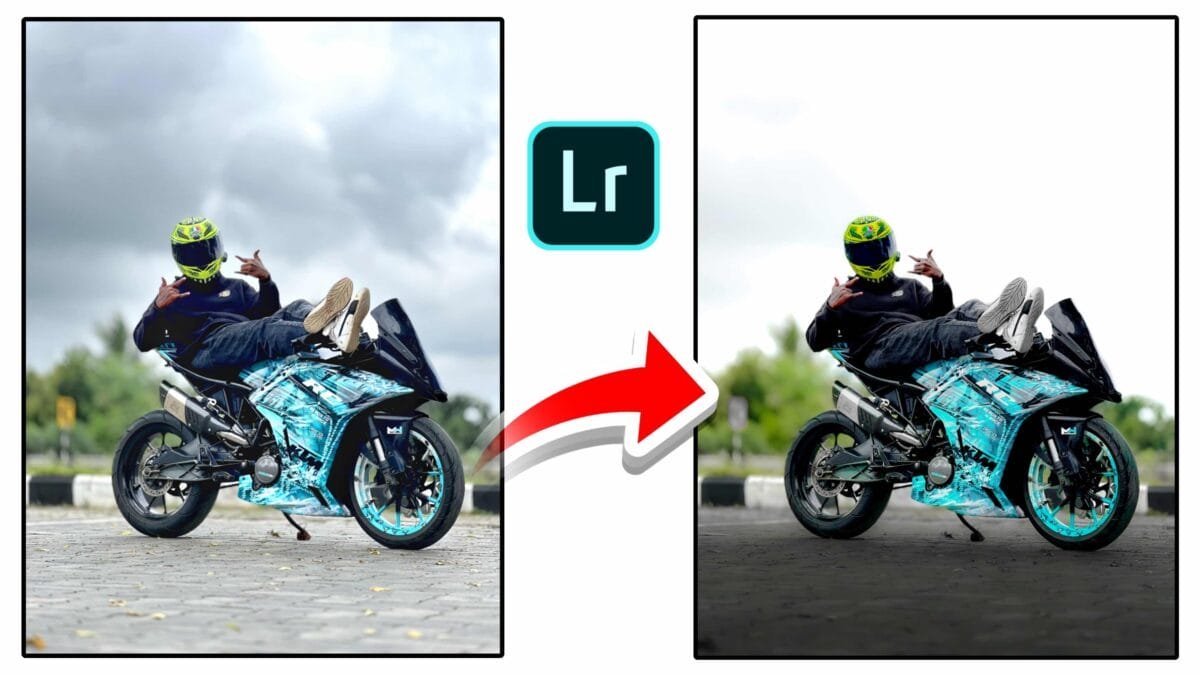
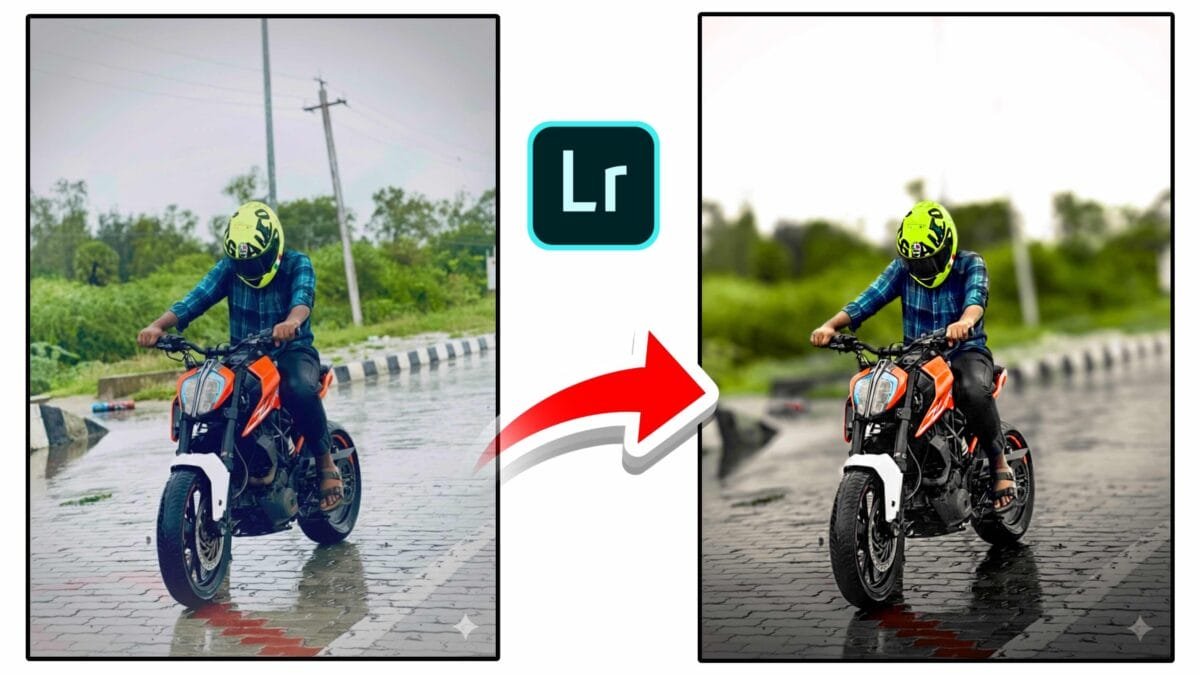
6. Select Subject (AI-Based)
This is one of the most powerful features. Lightroom uses AI to automatically detect and select the main subject in your image—whether it’s a person, animal, or object. This is great for portraits, product shots, and more.
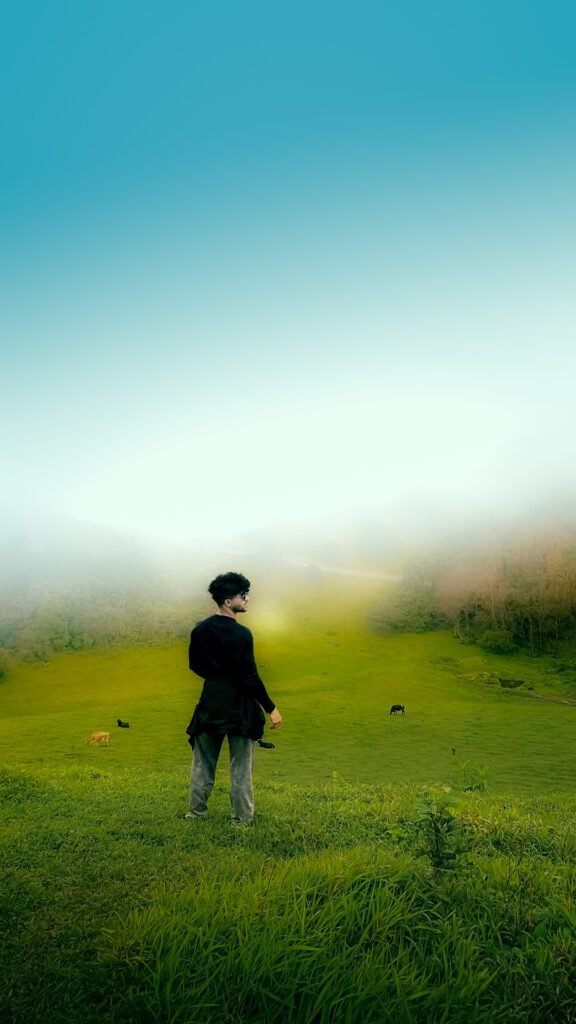
7. Select Sky (AI-Based)
Another AI-driven tool, “Select Sky” identifies and masks only the sky area in your photo. This makes enhancing a dull sky or replacing it more convenient.
How to Use the Masking Tool
- Open an image in Lightroom.
- Click on the Masking icon (a circle with a dotted line around it) in the right panel.
- Choose the desired masking method: Brush, Gradient, Select Subject, etc.
- Once the mask is created, a red overlay will appear showing the selected area.
- Adjust settings like Exposure, Contrast, Clarity, Color, etc., and see changes applied only to the masked area.
- You can add or subtract areas from the mask for even more precise control.
Mask Groups and Inversions
Lightroom also allows you to combine multiple masks into one group. For instance, you can select the subject and then subtract a part of it using a brush or luminance range. This layered approach gives you Photoshop-level control within Lightroom.
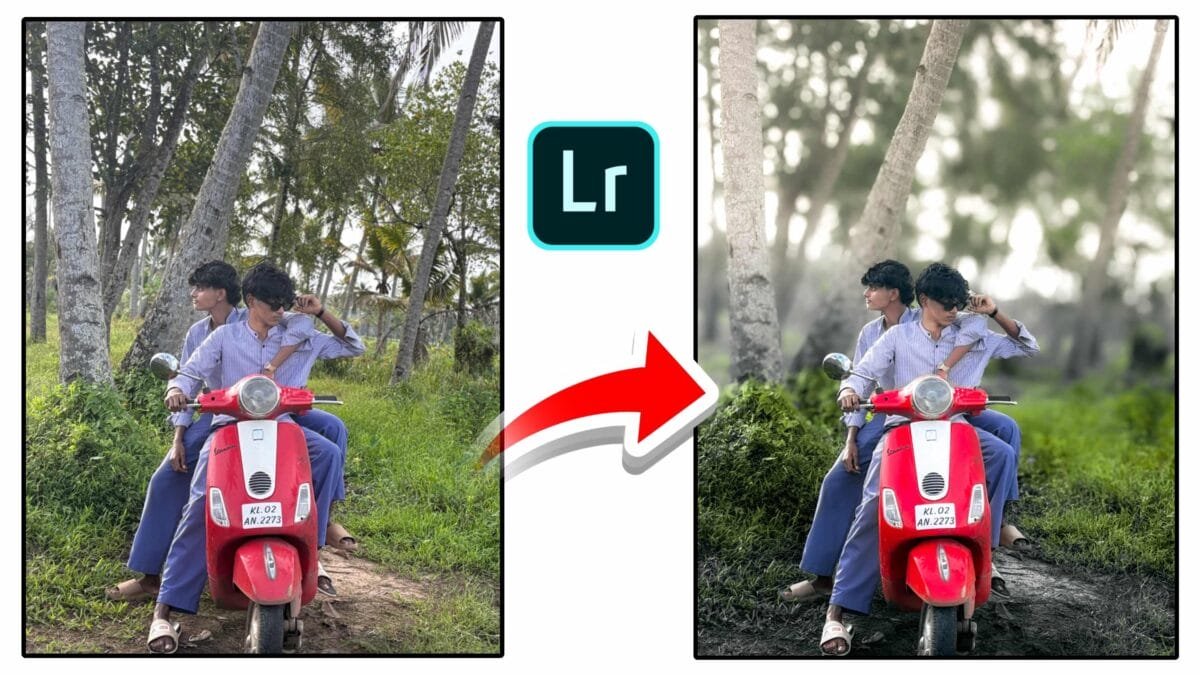
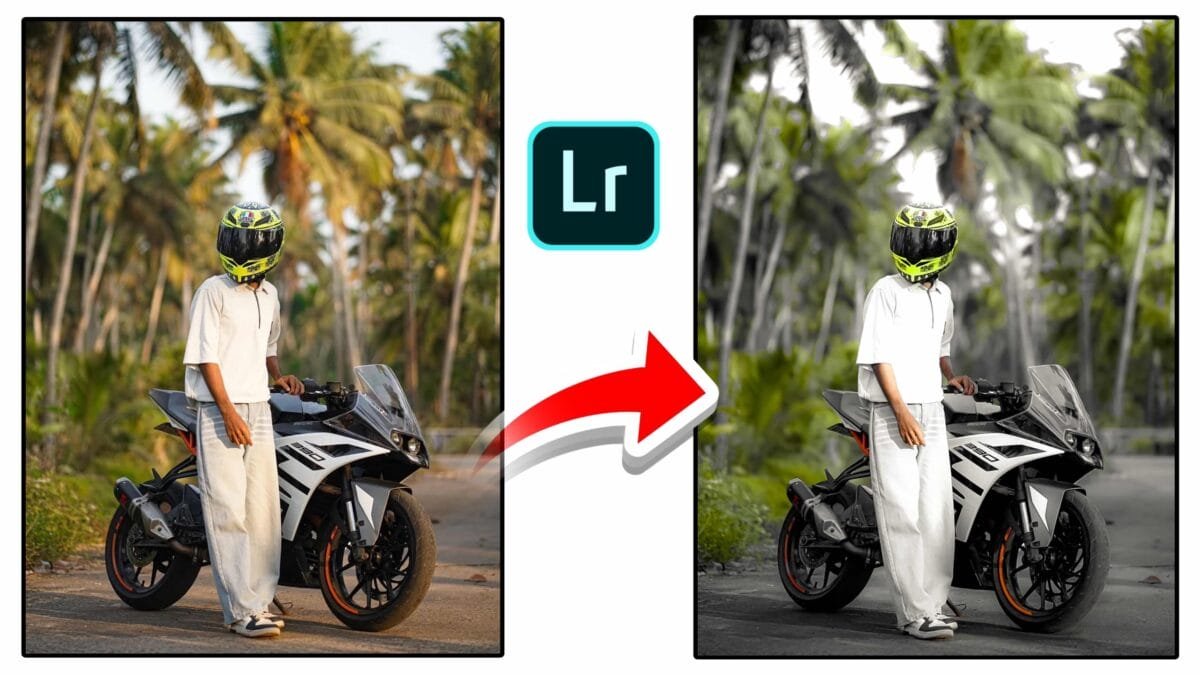
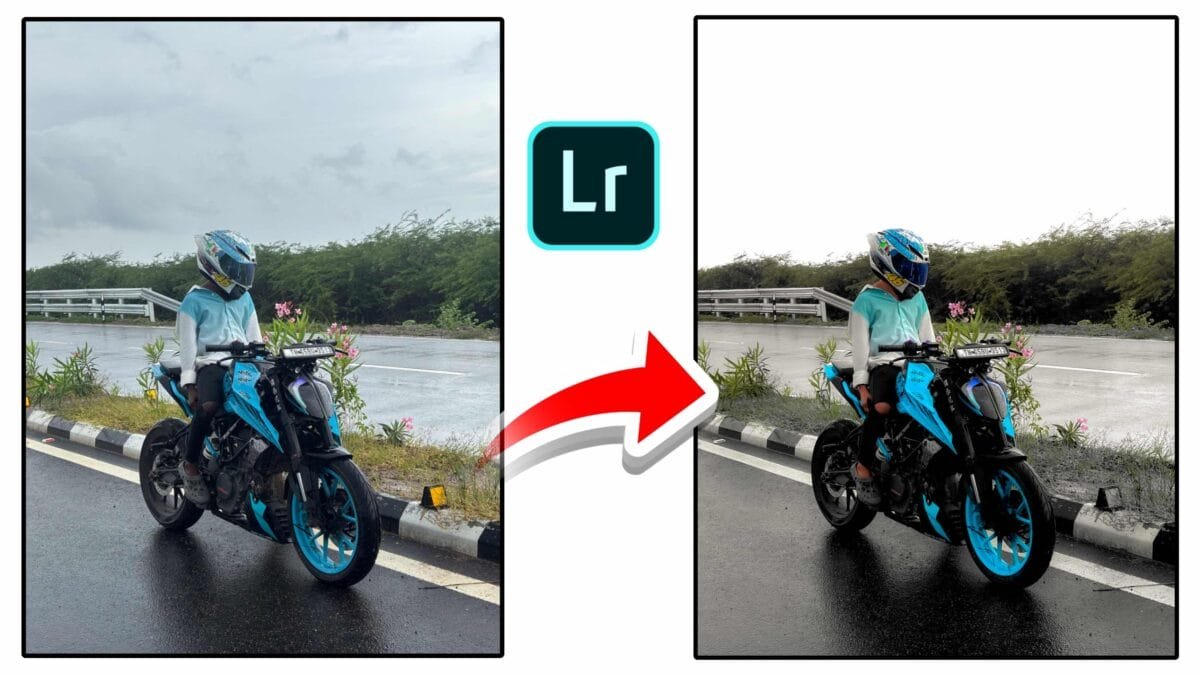
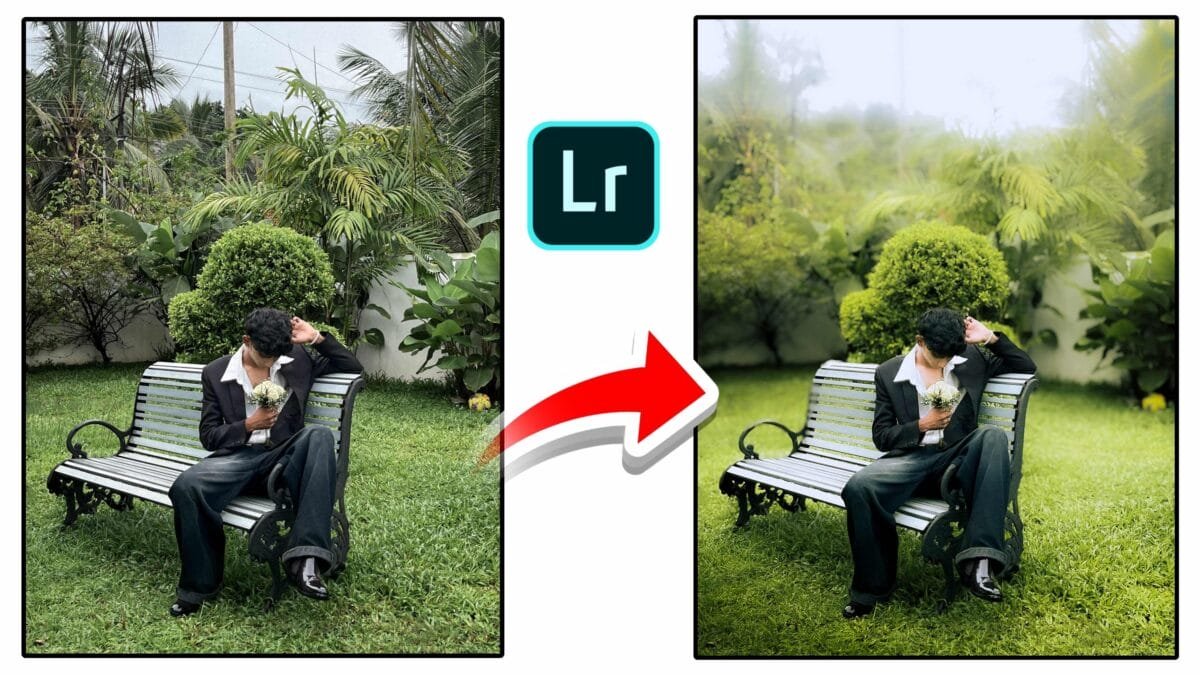
You can also invert a mask. For example, if you select the subject and then invert the mask, you can apply adjustments to everything except the subject—useful for background blurring or darkening.
Practical Use Cases
- Portraits: Soften skin using brush masks, enhance eyes and lips with radial gradients, or brighten the subject using Select Subject.
- Landscapes: Enhance the sky with Select Sky, boost green fields using color range, or add depth using linear gradients.
- Product Photography: Sharpen the subject while softly blurring the background using masks.
Tips for Effective Masking
- Zoom in when working on small details to ensure accuracy.
- Use the ‘O’ key to toggle the red overlay and better see your mask.
- Combine multiple mask types for advanced results.
- Use feathering in gradient masks for smoother transitions.
- Don’t forget to name your masks for better organization in complex edits.
Conclusion
The Lightroom Masking Tool is a game-changer for photographers who want more control over their edits without jumping into Photoshop. With its combination of manual and AI-powered features, it empowers users to make precise, localized adjustments that can dramatically improve the quality and mood of a photo.
Whether you’re a beginner or a seasoned professional, mastering the Masking Tool will elevate your editing workflow and help you create stunning, polished images with ease.