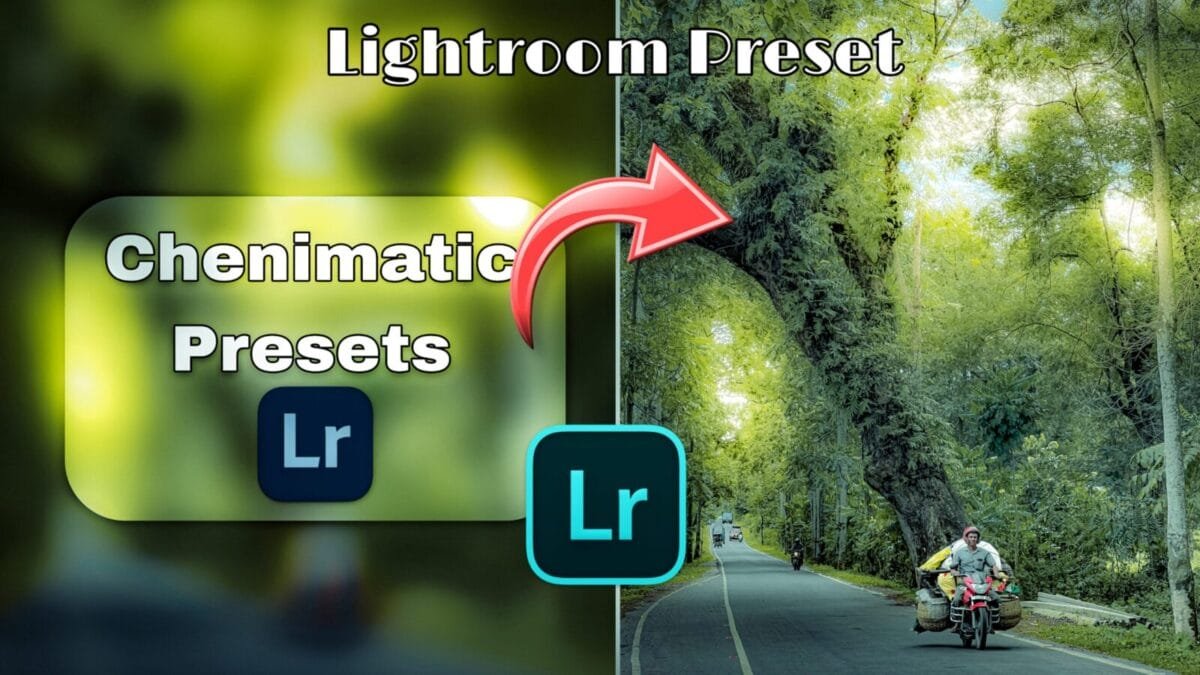
In the vast, overwhelming world of digital photography, the quest to give images a distinctive, professional, and evocative look is universal. Photographers, influencers, and hobbyists alike yearn for that one-click transformation that elevates a simple snapshot into a scene worthy of the silver screen. The answer to this desire lies in the mastery of the Cinematic Lightroom Preset.
More than just a filter, a Cinematic Lightroom Preset is a meticulously crafted bundle of settings designed to emulate the complex color grading techniques of Hollywood filmmakers. It instantly infuses a photograph with mood, drama, and narrative depth, making it an indispensable tool for anyone serious about visual storytelling. This 1000-word SEO-optimized guide will dive deep into the anatomy of these powerful tools, explore the classic cinematic looks they achieve, and provide the essential steps for finding and utilizing the best Cinematic Lightroom Presets to dominate your feed and professional portfolio.
The Anatomy of the Cinematic Look: What Defines a Cinematic Lightroom Preset?
The term “cinematic” refers to an aesthetic characterized by intentional color palettes, dynamic contrast, and a distinct texture reminiscent of analog film. A high-quality Cinematic Lightroom Preset achieves this by adjusting a specific combination of Lightroom’s most powerful tools:
1. The Classic Color Grade (Teal & Orange)
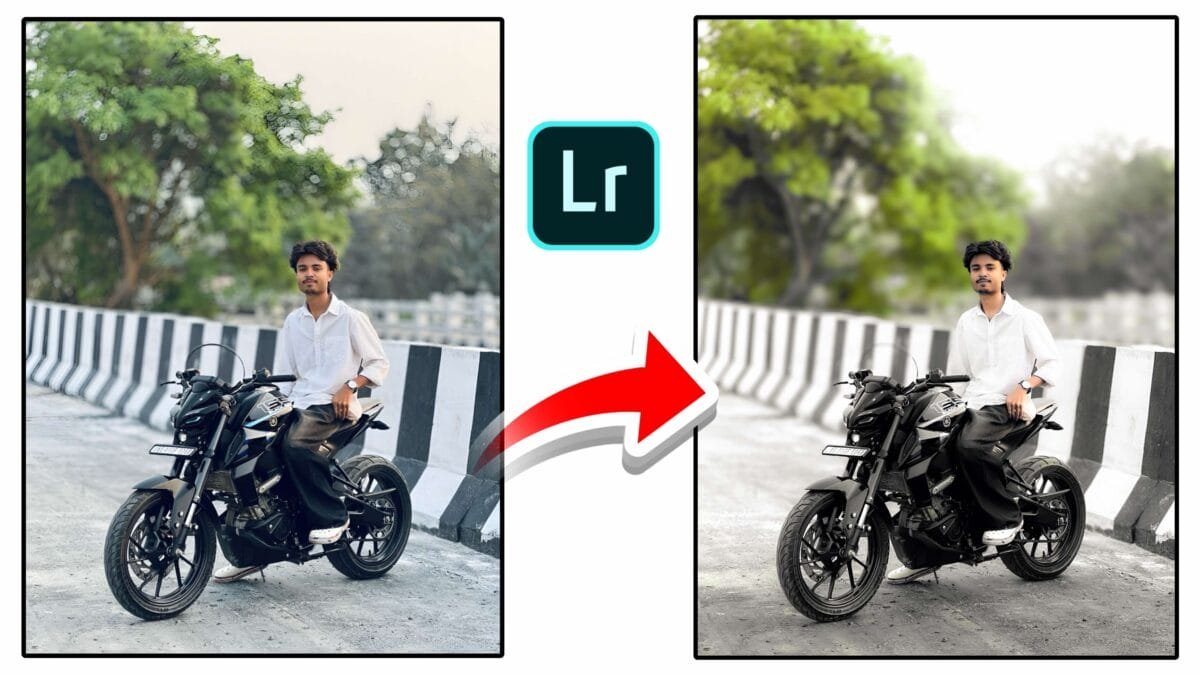
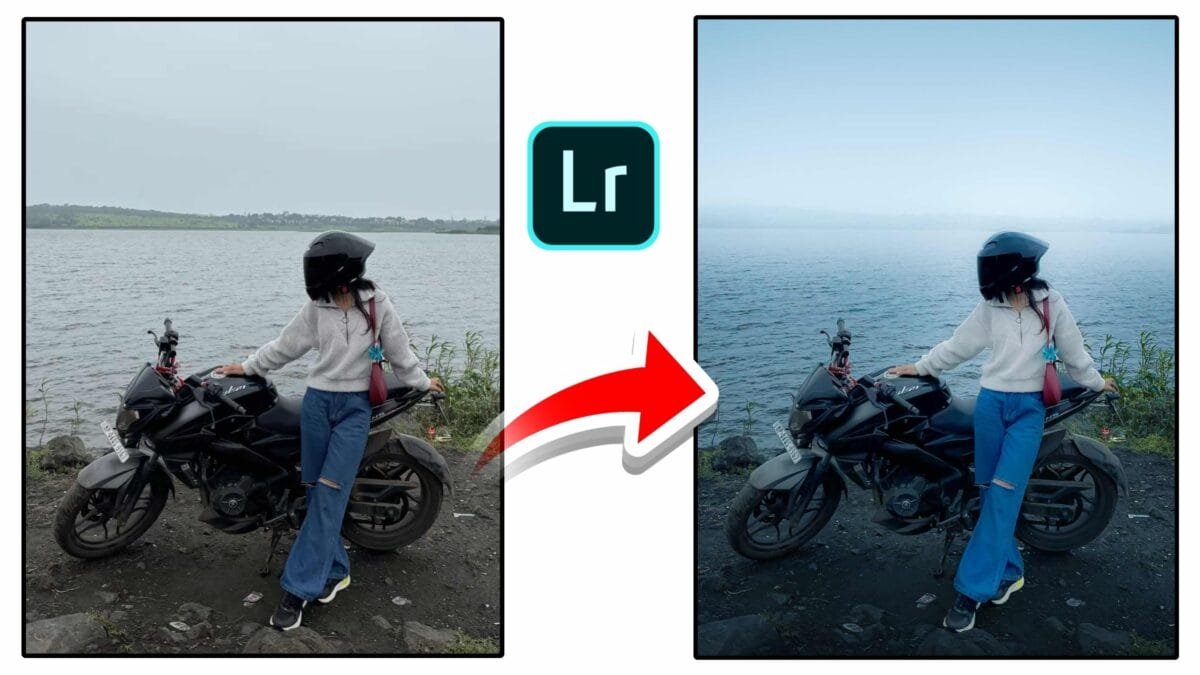
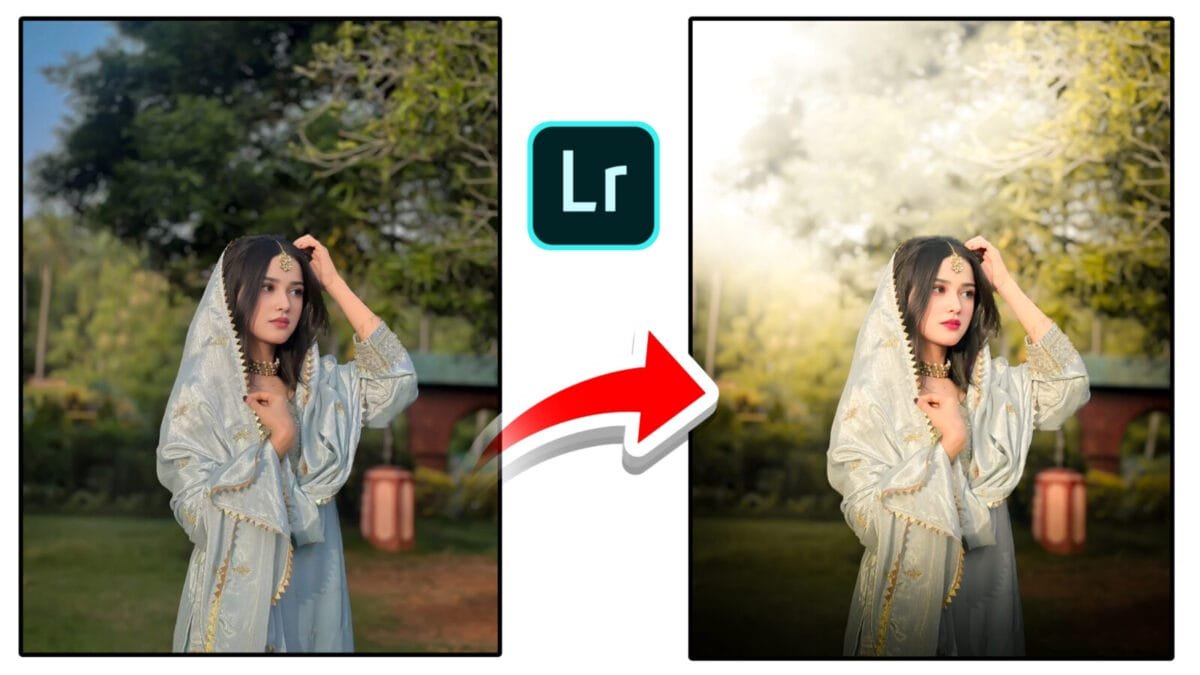
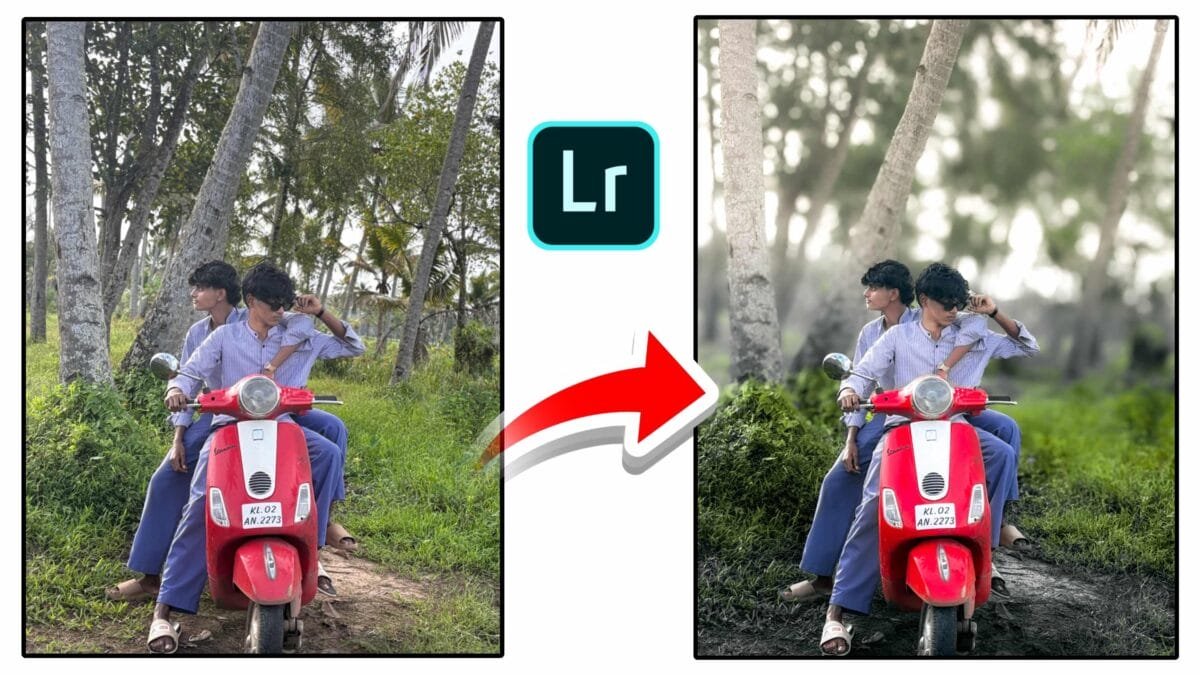
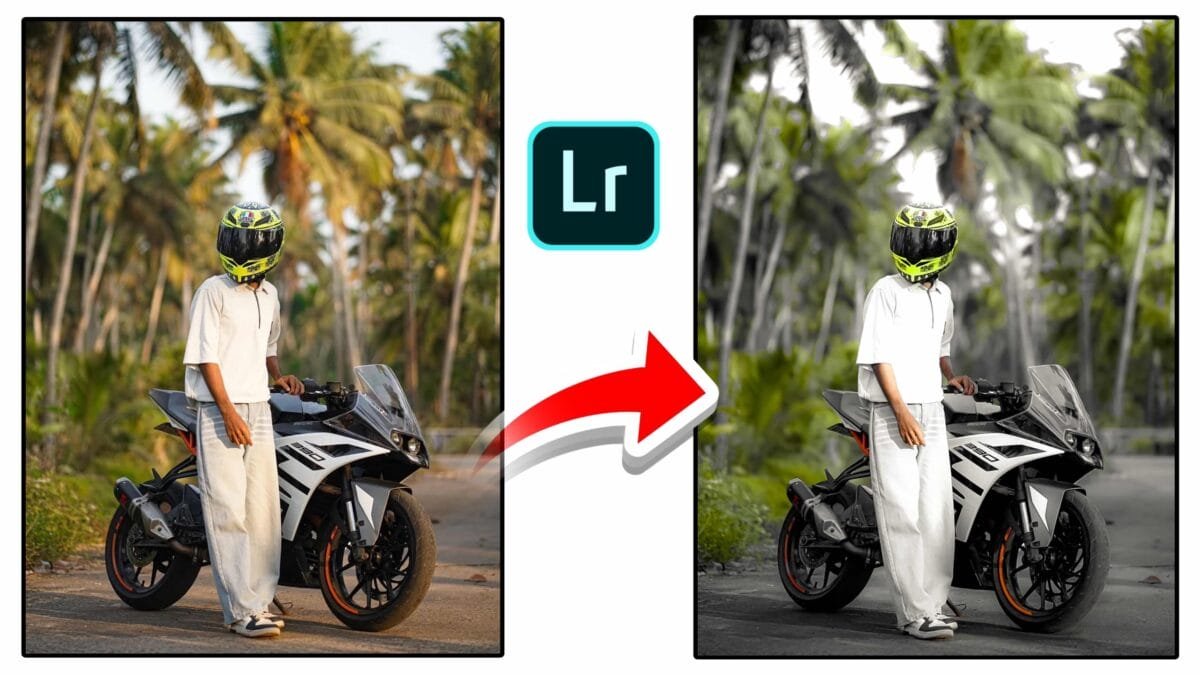
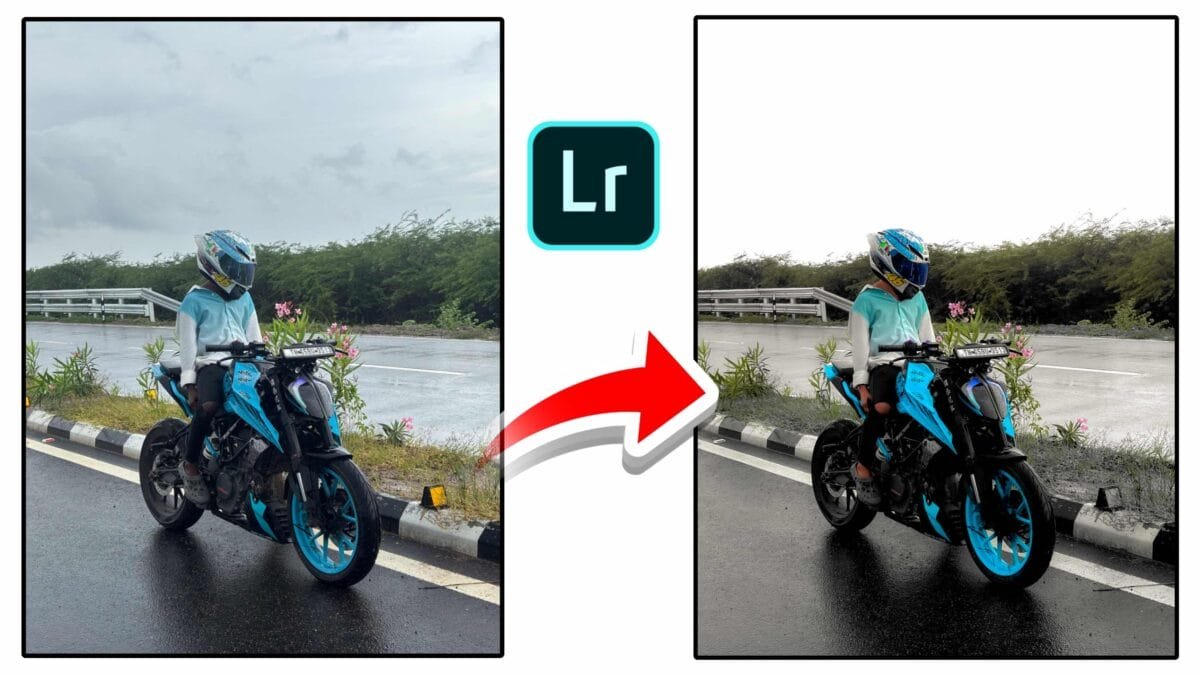
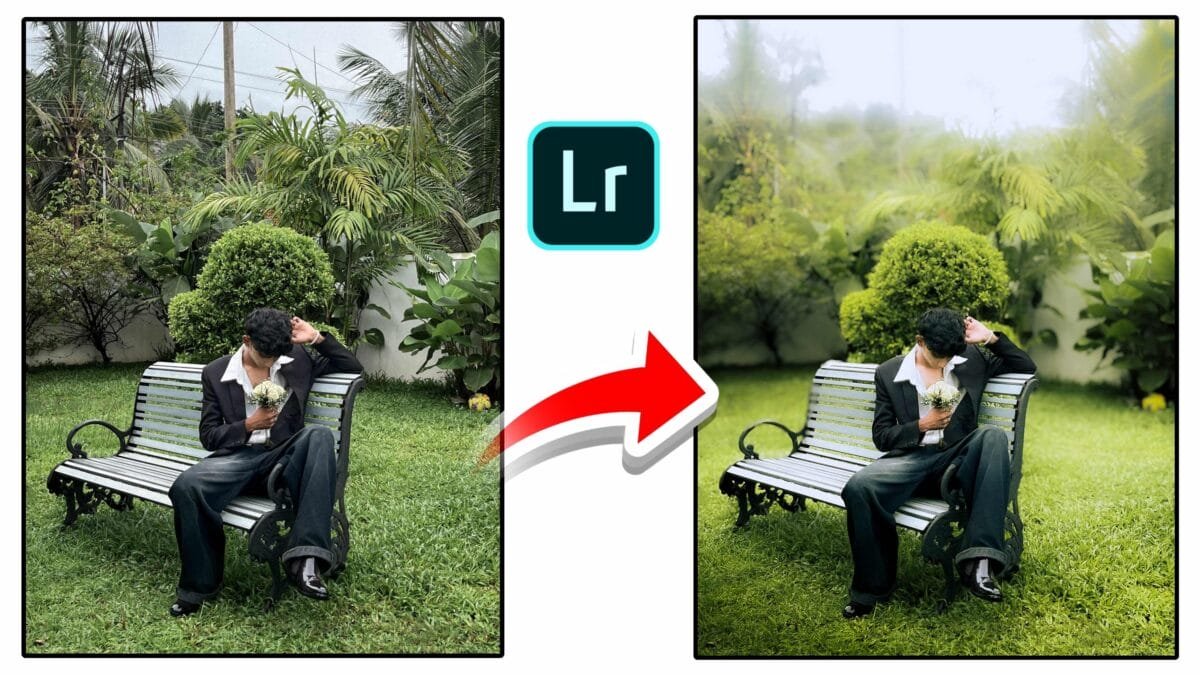
The most recognizable cinematic style is the Teal and Orange color grade. This is not a random choice; it’s a brilliant application of color theory. Skin tones are naturally warm (orange/red), and the opposite color on the color wheel is cyan/blue (teal). By pushing the shadows and midtones toward cool teals and the highlights toward warm oranges, the preset achieves a maximum, visually pleasing contrast that makes human subjects pop off the screen.
- Lightroom Tool: The Color Grading panel (formerly Split Toning) is the engine room, specifically targeting the Shadows (Teal) and Highlights (Orange) wheels.
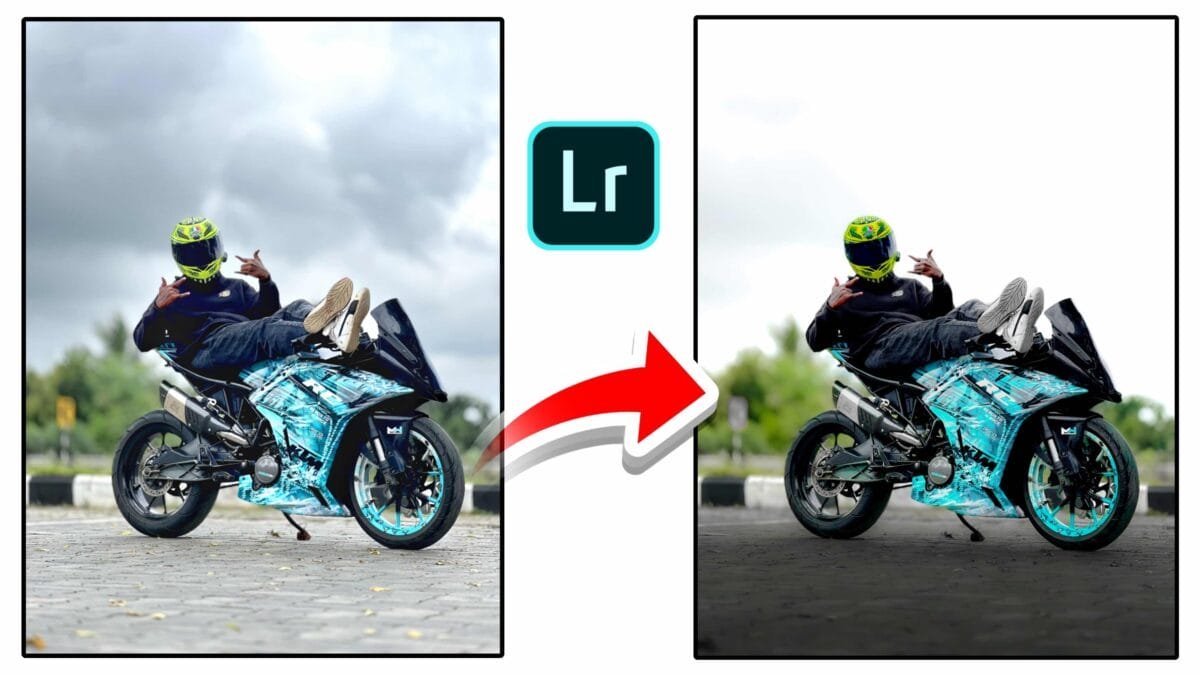
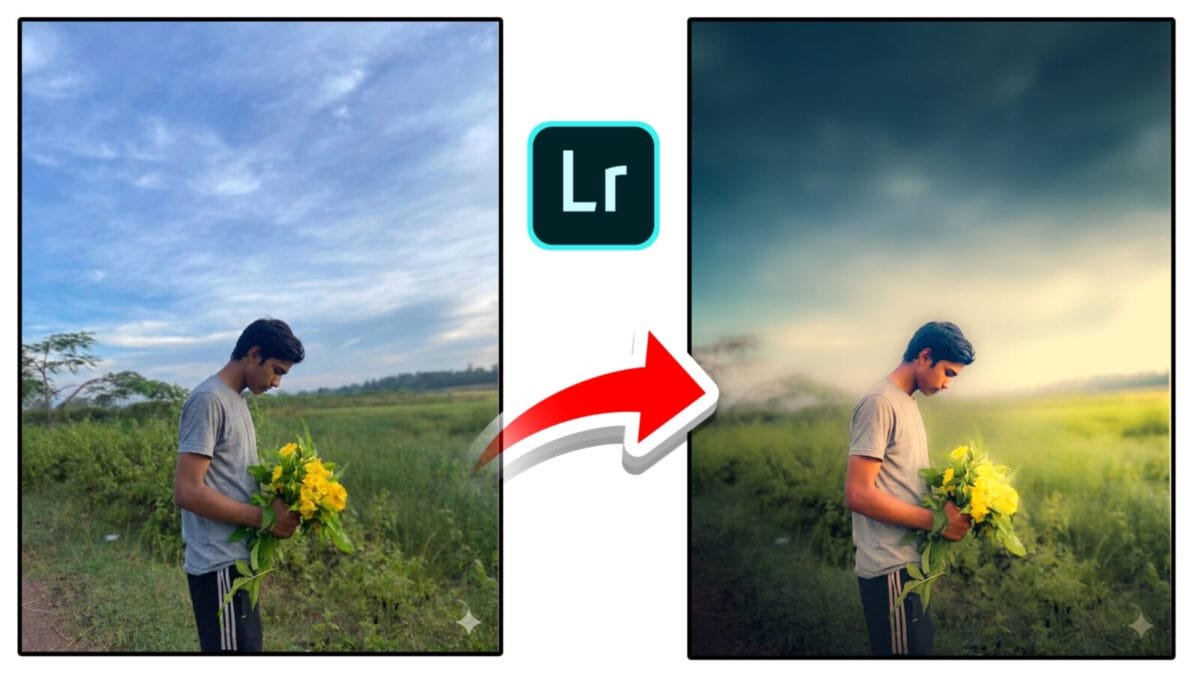
2. Moody Contrast and Crushed Blacks
Cinematic visuals rely heavily on contrast to create depth and drama. However, a digital image’s pure black can look harsh. Film stock naturally softened or “lifted” the black point. A great Cinematic Lightroom Preset mimics this by slightly lifting the black point in the Tone Curve. This creates the characteristic matte or faded look that gives a photo a moody, film-like atmospheric quality.
- Lightroom Tool: The Tone Curve. The bottom-left point is moved slightly up the Y-axis to lift the shadows.
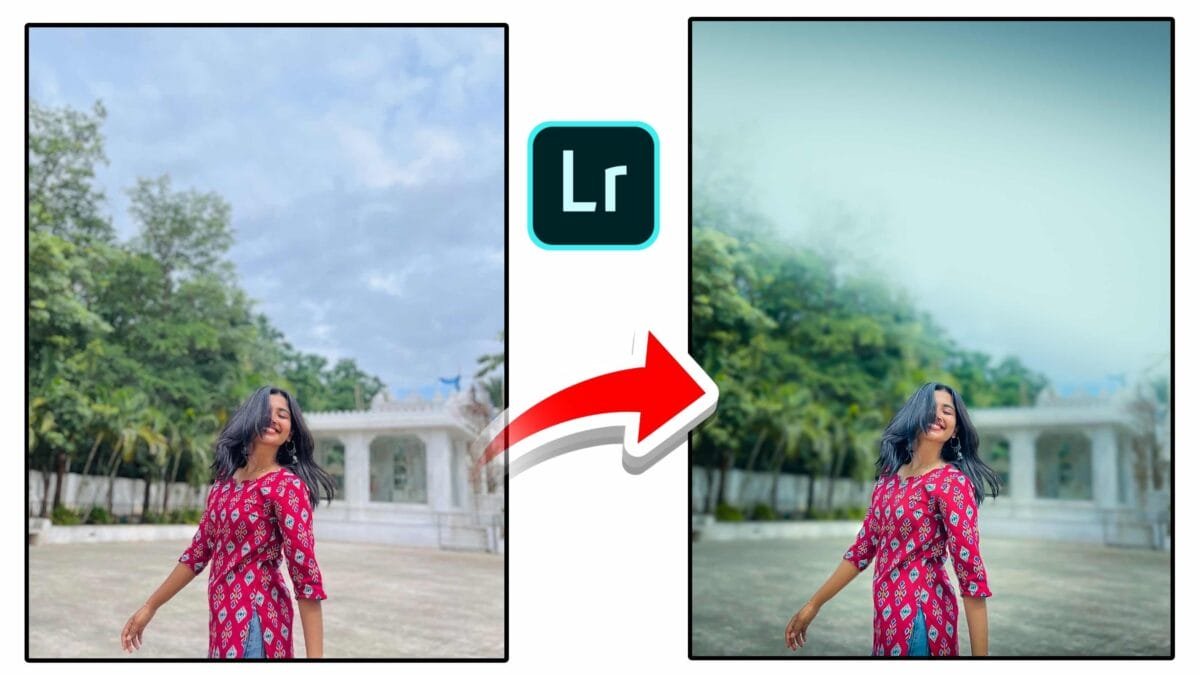
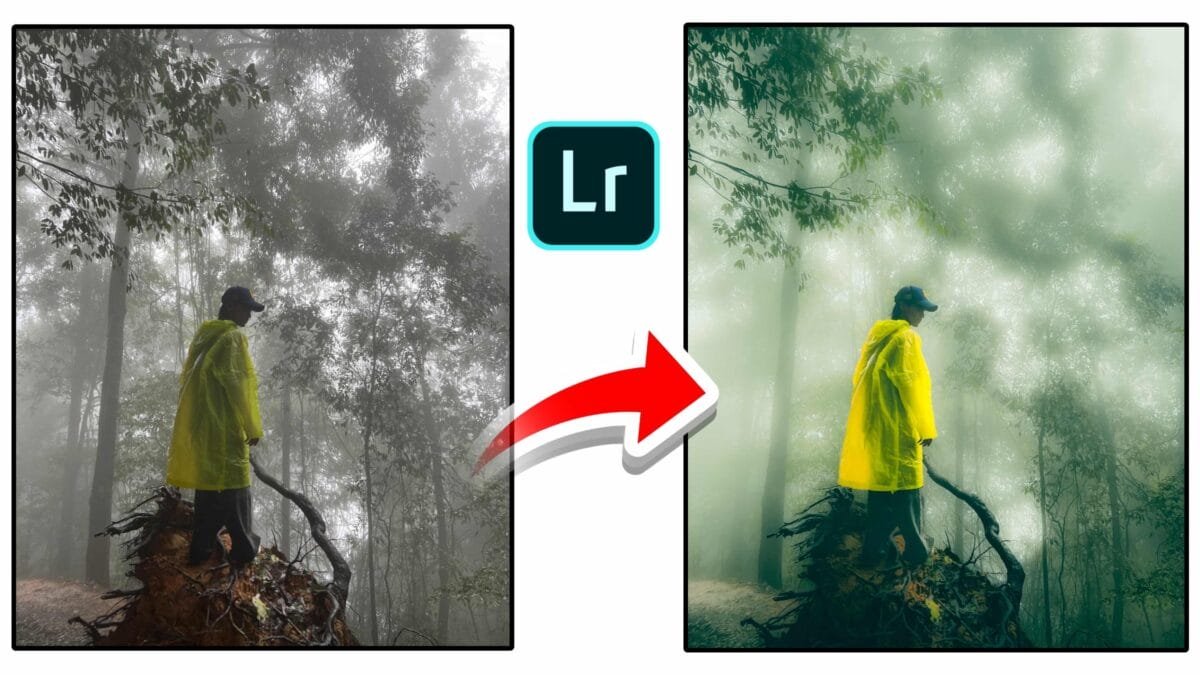
3. Film Grain and Texture
Digital clarity, while sharp, can feel sterile. The intentional addition of subtle, uniform Film Grain is essential for lending a tactile, organic, and nostalgic feel. Presets also often slightly reduce Clarity to create a softer, more dreamy look, countering the aggressive sharpness of modern digital sensors.
- Lightroom Tool: The Effects panel, specifically the Grain slider.

Mastering Your Workflow: How to Apply and Customize the Best Cinematic Lightroom Presets
The power of a preset lies not in the one-click application, but in the subsequent fine-tuning. Even the best Cinematic Lightroom Preset requires minor adjustments to suit individual images.
Step 1: Start with a Solid Foundation (RAW is King)
Always begin your editing process with a RAW file if possible. RAW files contain maximum color and dynamic range information, giving the preset more data to manipulate without degradation, leading to a much richer cinematic result.
Step 2: Apply the Preset and Adjust Exposure/White Balance
After applying the Cinematic Lightroom Preset, your first two manual adjustments must be in the Basic Panel:
- Exposure: The preset might make the image too dark or bright. Adjust the Exposure slider until the key area (usually the subject’s face) is correctly lit.
- White Balance: The cinematic color grade is often cold. Fine-tune the Temperature and Tint sliders to ensure skin tones look natural and healthy before diving back into the grade.
Step 3: Refine the Color Grade (The HSL Check)
While the preset handles the major color shifts, the HSL (Hue, Saturation, Luminance) panel is where you make personalized tweaks.
- Taming Distractions: If a certain color (like a bright green leaf or a strong red sign) is distracting, use the HSL sliders to slightly desaturate its color channel.
- Boosting the Subject: Increase the Luminance of the Orange channel slightly to brighten and enhance the subject’s skin tone.
Step 4: Final Polish with Local Adjustments
For a truly professional cinematic finish, use Lightroom’s local adjustment tools:
- Radial Filter: Use a Radial Filter to create a subtle light source or vignette, pulling the viewer’s eye toward the central subject.
- Vignette: Add a slight Vignette in the Effects panel to darken the edges, mimicking the light fall-off of vintage lenses.
The Cinematic Lightroom Preset Landscape: Finding Your Style
The cinematic style isn’t monolithic; it encompasses several distinct moods. Knowing these moods helps you choose the perfect Cinematic Lightroom Preset for your project:
| Cinematic Style | Key Characteristics | Best for |
|---|---|---|
| Teal & Orange | High contrast, dramatic separation of cool shadows and warm highlights. | Travel, Portraits, Urban Scenes, Night Photography. |
| Moody Film | Deeply crushed blacks, muted colors, strong grain, and an overall cool tone. | Dramatic Landscapes, Conceptual Photography, Storytelling. |
| Classic Warm | Soft contrast, warm color shift (sepia or gold tones), mimicking classic Kodak or Fuji film. | Weddings, Family Portraits, Nostalgic/Vintage Aesthetics. |
| Dark & Gritty | Very high contrast, boosted shadows, pronounced texture and clarity, often with desaturated colors. | Street Photography, Architectural Shots, Action. |
SEO Strategy: Dominate the Search for Cinematic Editing
To ensure this guide ranks as the definitive resource, a focused SEO strategy is vital.
- Primary Keyword: Cinematic Lightroom Preset (High volume, high intent).
- Secondary Keywords: best Cinematic Lightroom Presets, Cinematic color grading tutorial, Teal and Orange preset download, free Cinematic Lightroom Preset, Lightroom preset for film look.
- Content Focus: Use numbered lists, clear H2 and H3 headings, and bold the core keyword and its variations throughout the body.
- Actionable Value: Include practical, actionable steps (like the Tone Curve and HSL tips) to establish authority and encourage shares.
Conclusion: Your One-Click Director’s View
The Cinematic Lightroom Preset is a revolutionary tool that democratizes professional-grade color grading. It moves beyond simple color correction, transforming a photo into a carefully composed narrative that evokes emotion and drama. Whether you are a professional photographer seeking workflow efficiency and consistency or a visual artist aiming for that distinct Hollywood film look, integrating a powerful Cinematic Lightroom Preset into your editing process is the fastest, most effective way to elevate your imagery. Download your ideal preset today, fine-tune the settings, and start telling your story with the visual impact of a blockbuster film.