How It Works & How to Use It
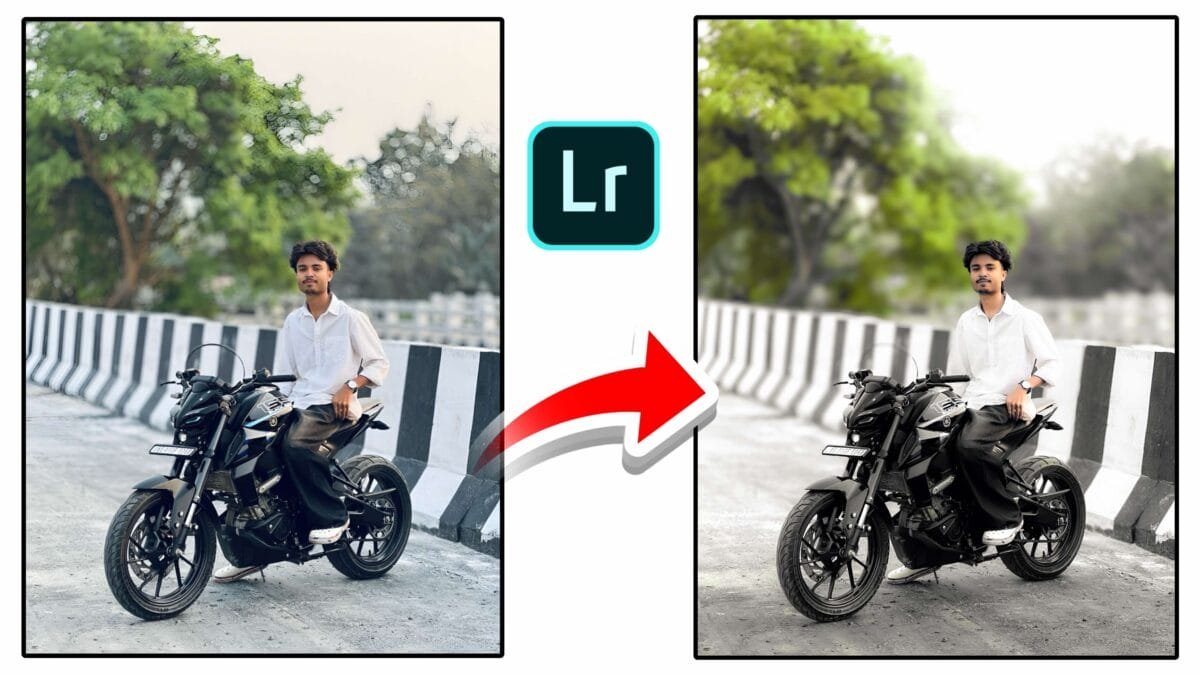
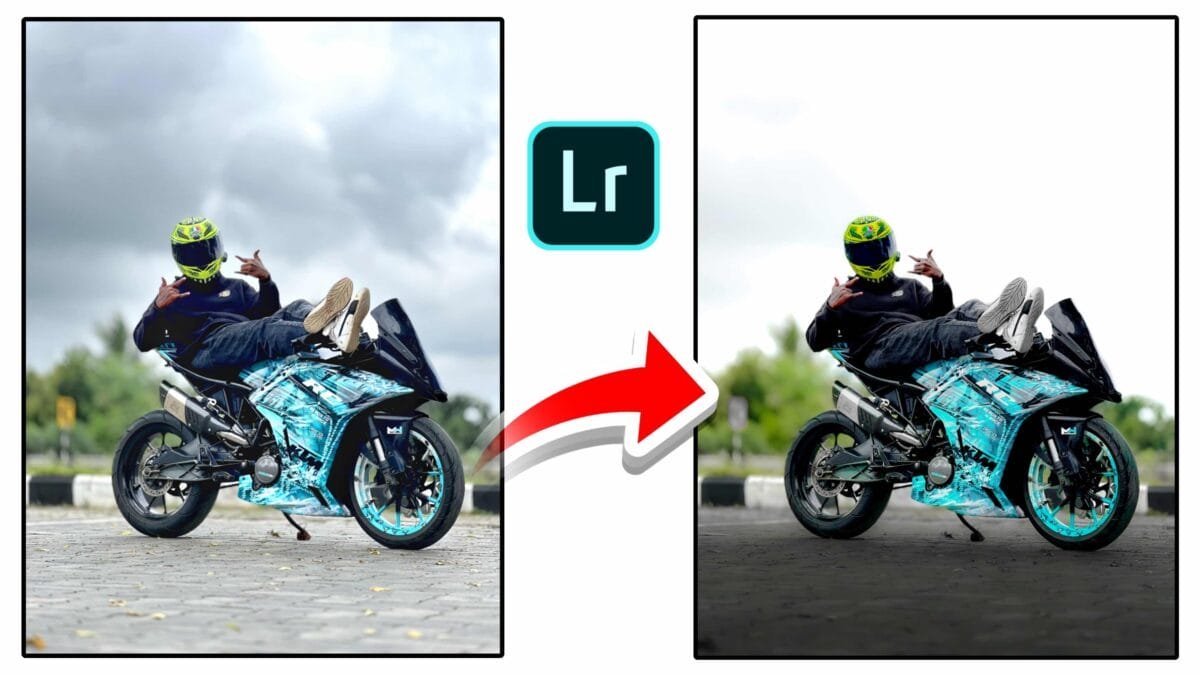
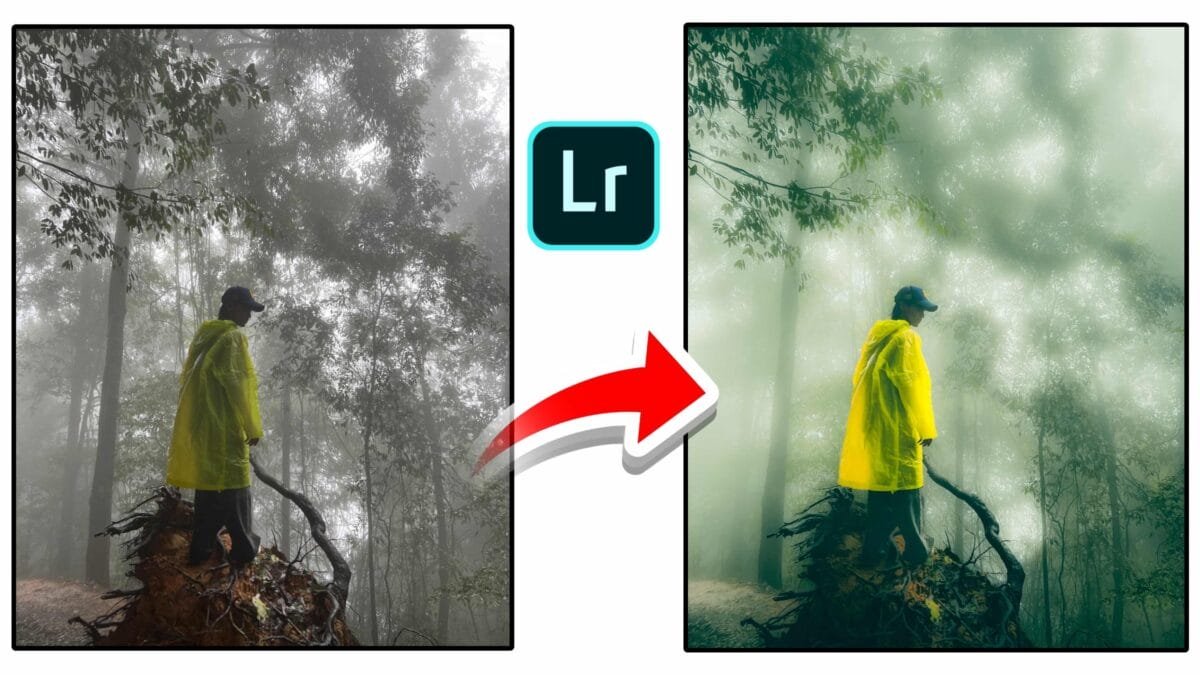
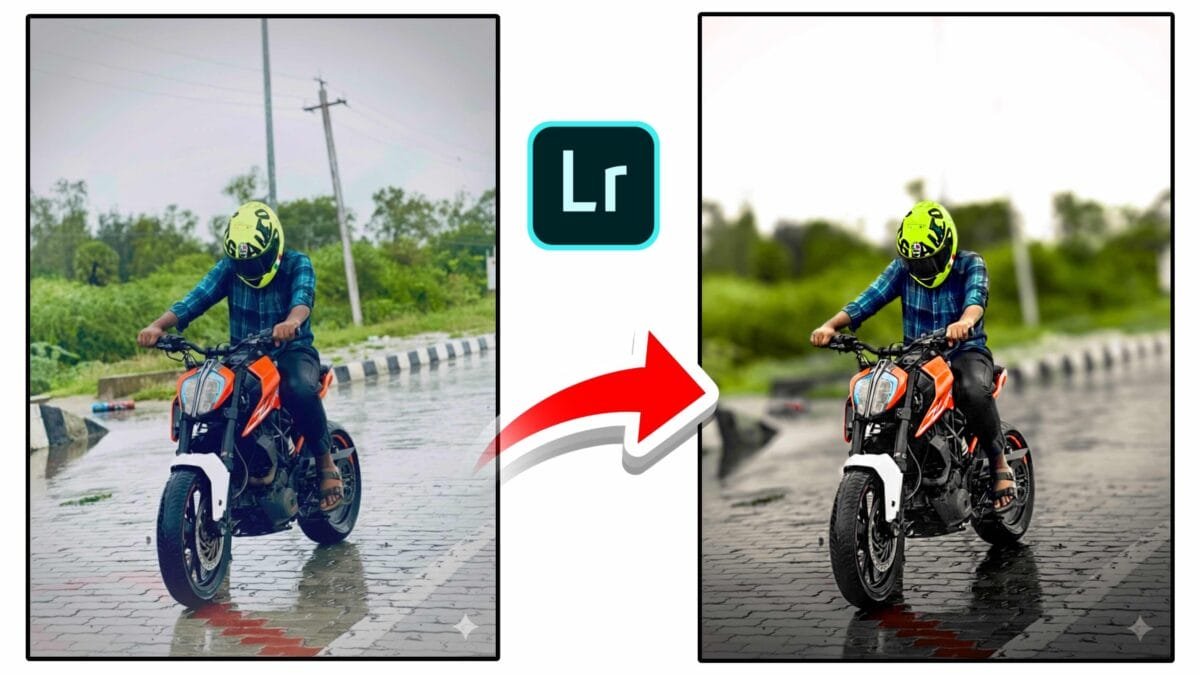
Enhanced Lens Blur powered by AI brings realistic depth-of-field effects to images that were shot wide-open or with limited aperture control. Modern photo editors and plugins use machine learning to estimate scene depth, detect subjects and foreground/background planes, and generate natural-looking bokeh and defocus. This article explains how AI-driven lens blur works, practical uses, step-by-step workflows, tips for best results, and limitations to watch out for.
What Is Enhanced Lens Blur with AI Controls?
Enhanced Lens Blur refers to software-generated background blur that imitates optical bokeh and depth-of-field. Instead of simply applying a uniform gaussian blur, AI-driven tools analyze the image to:
- Predict a depth map (distance of objects from the camera)
- Detect and segment subjects, hair, and fine details
- Apply variable blur strength based on depth layers
- Simulate lens aperture shapes, chromatic aberration, and light falloff for realistic bokeh
Key Components & Controls

Depth Map Estimation
AI estimates how far each pixel or region is from the camera and creates a depth map. This map lets the blur algorithm apply stronger defocus to distant background areas while keeping the subject sharp.
Subject Detection & Masking
Accurate subject masks protect fine edges—hair, glasses, and transparent objects—so the blur doesn’t accidentally soften the subject. Most AI tools allow manual refinement of masks.
Bokeh Style & Aperture Shape
Choose the simulated aperture (circular, hexagonal, blade count) and bokeh characteristics (rounded highlights, streaking) to match a cinematic or natural look.
Depth Focal Point & Transition
Controls for focal distance, blur radius, falloff, and transition let you push the plane of focus forward or backward and control how gradual the blur is between layers.
Practical Use Cases
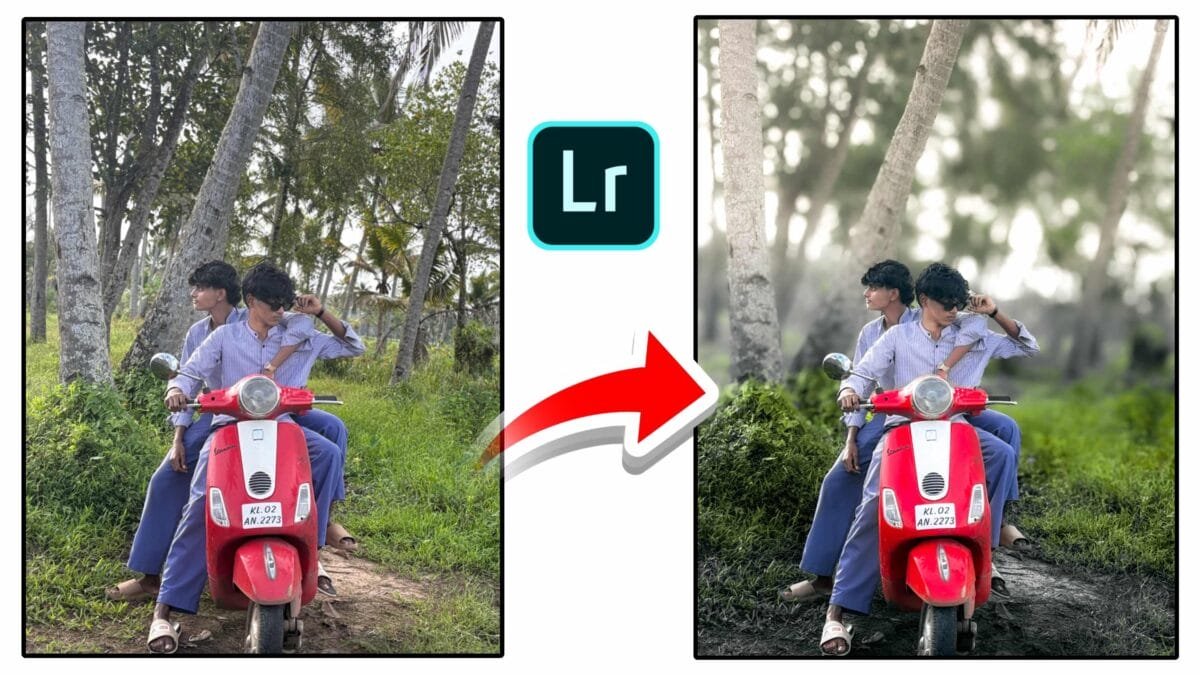
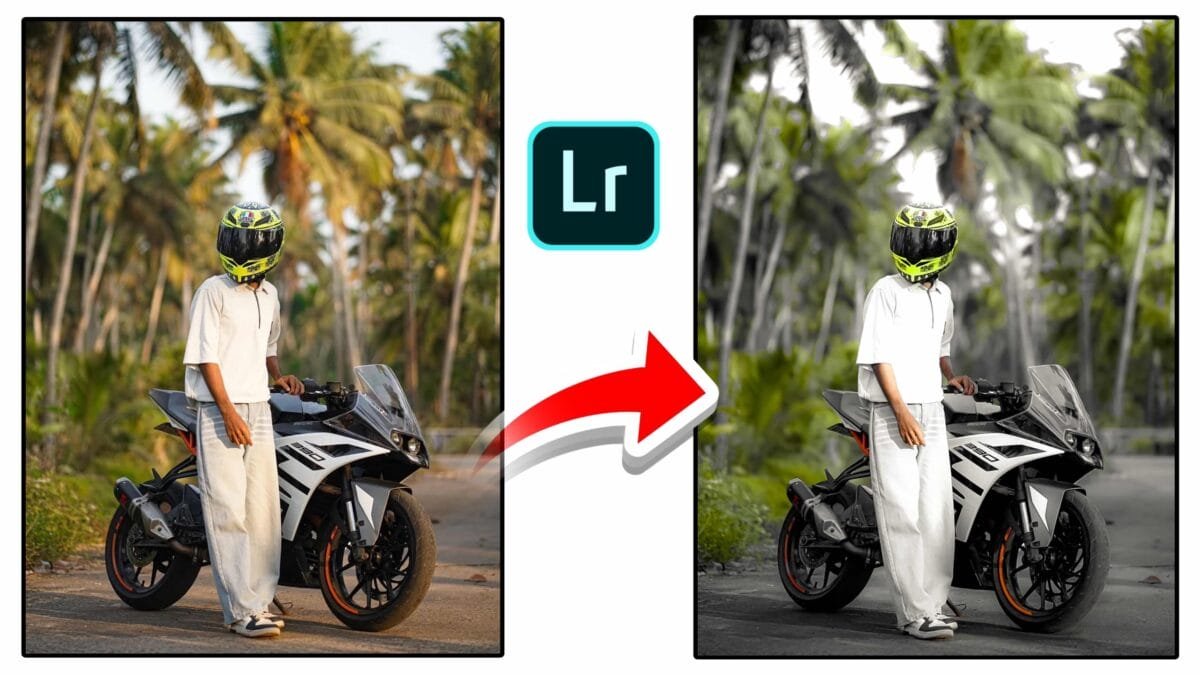
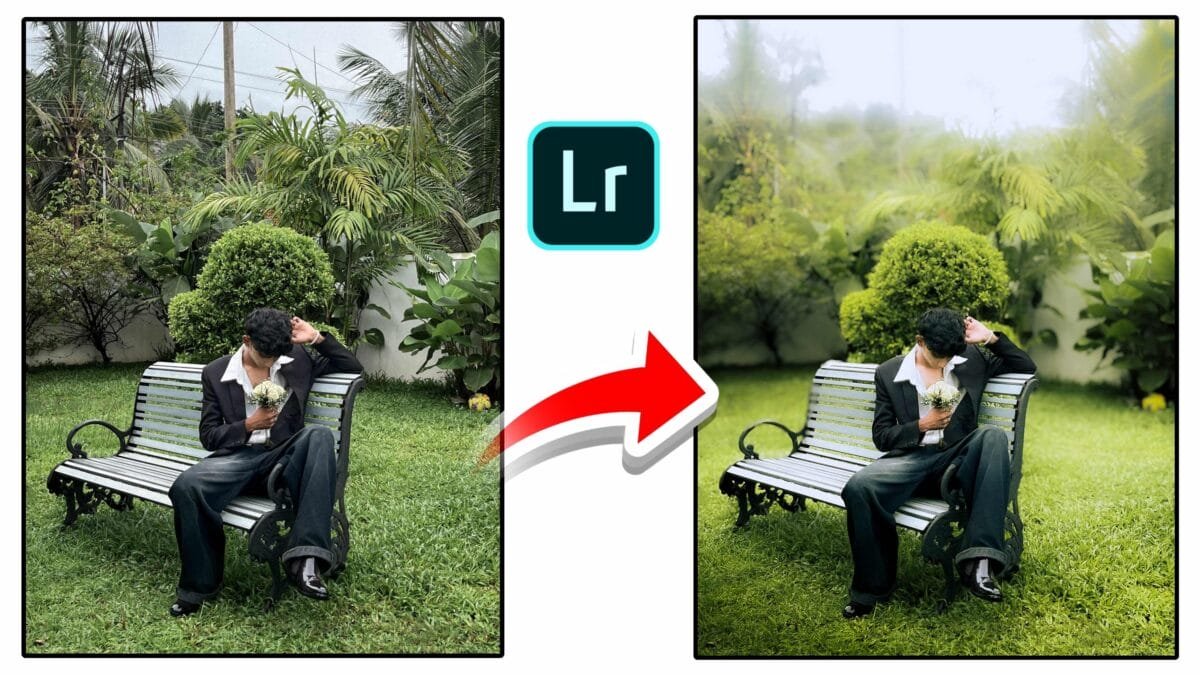
- Portraits: Add pleasing separation between subject and background when the original photo lacks shallow depth-of-field.
- Product Photography: Emphasize the product by selectively blurring distracting backgrounds.
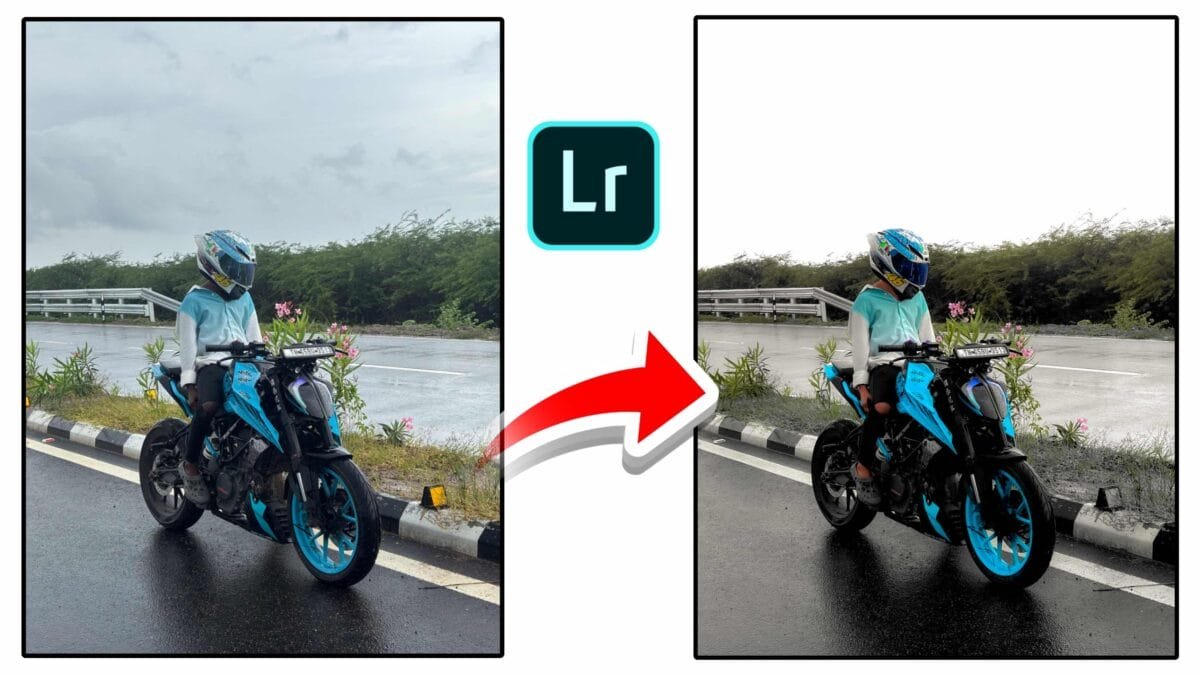
- Smartphone Photos: Create professional-looking bokeh from images shot on small sensors.
- Creative Edits: Add stylized blur, fake tilt-shift effects, or simulated lens flare for artistic results.
Step-by-Step Workflow (Desktop Editors)
- Open the image: Use a raw or high-resolution file for best results.
- Run subject detection: Auto-detect the main subject, then refine the mask manually if needed.
- Generate/preview depth map: Review the AI depth estimation and correct obvious errors with brush tools.
- Set the focal plane: Choose where the sharpest area should be (subject’s eyes are typical for portraits).
- Adjust blur strength & falloff: Start conservatively—realistic blur is often subtle. Increase radius for stronger effect.
- Pick bokeh style: Select aperture shape and highlight behavior to match the desired look.
- Fine-tune edges & detail: Use edge-aware refinement to protect hair and transparency. Add a tiny amount of sharpening to the subject if needed.
- Render and inspect: Zoom at 100% to check halos, color shifts, and edge artifacts—correct using local brushes or reduce blur strength.
Tips for Most Natural Results
- Avoid extreme blur radius—real lenses rarely produce completely smooth backgrounds for every scene.
- Preserve subject micro-contrast by applying selective sharpening after blur.
- Match blur highlights to scene lighting (bright specular highlights should keep round shapes).
- Use subtle chromatic aberration and vignetting to mimic real optics and sell the effect.
- When in doubt, use lower strength and increase selectively to avoid obvious synthetic looks.
Limitations & When to Be Careful
AI-generated blur is powerful but not perfect. It can struggle with:
- Complex overlapping subjects or semi-transparent materials (glass, smoke)
- Images with crowded scenes where depth estimation is ambiguous
- Extremely fine edges where haloing may appear
- High-frequency textured backgrounds that require consistent blur patterning
Comparison: Optical Bokeh vs. AI-Generated Blur
| Optical Bokeh (Real Lens) | AI-Generated Blur |
|---|---|
| Physically accurate light behavior and aberrations | Highly convincing with correct settings, but occasionally synthetic |
| Natural depth and continuous focus falloff | Depends on depth map accuracy; layered falloff may need editing |
| Requires appropriate camera & aperture | Works on any image, including smartphone shots |
Conclusion
Enhanced Lens Blur with AI controls is a transformative feature for photographers and creators who want convincing depth-of-field without the constraints of lenses and aperture. When used with care—refining masks, checking depth maps, and keeping blur subtle—AI blur can produce professional, cinematic results. As the technology improves, expect even more realistic rendering and faster, automated workflows that further narrow the gap between synthetic and optical bokeh.
Want this article converted to a ready-to-publish HTML file with screenshots, Open Graph tags and SEO meta improvements? I can make that next.