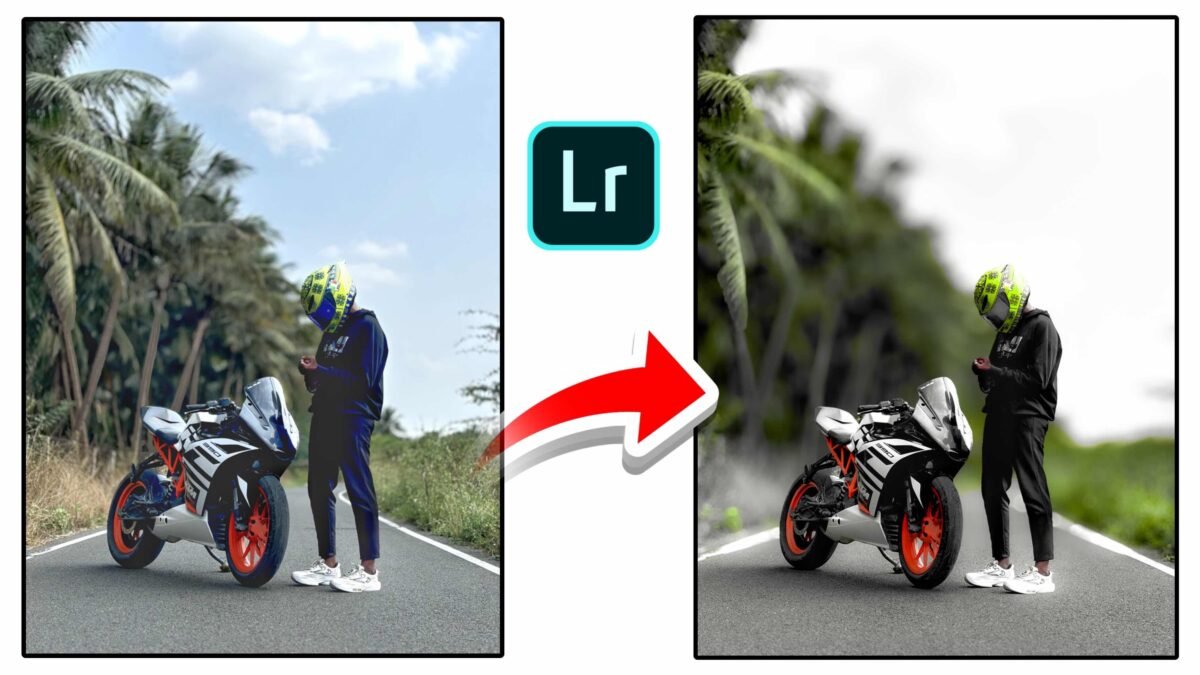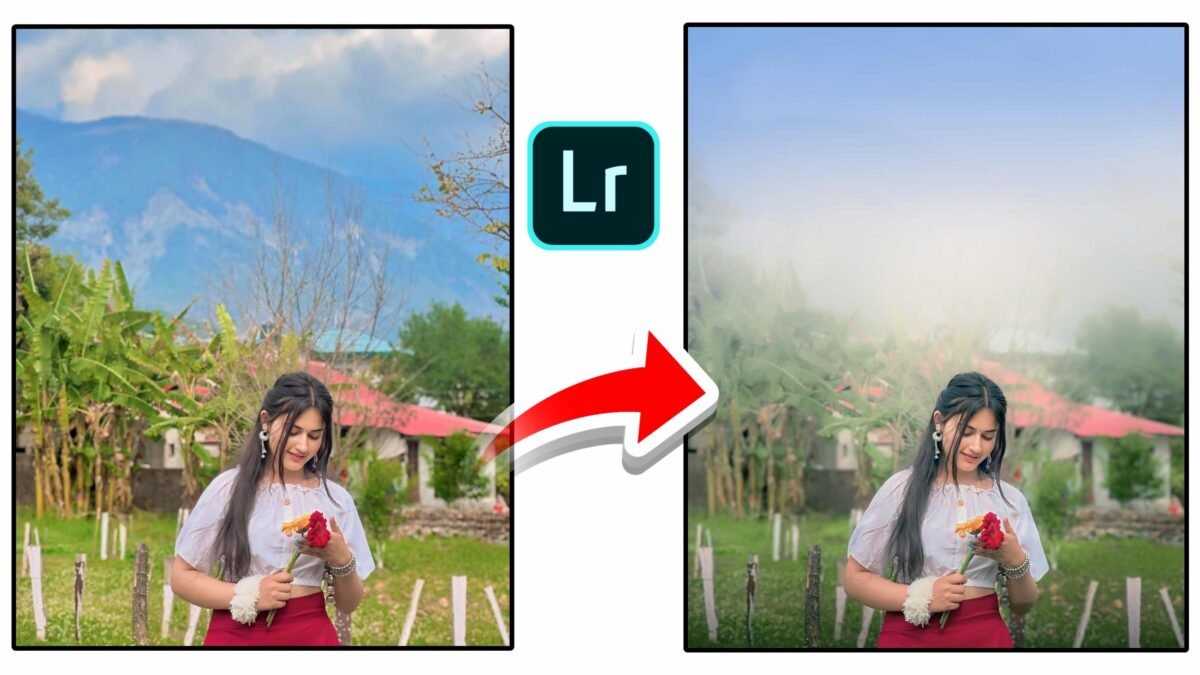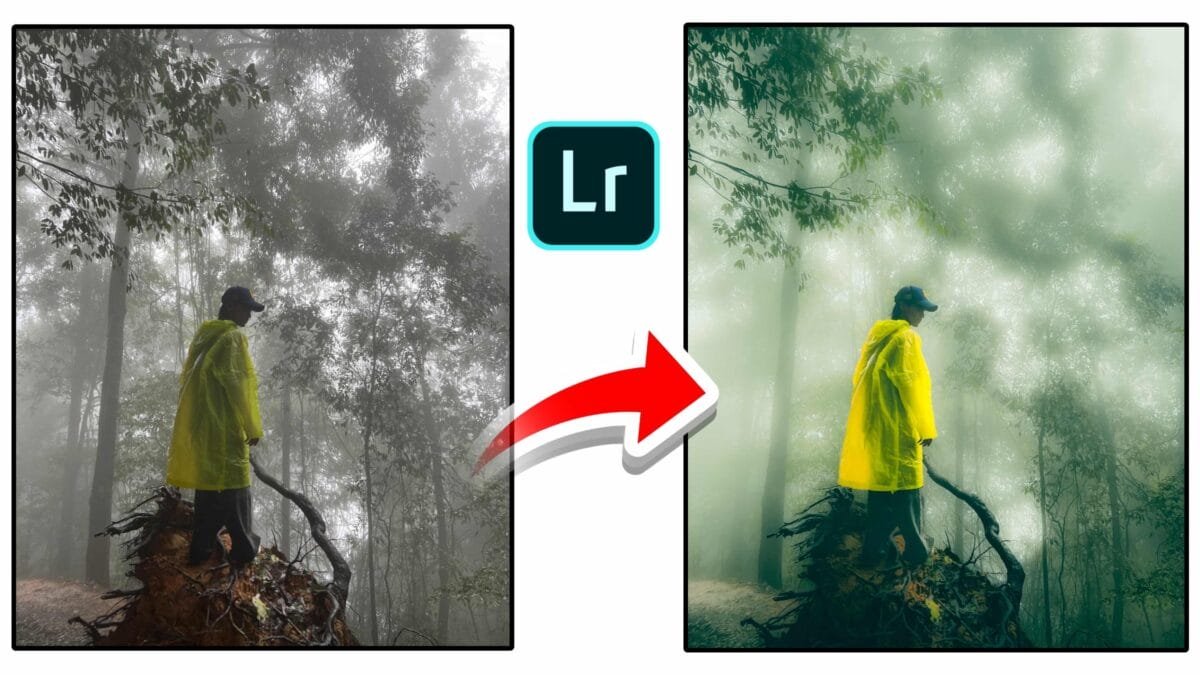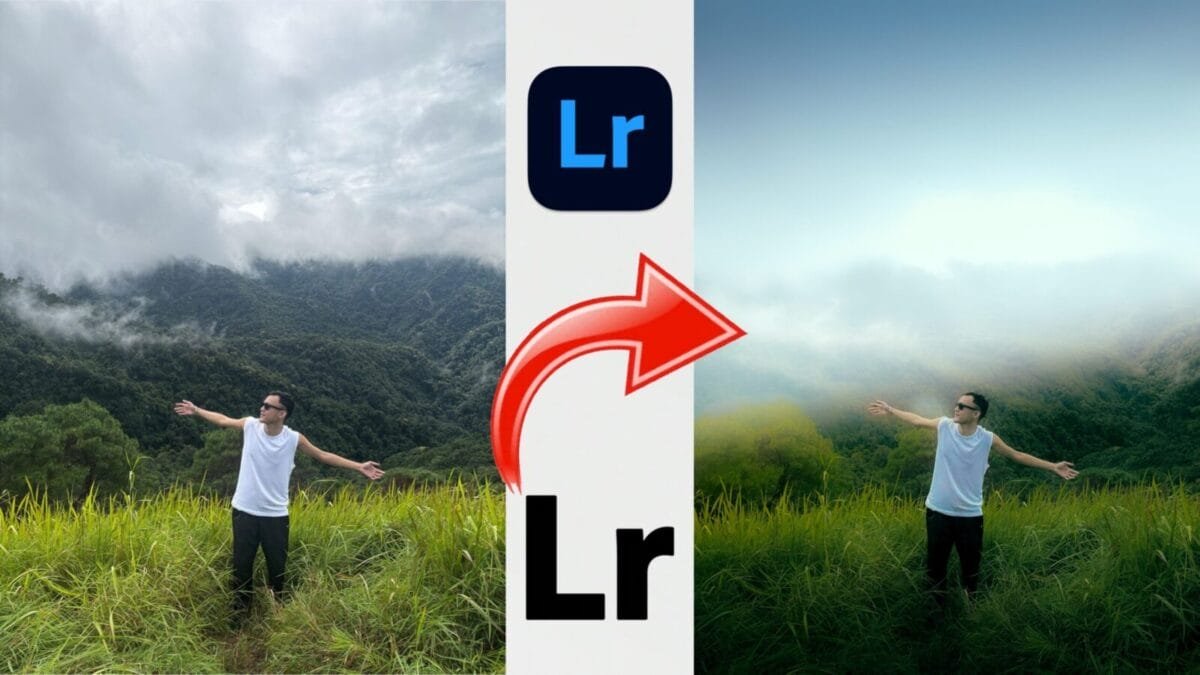
Have you ever captured a stunning landscape photo, only to find it looks dull and lifeless when you view it later? That’s a common issue many photographers face. The good news is, with the power of Adobe Lightroom, you can transform even the simplest outdoor shot into a breathtaking, cinematic masterpiece. The photo above is a perfect example of how a few smart adjustments in Lightroom can completely change the mood and feel of an image.
In this tutorial-style article, we’ll break down how you can achieve this dreamy, cinematic look for your own outdoor photos.
🌤 Step 1: Start with the Right Base Photo
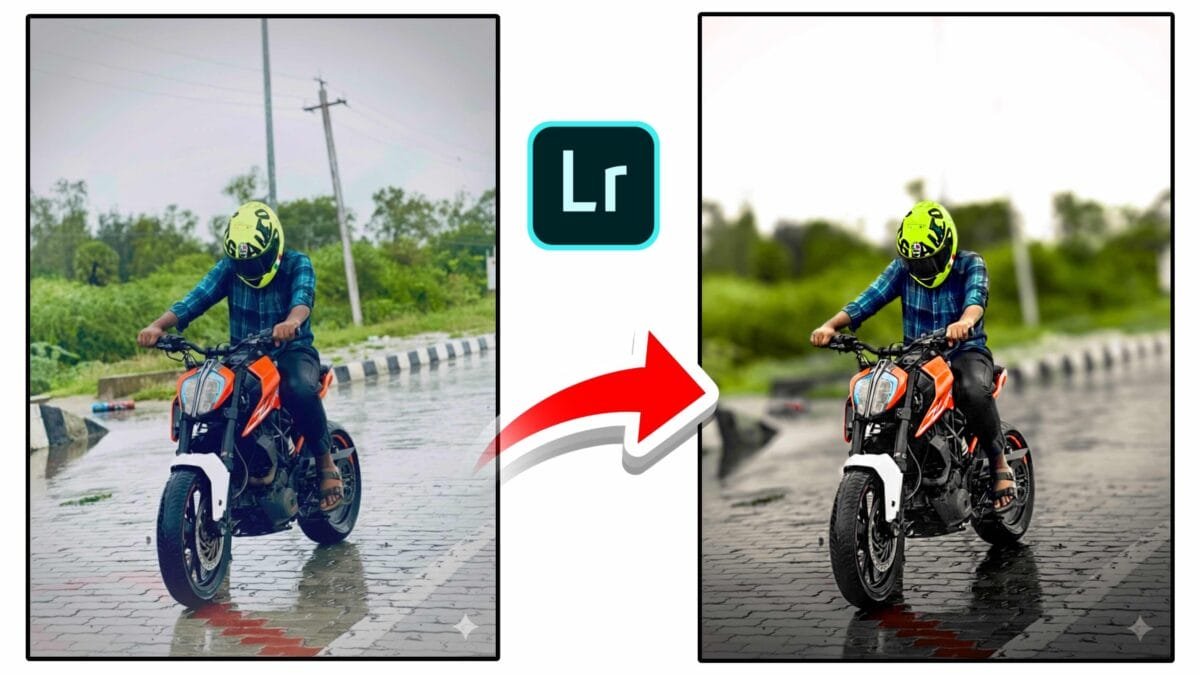
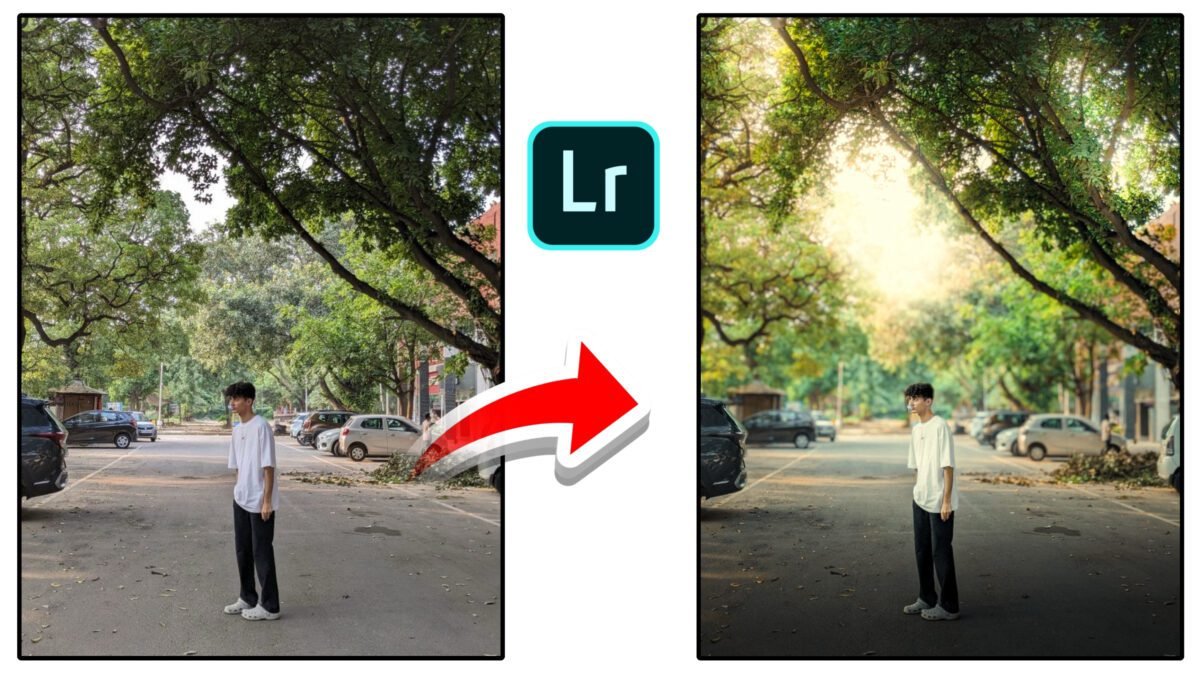
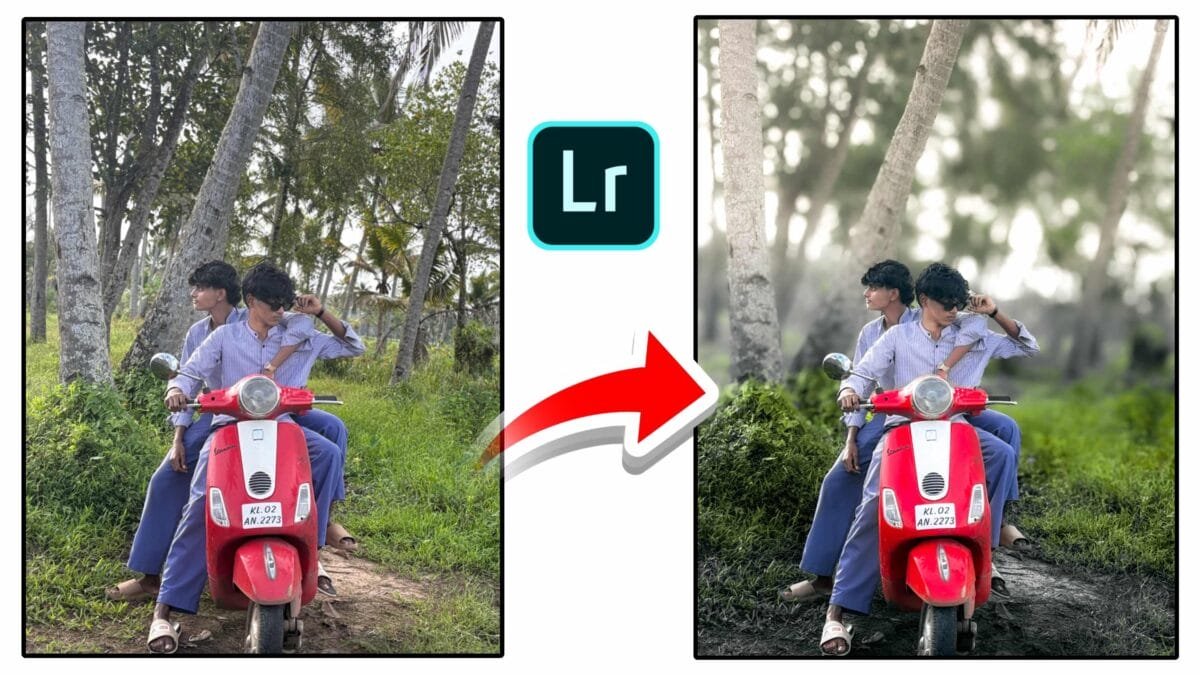
The key to a successful edit starts with a well-composed photo. In the original image, the subject stands confidently in an open field surrounded by misty mountains. Although the lighting is soft, the photo looks flat and lacks depth. This is where Lightroom steps in to enhance the tones, colors, and mood.
Before editing, make sure your photo is well-exposed and shot in good natural light. A cloudy day, like in the example image, works perfectly for a cinematic and moody vibe.
🎚 Step 2: Basic Adjustments
Once you import your photo into Lightroom, go to the Basic panel and start adjusting the fundamentals:
- Exposure: Slightly increase it (+0.30 to +0.50) to brighten the overall image.
- Contrast: Add contrast (+20 to +40) to make the details stand out.
- Highlights: Reduce highlights (-30 to -50) to bring back details in the sky.
- Shadows: Lift the shadows (+30 to +60) so that darker areas become more visible.
- Whites and Blacks: Adjust these to balance brightness and depth.
These small tweaks instantly make the photo look clearer and more balanced.
🌈 Step 3: Enhance Colors with the HSL Panel
Lightroom’s HSL/Color panel allows you to control the Hue, Saturation, and Luminance of each color. This is where the transformation truly happens.
- Greens: Shift the hue slightly towards yellow and lower the saturation to create a more cinematic green tone.
- Blues: Increase luminance to make the sky appear lighter and dreamier.
- Yellows: Add warmth to give the photo a sunset or early morning glow.
This step gives the edited photo that soft, pastel look that’s both natural and visually appealing.
🌫 Step 4: Add Mood with Tone Curve and Split Toning
To add a film-like tone, open the Tone Curve panel and slightly lift the blacks to create a gentle fade effect. Then, add subtle highlights to enhance the lighting contrast.
In Color Grading (Split Toning), add a cool blue tone to the shadows and a warm golden tone to the highlights. This balance between warm and cool tones adds cinematic depth to the photo.
🌤 Step 5: Apply Vignetting and Sharpening
Finally, add a soft vignette (-10 to -20) to draw attention toward the subject. Increase Clarity and Texture slightly to bring out the details in the grass and the mountains.
These finishing touches complete the transformation, turning your flat photo into a professional-looking image filled with atmosphere and emotion.
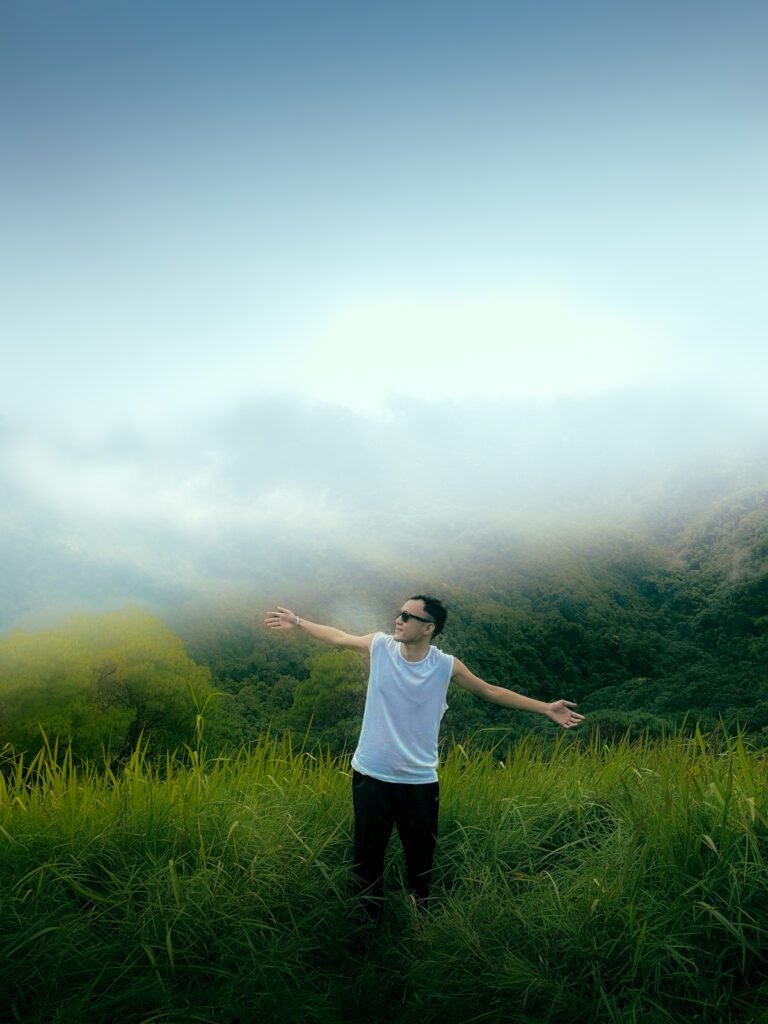
🎨 The Final Result
As you can see in the comparison, the left side shows the original photo—dull and gray—while the right side glows with cinematic tones and depth. The misty mountains now blend seamlessly with the brightened sky, and the subject appears to stand in a magical, dreamlike setting.
This Lightroom transformation proves that editing is not about changing reality but enhancing it. With the right adjustments, you can turn an ordinary moment into a piece of art that tells a story.
🪄 Final Tip
Always remember, great edits take practice. Experiment with different tones and moods until you find your own unique Lightroom style. Whether you prefer warm sunsets or cool cinematic vibes, Lightroom gives you the creative freedom to bring your vision to life.