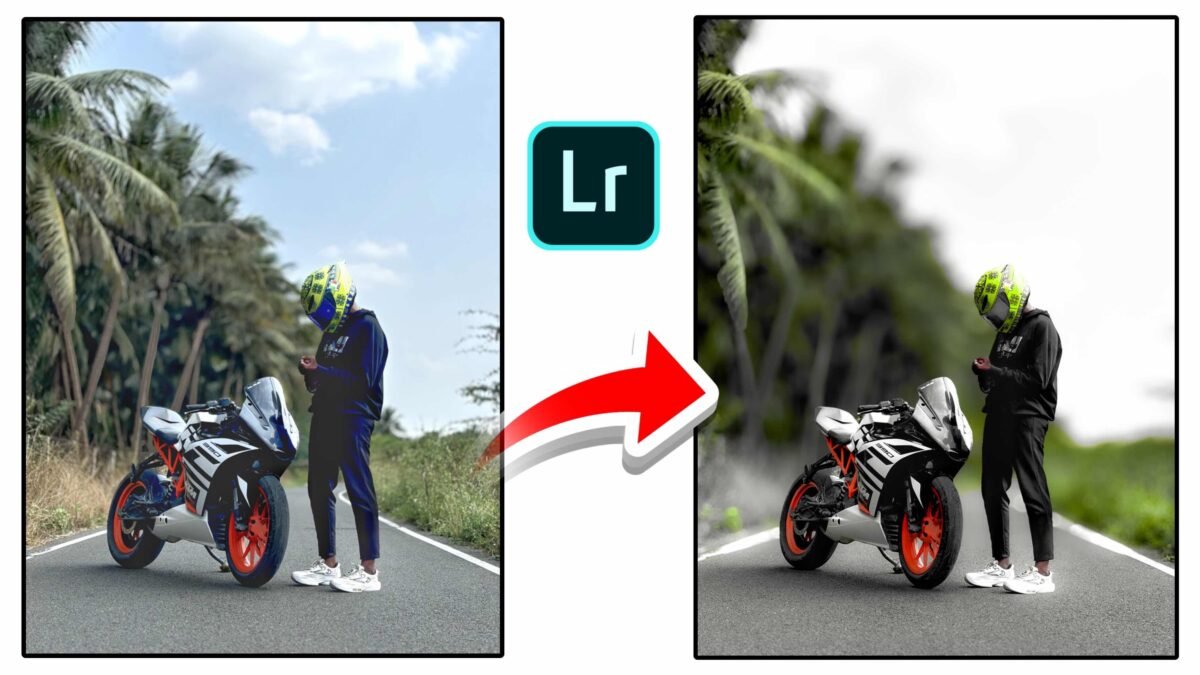
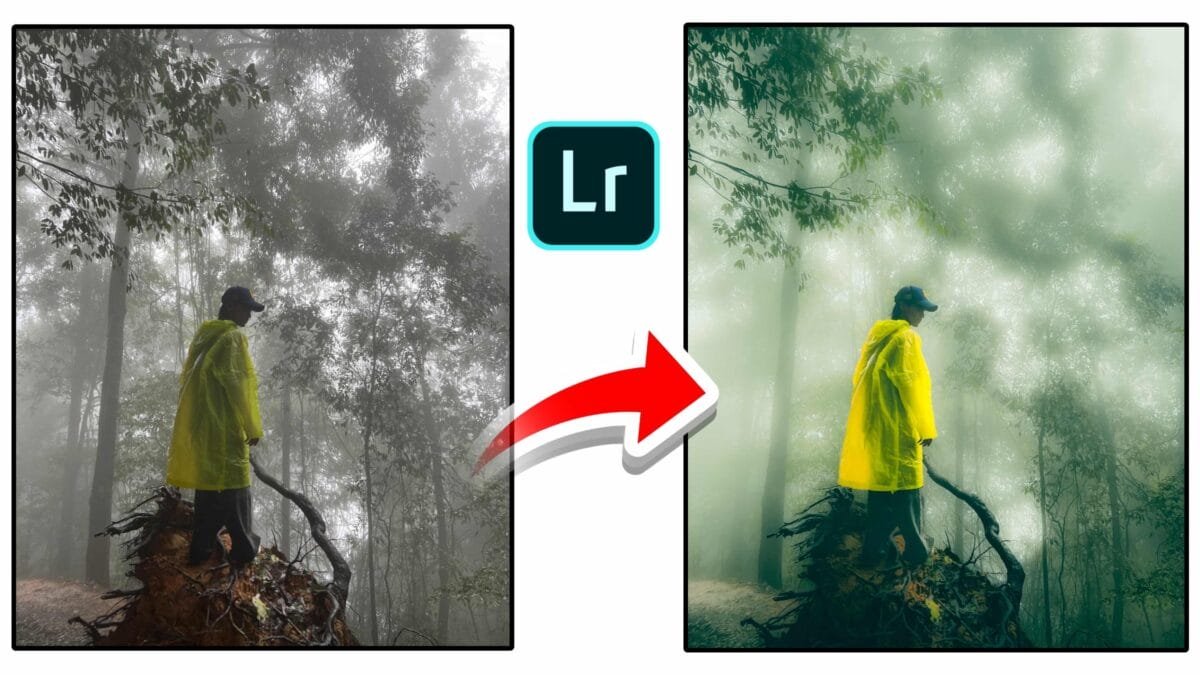
The glow effect is a popular photo editing technique that adds a dreamy, ethereal look to your images. It’s especially favored by portrait photographers and landscape artists who want to create a soft, radiant atmosphere. While Adobe Lightroom is known for its powerful color grading and exposure tools, it can also be used creatively to achieve a glow effect without needing to switch to Photoshop.
In this article, we’ll explore how to create a glow effect in Lightroom, step-by-step, and provide some tips to make your photos truly stand out.
What Is the Glow Effect?
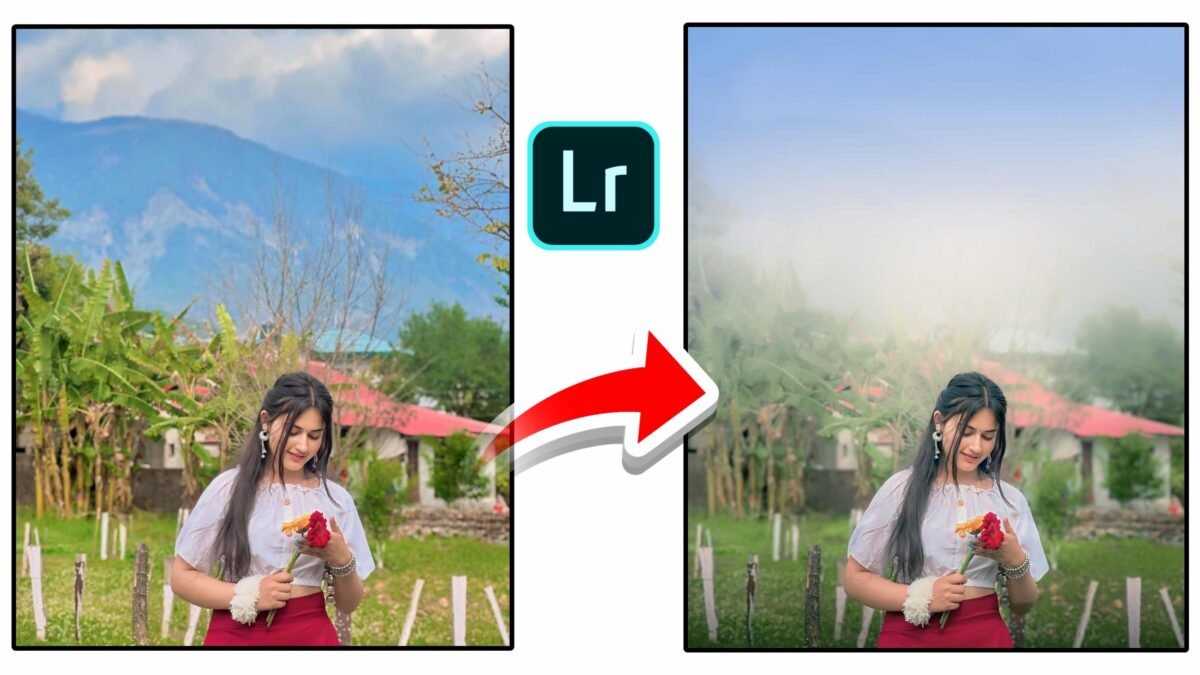
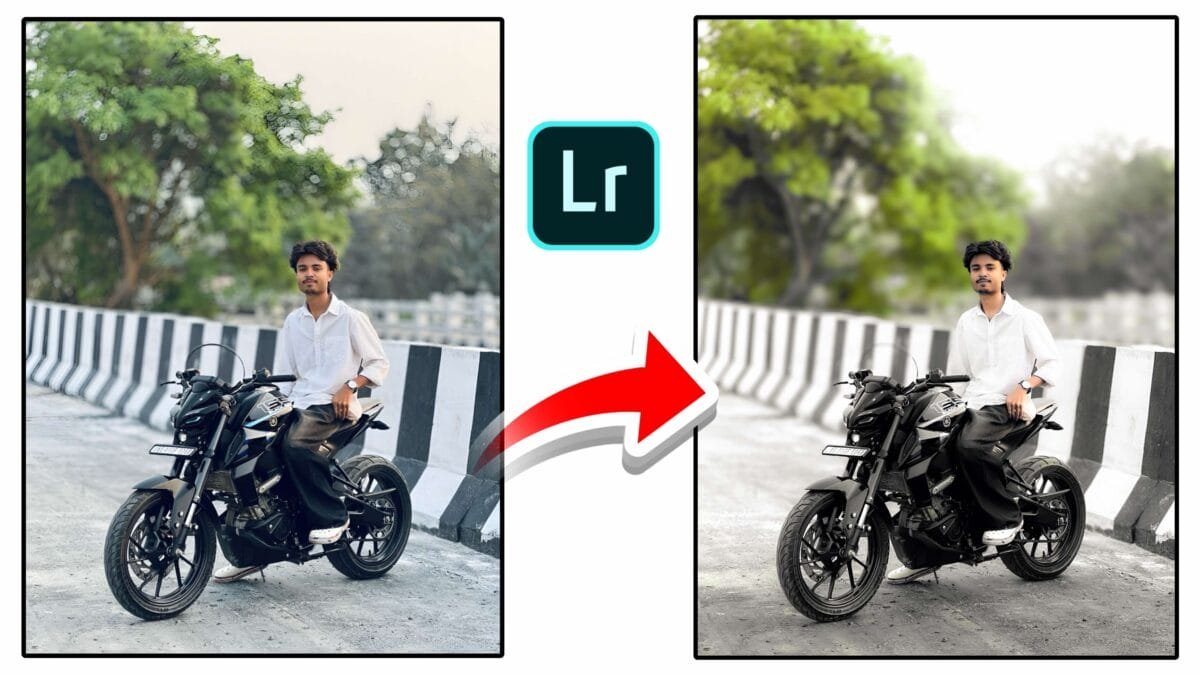
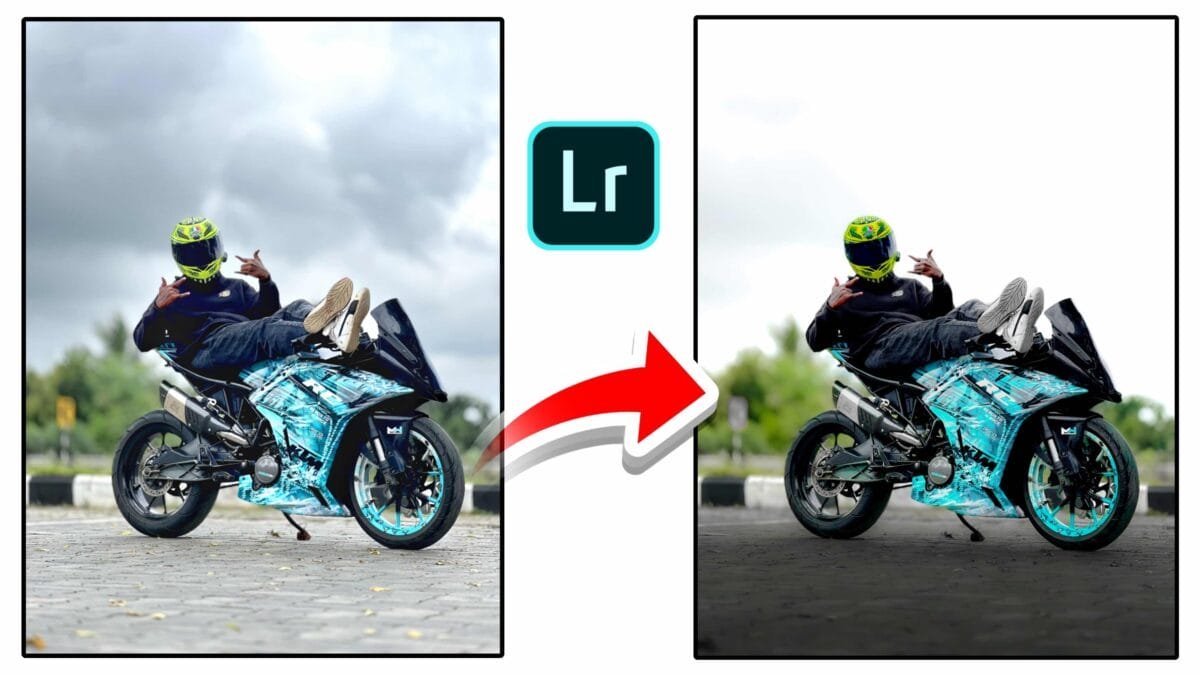
The glow effect adds a soft halo of light to the subject or background of a photo. It can simulate the way light diffuses through fog, sunlight, or a soft lens. The result is often a magical or cinematic vibe that enhances mood and emotion. This look works well for:
- Golden hour portraits
- Nature and landscape shots
- Fantasy or dreamy edits
- Wedding and engagement photography
While Lightroom doesn’t have a dedicated “glow” filter like some mobile apps, you can easily recreate this look using a combination of tools.

Step-by-Step Guide to Create Glow Effect in Lightroom
1. Start with a Clean Base
Before applying any glow effect, make basic adjustments to your image:
- Exposure: Adjust so your photo isn’t too dark or too bright.
- Contrast: Lower the contrast slightly to soften the image.
- White Balance: A slightly warmer temperature often works best for glow effects.
2. Use the Tone Curve for Softness
The tone curve is key for creating a dreamy base:
- Go to the Tone Curve panel.
- Lift the shadows slightly by dragging the left point upward.
- Drop the highlights a little for a matte, faded effect.
- Create a gentle S-curve for a balanced, soft contrast.
3. Add a Radial Filter for Localized Glow
To simulate light coming from a specific source (like the sun or behind a person):
- Select the Radial Gradient Tool.
- Draw a circle or oval over the light source or area where you want the glow.
- Increase Exposure, Clarity (negative), and Dehaze (negative).
- Slightly increase the Temperature for warmth.
- Feather the mask to 100% for a smooth transition.
You can stack multiple radial filters for stronger effects.
4. Use the ‘Glow Hack’ with Clarity and Dehaze
One of the simplest tricks for an overall soft glow:
- Lower the Clarity slider slightly (between -10 and -30).
- Reduce Dehaze for a foggy, radiant effect.
- Be careful — too much can make the image look washed out.
This works best on images with natural light or soft backgrounds.
5. Enhance with Color Grading
Glow is not just about brightness — color adds atmosphere:
- Go to the Color Grading panel.
- Add warm tones (orange or pink) to the highlights.
- Slightly cool down the shadows for contrast.
Subtle color grading adds emotional depth and polish.
Tips for Better Results
- Shoot with soft light: Golden hour or backlit scenes work best.
- Use RAW images: They hold more detail and color data for editing.
- Don’t overdo it: Too much glow can make your photo look fake or hazy.
- Combine with Lightroom presets: Glow pairs well with vintage or pastel presets.
Final Thoughts
Creating a glow effect in Lightroom is all about subtlety and balance. While it may take some experimentation to get it just right, mastering this technique can give your photos a professional, artistic edge. Whether you’re editing portraits, landscapes, or creative compositions, the glow effect can bring warmth, softness, and magic to your photography.
So