Aaj kal Instagram aur YouTube par cinematic bike photos ka trend bahut tezi se badh raha hai. Agar aap bhi apni bike photos ko professional aur eye-catching banana chahte ho, toh preset editing ek best solution hai. Is article mein hum aapko step-by-step guide denge ki kaise aap apni photo ko ek high-quality cinematic preset ke saath edit karke viral bana sakte ho.
📸 Photo Overview
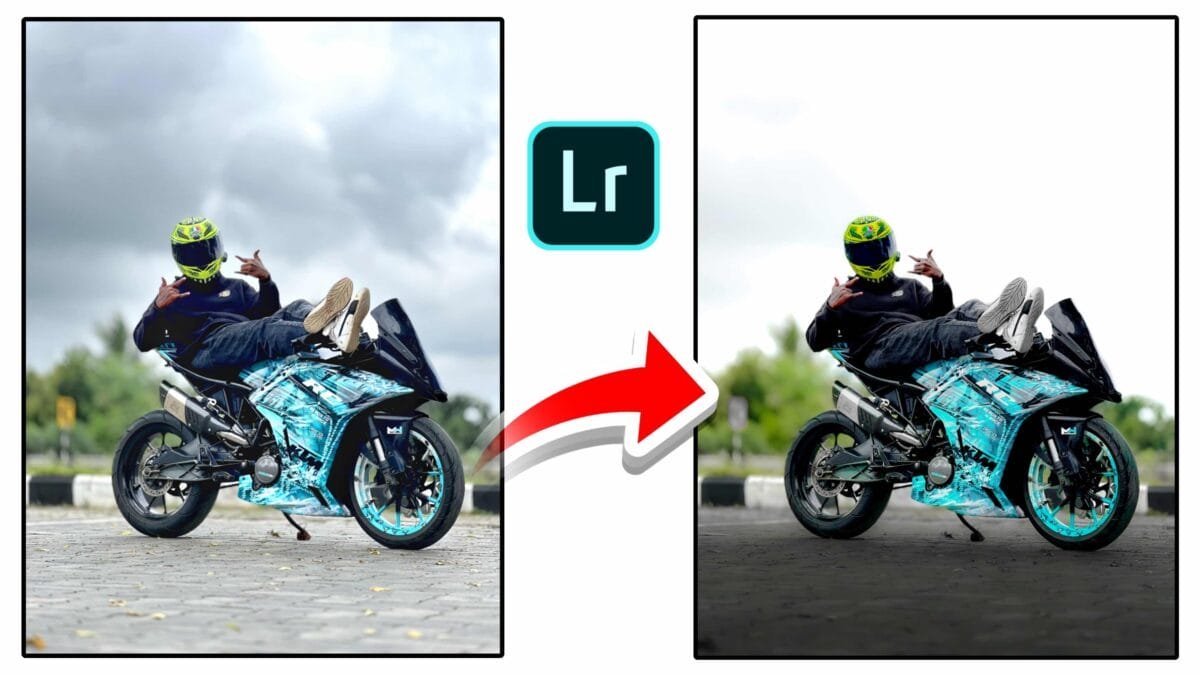
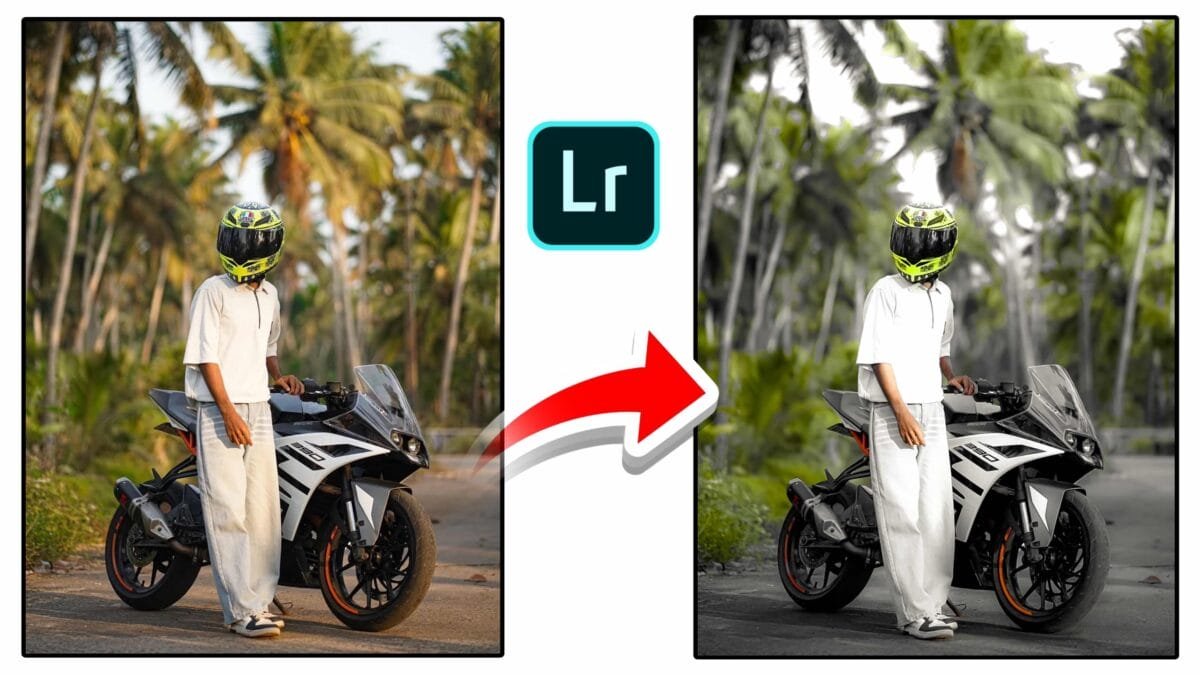
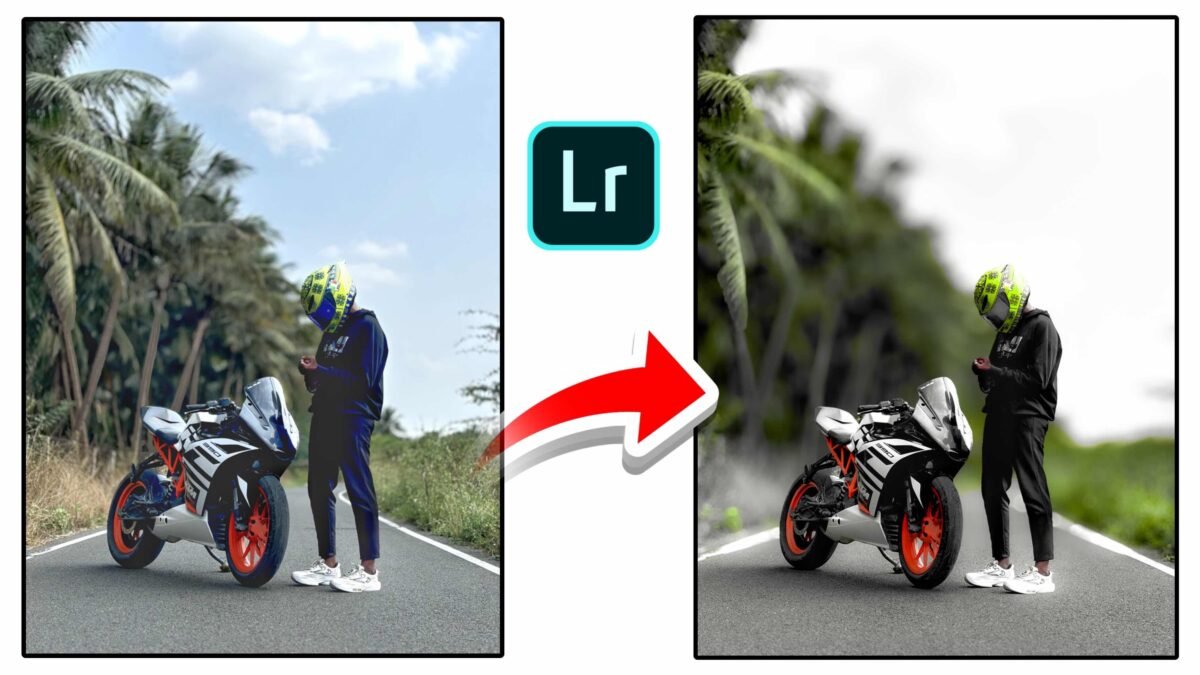
Aapki di hui photo ek perfect composition hai jisme:
- Ek stylish bike (sports look)
- Rider with helmet (mysterious vibe)
- Road + natural background (palm trees)
Yeh sab milkar ek cinematic feel create karte hain, jo Instagram ke liye perfect hai.
🎨 Cinematic Preset Kya Hota Hai?
Preset ek pre-made editing setting hota hai jise aap Lightroom ya kisi editing app mein use kar sakte ho. Isse aap ek click mein apni photo ka color tone, contrast, lighting sab improve kar sakte ho.
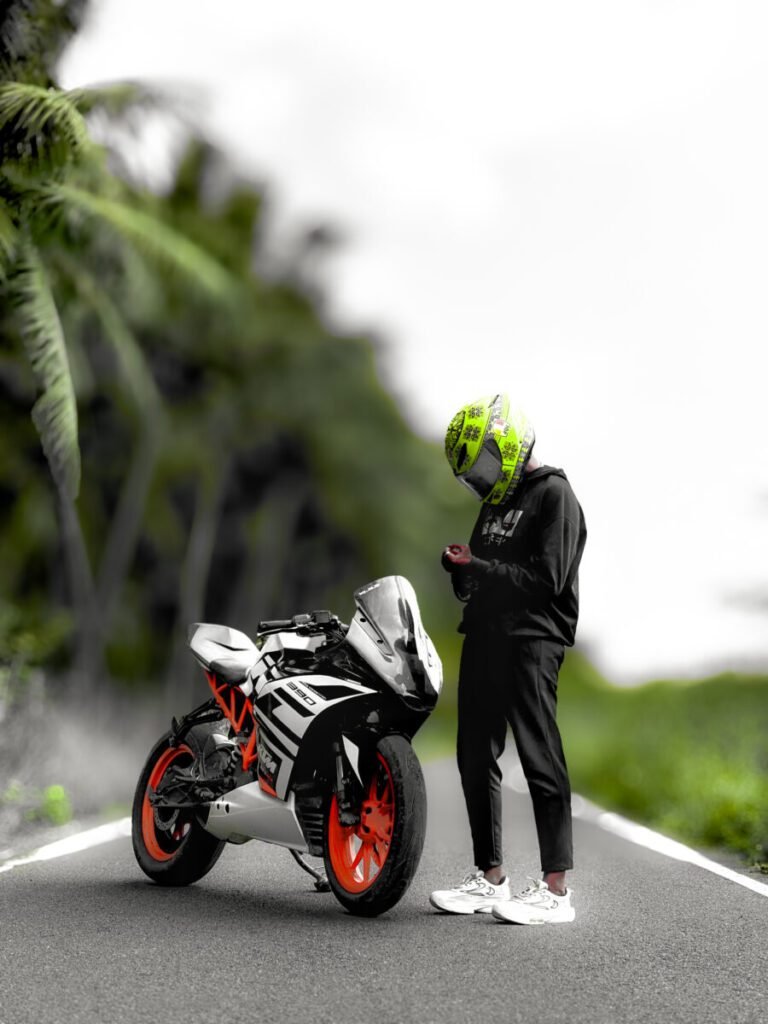
🔥 Is Photo Ke Liye Best Preset Style
Aapki image ke liye ye preset style best rahega:
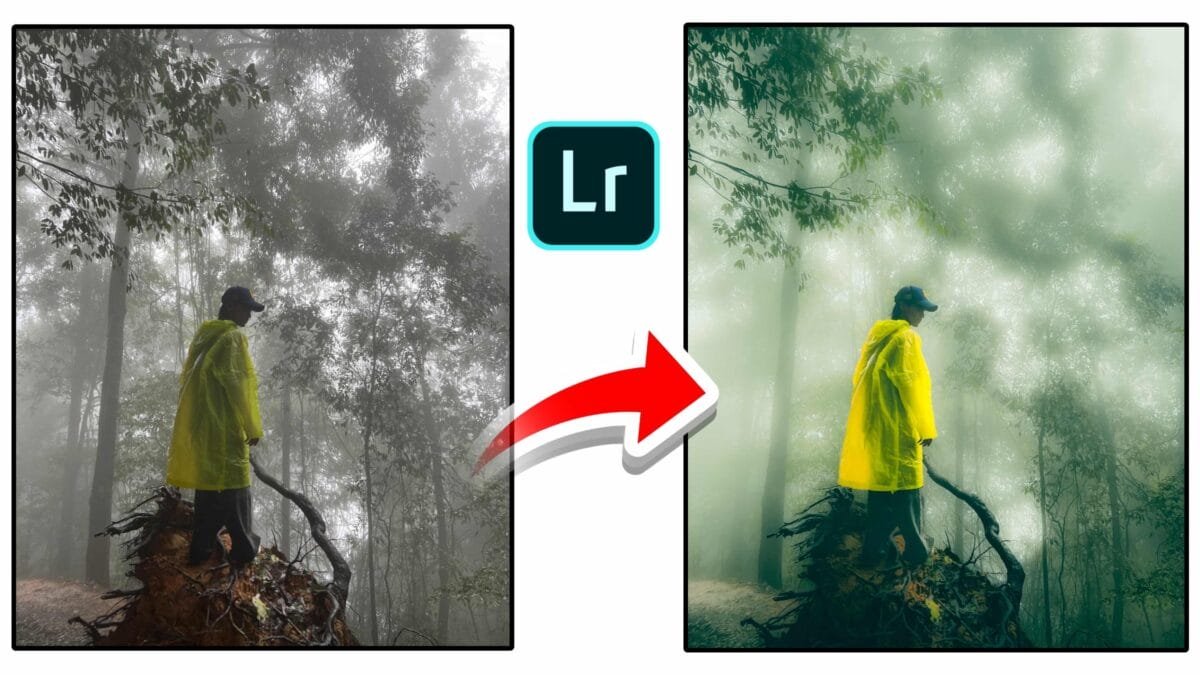
1. Moody Cinematic Look
- Background thoda dark aur blur
- Subject (bike + rider) sharp aur highlighted
- Green tones slightly desaturated
- Orange wheels ko boost (color pop)
⚙️ Lightroom Preset Settings (Step-by-Step)
Basic Settings:
- Exposure: +0.30
- Contrast: +20
- Highlights: -40
- Shadows: +30
- Whites: +10
- Blacks: -25
Color Settings:
- Temperature: Slight warm (+5)
- Tint: +2
- Vibrance: +20
- Saturation: -5
HSL (Important):
- Green: Saturation -40 (background soft banane ke liye)
- Orange: Saturation +30 (bike wheels highlight)
- Blue: Saturation -20 (sky cinematic banane ke liye)
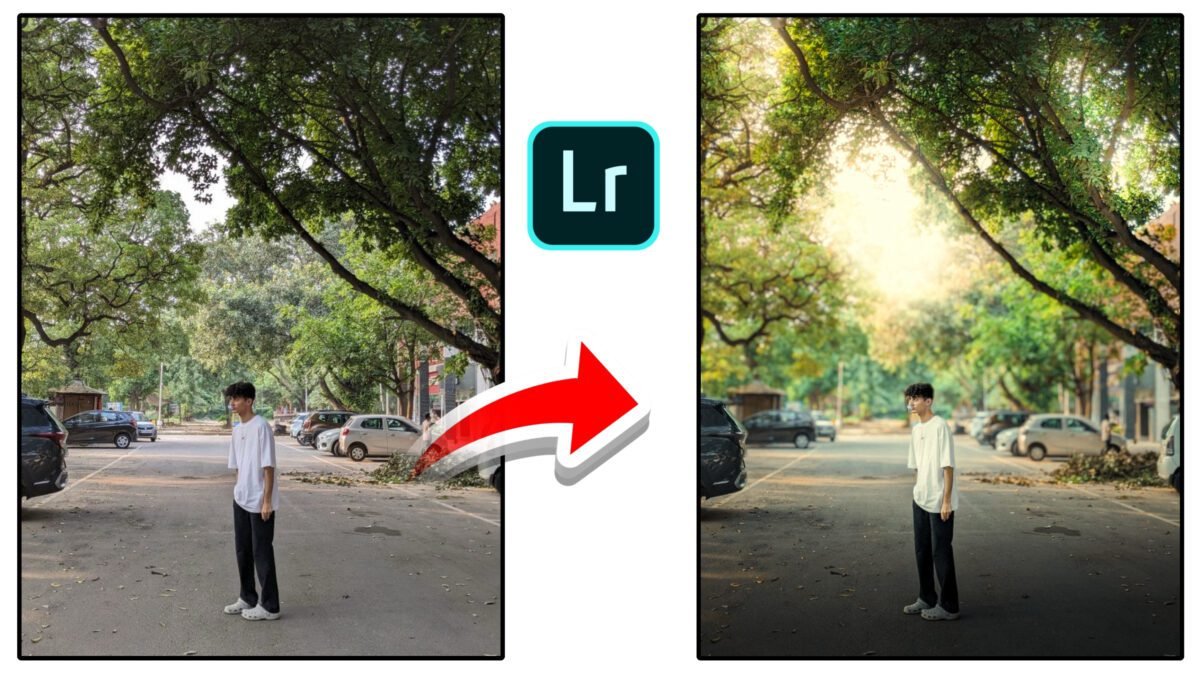
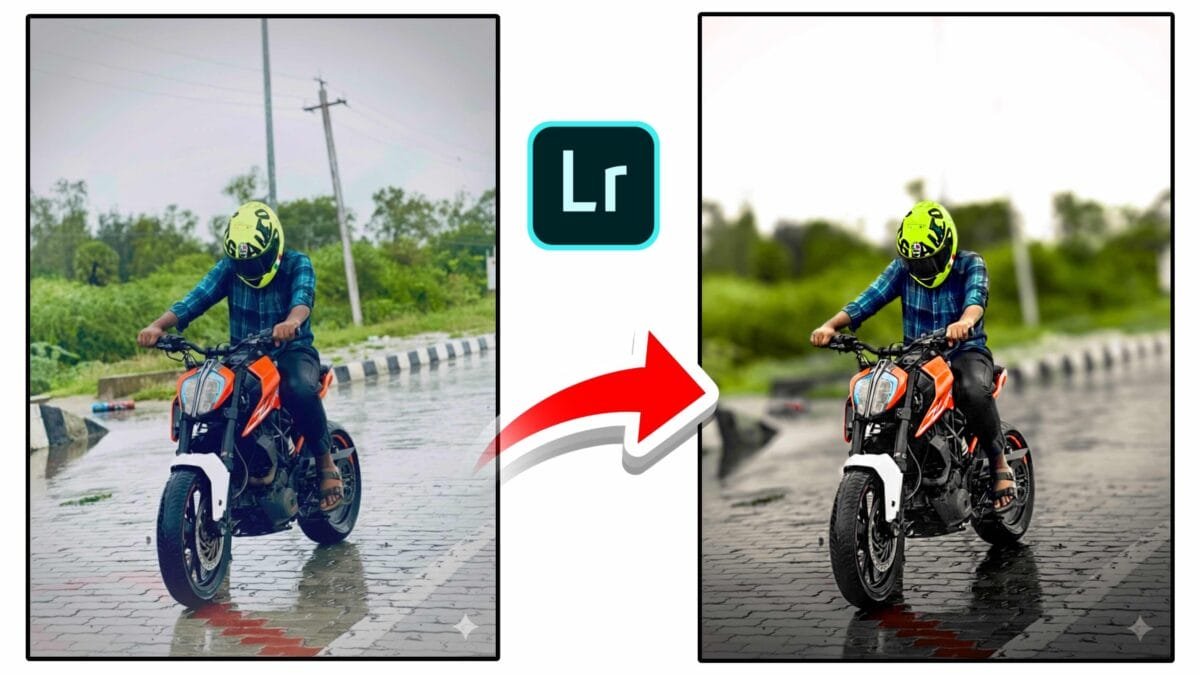
🌿 Background Blur & Focus Trick
Aapki edited image mein jo dusri photo hai, usme background blur use hua hai:
- Subject ko sharp rakha gaya hai
- Background ko soft blur + desaturated kiya gaya hai
Is effect ko aap Lightroom ya PicsArt mein “Blur Tool” se easily bana sakte ho.
🔄 Preset Copy Paste Kaise Kare (IMPORTANT SEO SECTION)
Agar aap ek hi preset ko multiple photos par use karna chahte ho, toh yeh method use karo:
📱 Step-by-Step Guide:
- Adobe Lightroom open kare
- Apni edited photo (preset wali) select kare
- Top right ke 3 dots (⋮) par click kare
- Copy Settings choose kare
- Sab options select karke copy kare
👉 Ab dusri photo open kare:
- Fir se 3 dots (⋮) par click kare
- Paste Settings select kare
✅ Aapka preset automatically apply ho jayega
📂 DNG Preset Import Kaise Kare
Agar aap preset file (.DNG) download karte ho, toh:
- Lightroom open kare
- “Add Photo” se DNG file import kare
- Photo open kare
- 3 dots → Create Preset
- Preset save kare
💡 Pro Tips (Viral Photo Banane Ke Liye)
- Always use low angle shot (jaise aapki photo mein hai)
- Helmet + pose add karta hai mystery vibe
- Road center composition use karo
- Bright shoes ya bike parts ko highlight karo
- Same preset use karke consistent Instagram feed banao
📈 SEO Keywords (High Ranking)
- Bike photo editing preset
- Lightroom cinematic preset
- preset copy paste kaise kare
- DNG preset import Lightroom
- Instagram bike editing
- Moody preset free download
- Background blur editing tutorial
📝 Caption Idea (Use With Post)
“Silence speaks louder when the engine roars. 🏍️🔥”
Hashtags:
BikeEdit #CinematicPreset #LightroomEdit #MoodyVibes #PhotoEditing
🎯 Conclusion
Agar aap apni bike photos ko next level pe le jaana chahte ho, toh preset editing ek must-try technique hai. Preset copy-paste aur DNG import jaise methods use karke aap editing ko fast aur professional bana sakte ho. Thodi practice ke saath aapki photos bhi viral ho sakti hain 🚀
Agar chaho toh main tumhare liye ready-made preset (.DNG file) bhi bana sakta hoon