Free Lightroom Presets And Premium Preset For Free
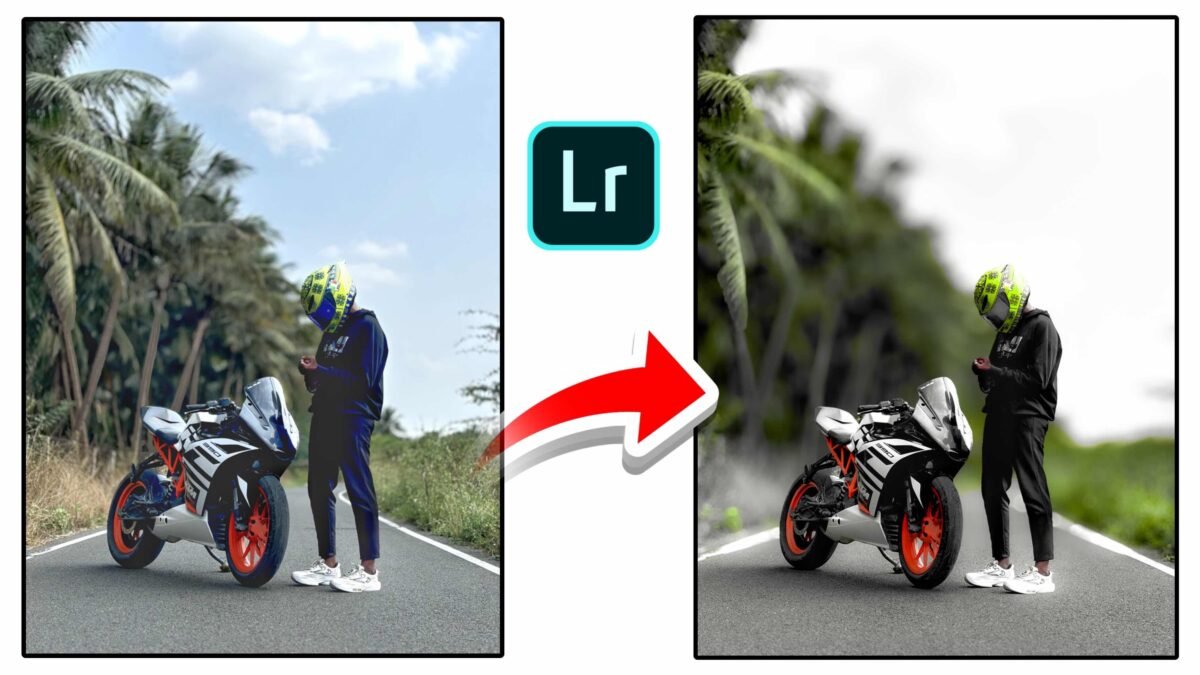
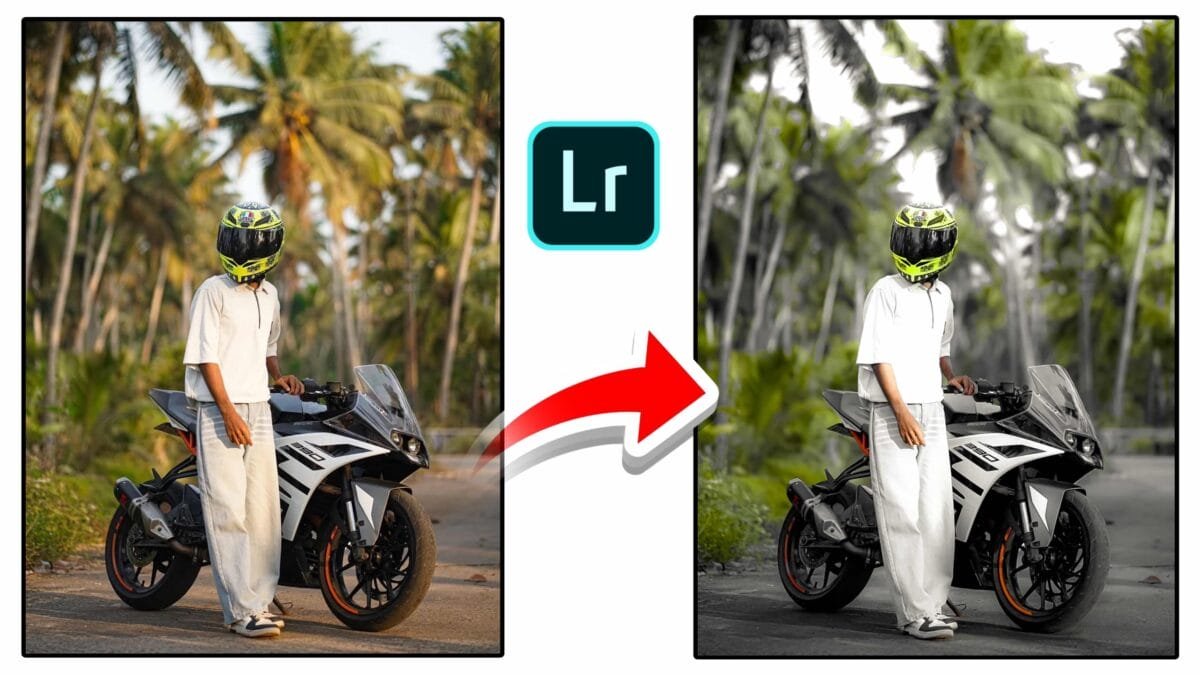
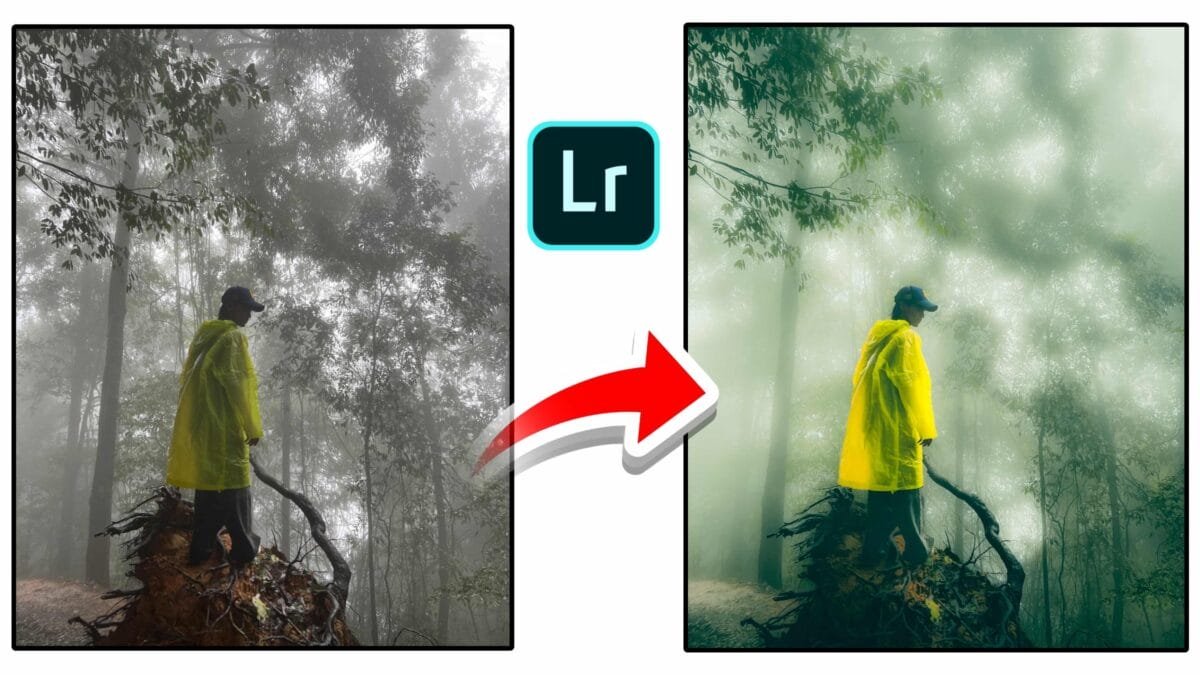
Moody forest photography India me fast trending niche ban chuka hai. Foggy background, green tone color grading aur cinematic contrast ek simple photo ko dramatic masterpiece me convert kar deta hai. Is tutorial me hum dekhenge kaise ek normal fog forest image ko Lightroom mobile ki help se high quality cinematic look diya ja sakta hai.
Why Moody Forest Editing is Popular in India?
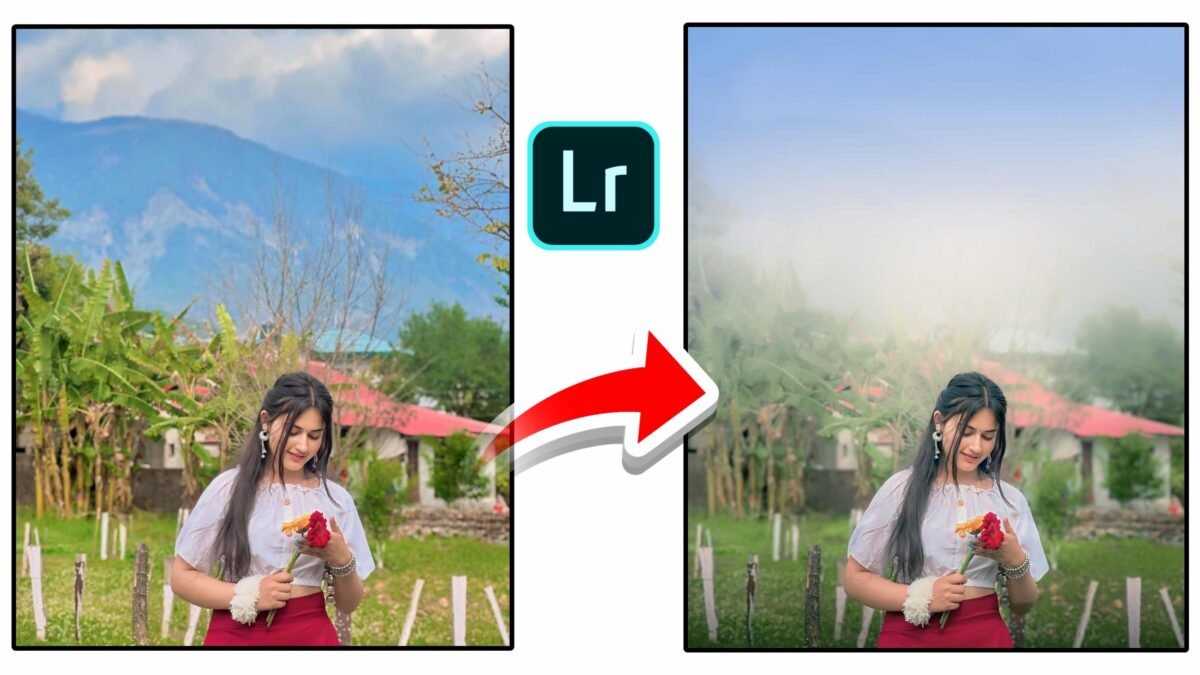
Instagram aur Pinterest par dark green cinematic edits high engagement generate karte hain. Indian creators especially hill stations, rainy forest aur trekking photos ko moody look dena pasand karte hain. Yellow raincoat subject ko highlight karta hai aur green fog background depth create karta hai.
Search terms jaise “moody forest lightroom preset India”, “cinematic fog editing tutorial”, aur “before after lightroom forest edit” ka search volume steadily grow ho raha hai. Agar aap is type ka optimized content banate hain toh ranking ke chances strong ho jaate hain.
Free Haryana LR preset download karke easy editing kare
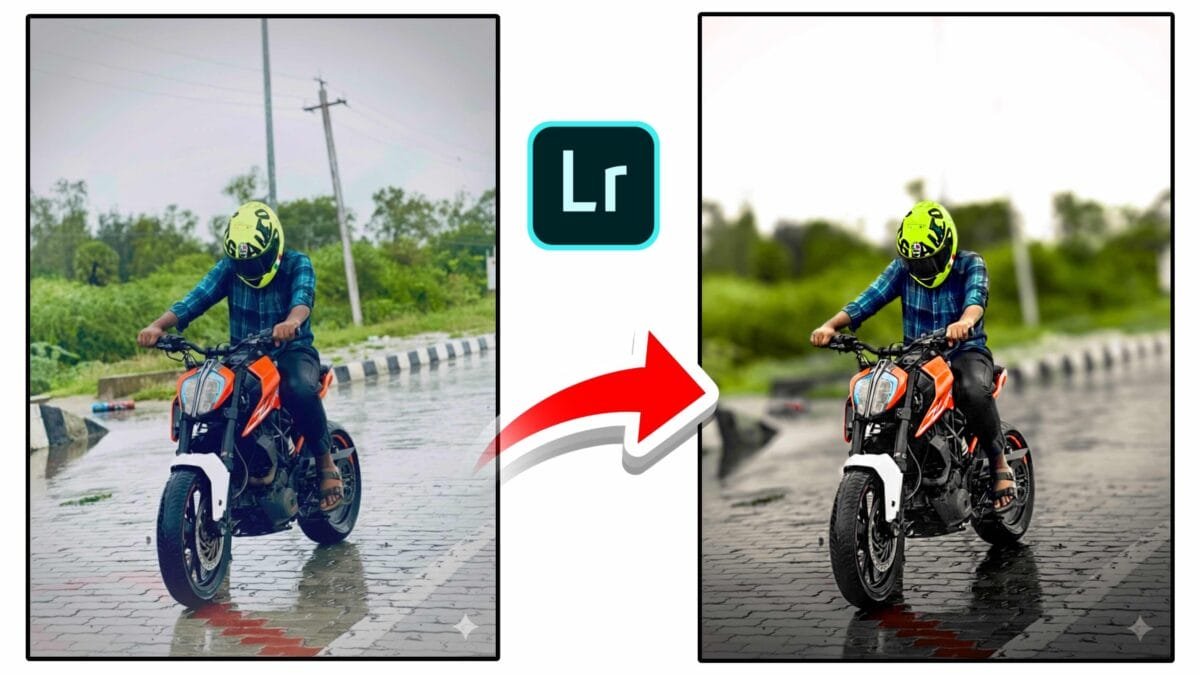
Step 1: Basic Light Adjustment
Sabse pehle exposure ko thoda adjust karein. Foggy images me highlights naturally high hote hain, isliye highlights reduce karna zaroori hai. Shadows ko slightly increase karein takki subject clearly visible rahe.
- Exposure +0.30
- Contrast +25
- Highlights -60
- Shadows +40
- Blacks -30
Ye adjustments image ko darker aur cinematic base deti hain.
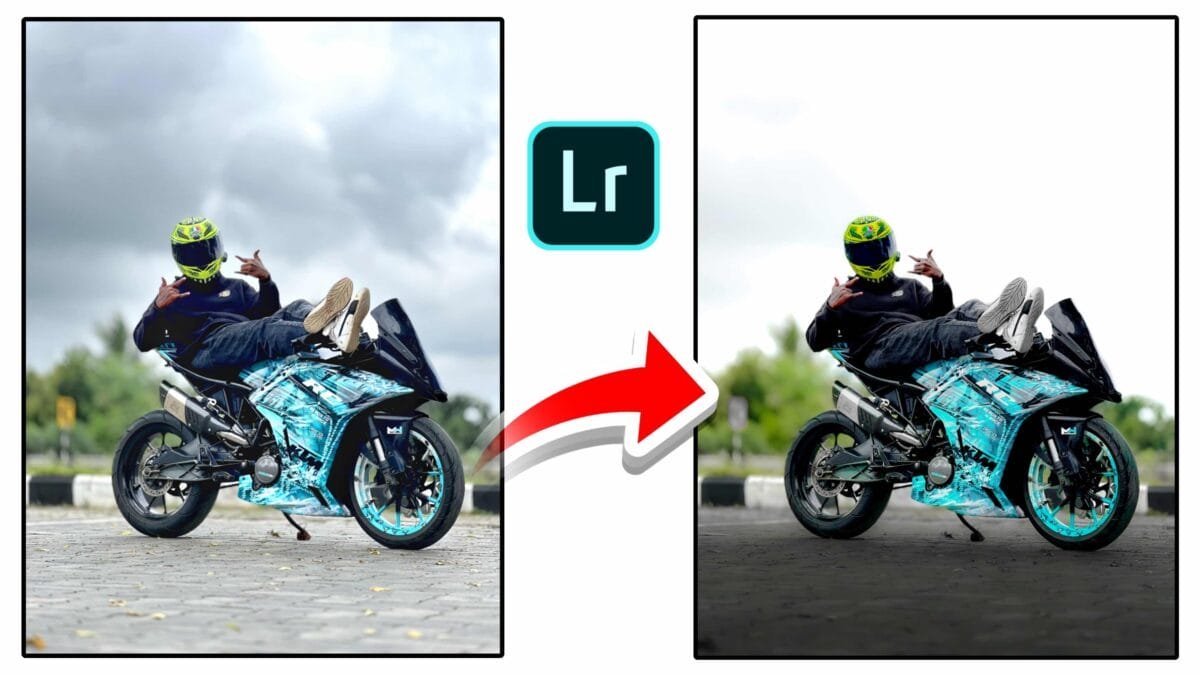
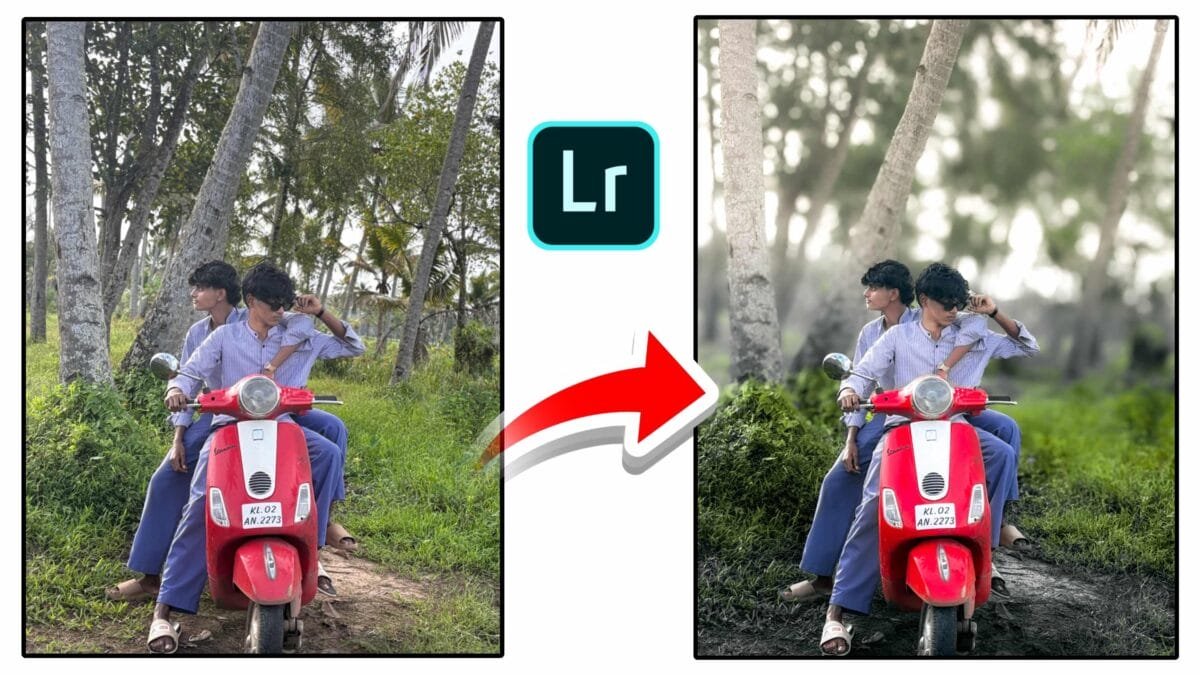
Step 2: Green Tone Cinematic Color Grading
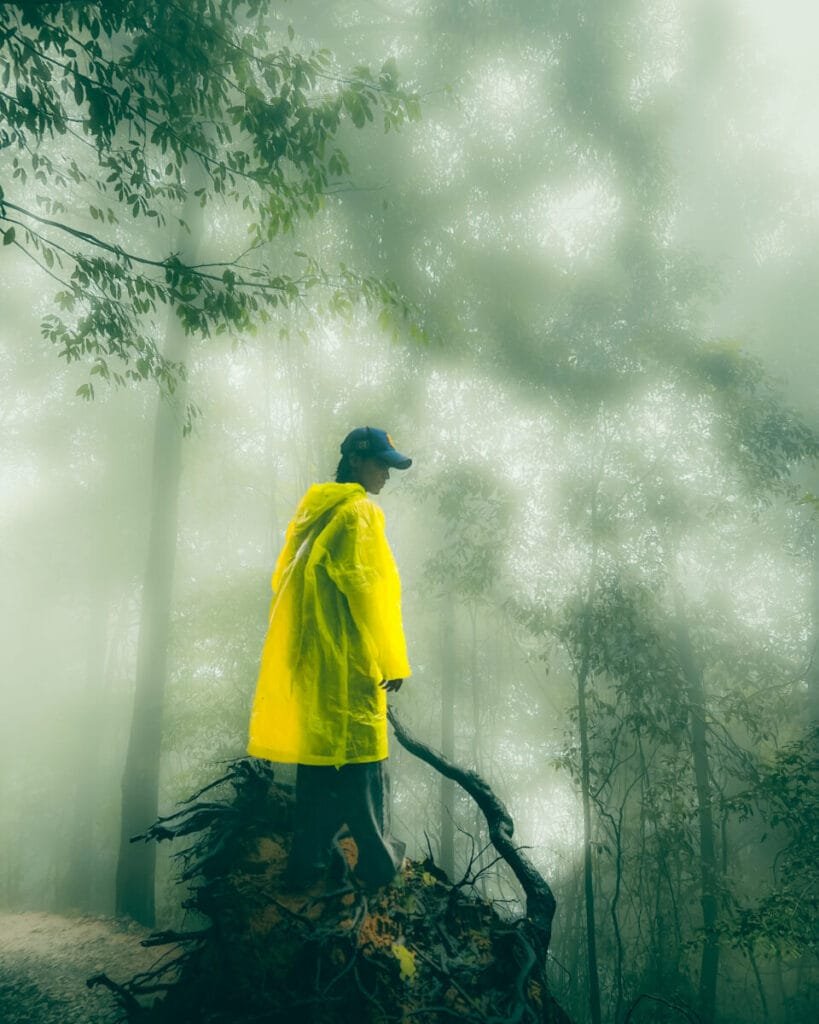
Moody forest look ka main secret hai green color control. Background greenery ko slightly dark aur cool tone me convert karein. Yellow raincoat ko enhance karein takki subject strong highlight ho.
- Green Saturation -20
- Green Hue slightly towards aqua
- Yellow Saturation +25
- Temperature slightly cool
- Tint +5 magenta
Is technique se forest dreamy aur dramatic lagega.
Step 3: Fog Enhancement Using Masking
Lightroom mobile ka masking tool use karein. Background select karein aur clarity aur texture reduce karein. Thoda sa dehaze negative karein takki fog effect natural lage. Subject ko separate mask karke clarity increase karein.
Isse subject sharp dikhega aur background soft dreamy feel dega.
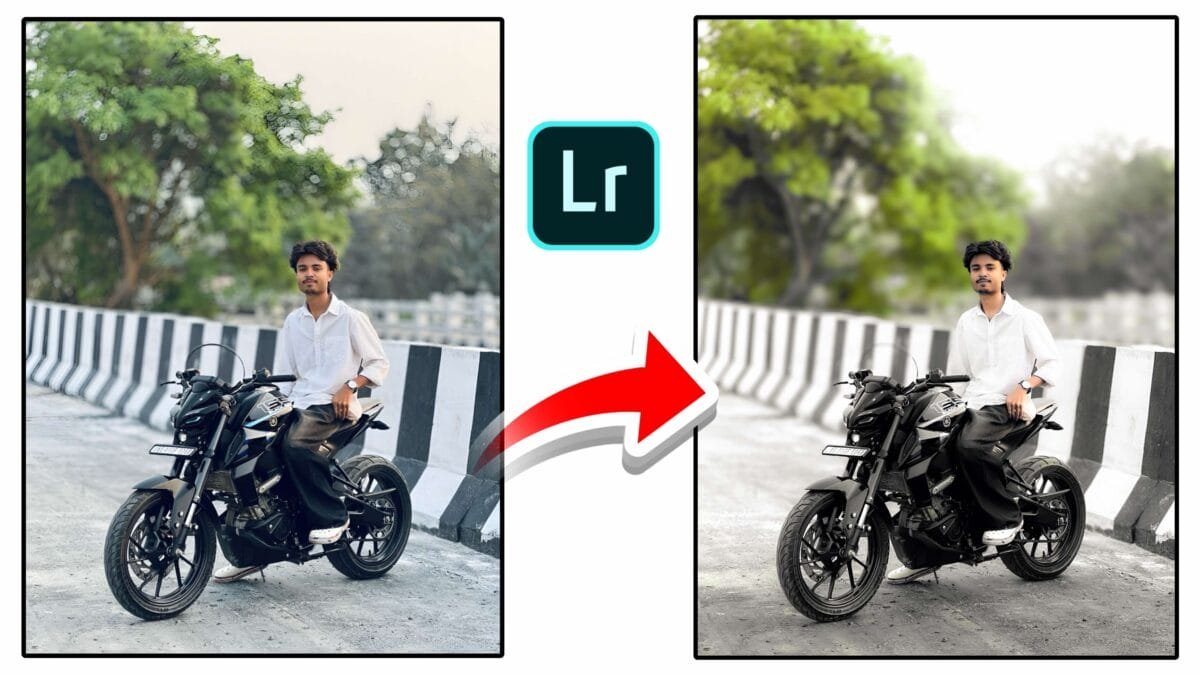
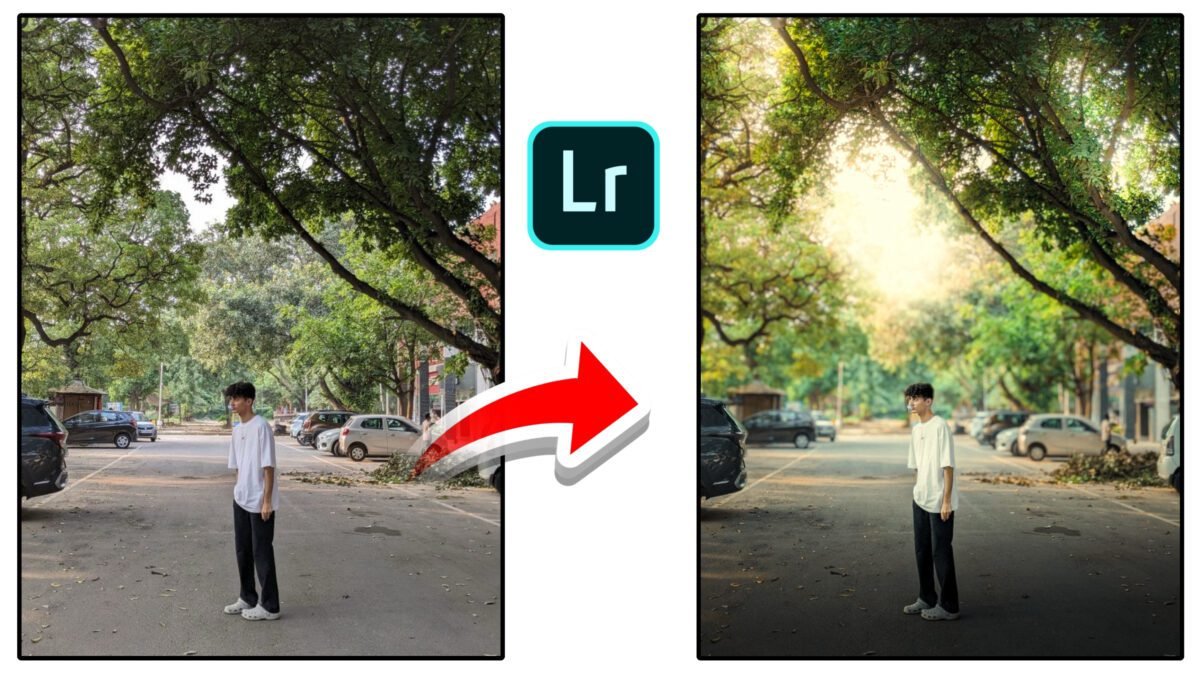
Step 4: Final Cinematic Touch
Vignette add karein takki edges dark ho jaye aur focus subject par aaye. Slight grain add karne se film look create hota hai. Sharpening moderate rakhein.
Ab aapki image professional moody cinematic forest style me convert ho chuki hai.
How to Make This Edit Viral in India?
1. Before after reel format me post karein.
2. Hashtags use karein: #MoodyForest #LightroomIndia #CinematicEdit
3. Pinterest vertical pin upload karein.
4. Caption me editing settings mention karein.
5. Location tag karein for better reach.
Conclusion
Moody forest Lightroom editing Indian creators ke liye ek powerful style hai. Proper light control, green tone adjustment aur masking technique use karke aap simple foggy photo ko cinematic masterpiece me convert kar sakte hain. Consistent editing aur SEO optimized posting se aapka content Google aur social platforms par rank kar sakta hai.
Practice ke saath har trekking ya rainy forest photo ko dramatic storytelling image me badla ja sakta hai. © 2026 Ajiz Creative Studio | Indian Cinematic Editing SEO
Download more presets from our homepage:
Haryana Lightroom Presets