Natural Photo Editing Tips
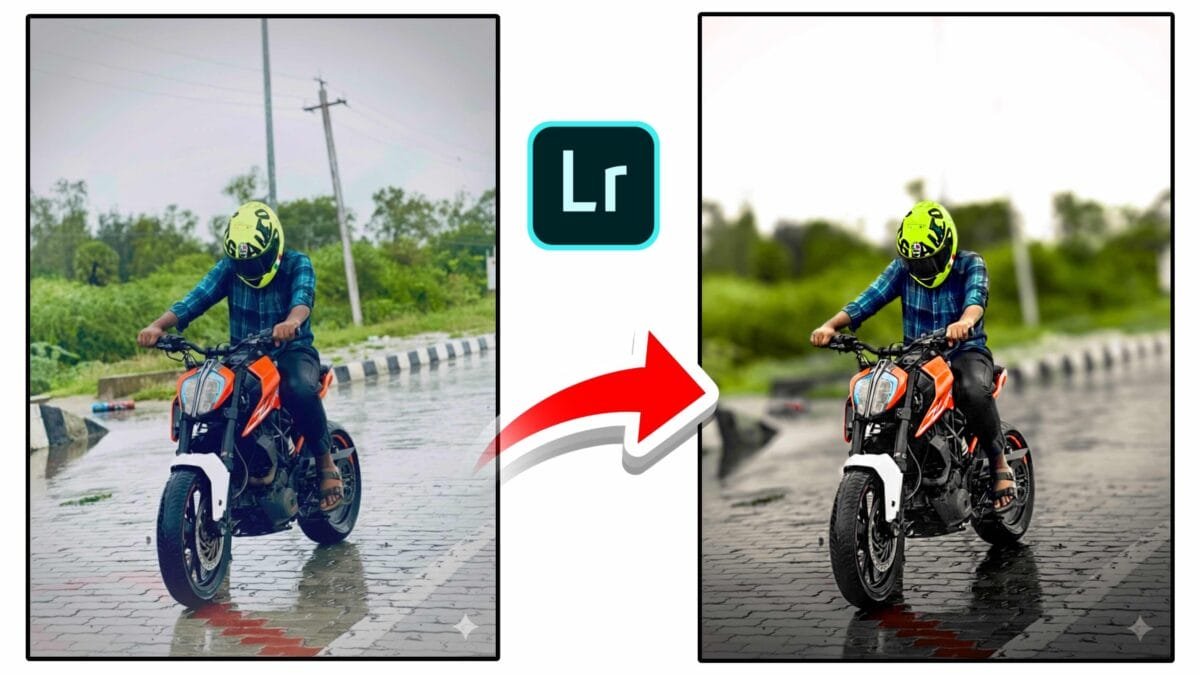
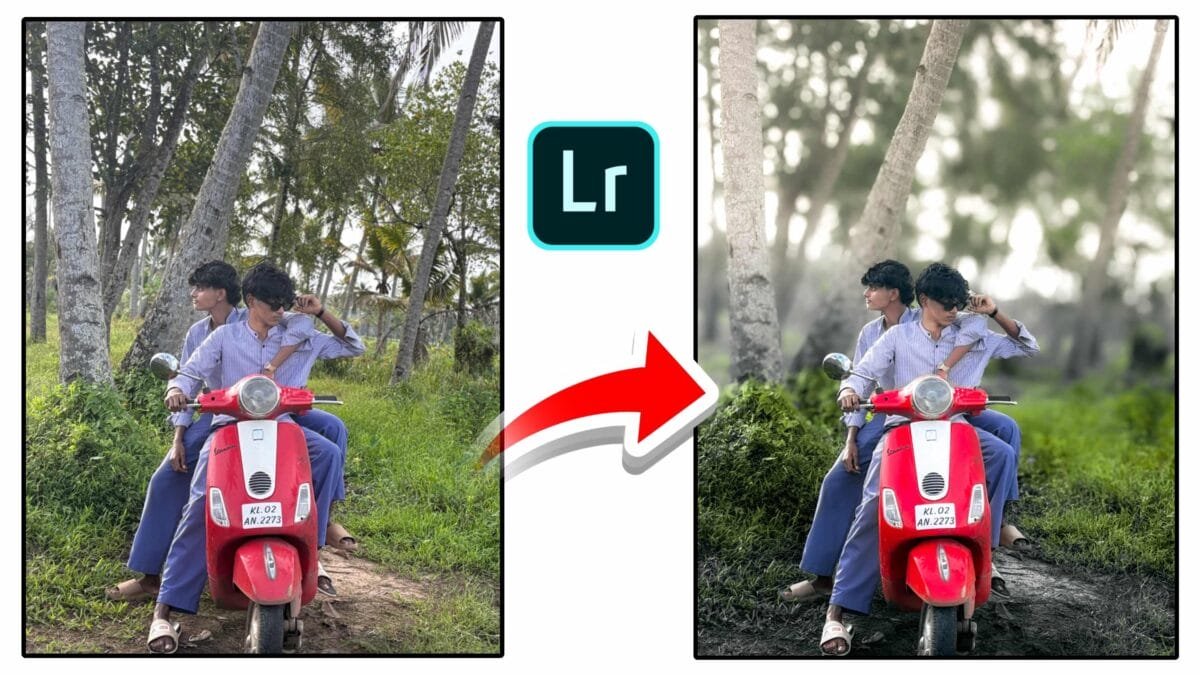
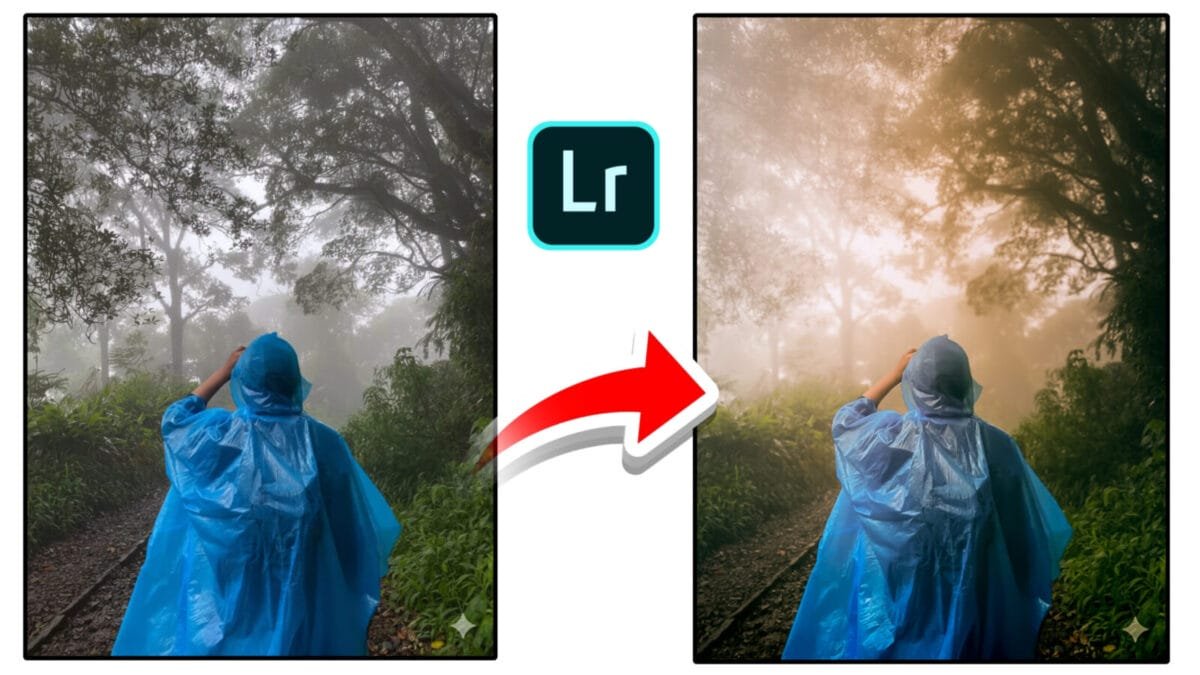
Natural photo editing focuses on enhancing an image without making it look over-processed. The goal is to preserve real colors, textures, and lighting while improving overall quality. Whether you edit portraits, landscapes, or lifestyle photos, following a natural editing approach helps create timeless and professional results.
Why Natural Photo Editing Is Important
- Realistic appearance: Photos look authentic and believable.
- Better skin tones: Natural edits respect human color tones.
- Timeless style: Avoids trends that quickly become outdated.
- Professional quality: Clean edits are preferred by clients and brands.
Essential Natural Photo Editing Tips
1. Start With Correct Exposure
Before touching colors, adjust exposure so the image looks balanced. Avoid very dark shadows or blown highlights. A well-exposed base makes all other edits easier and more natural.
2. Fix White Balance First
Correct white balance removes unwanted color casts. Use neutral areas in the photo or fine-tune temperature and tint manually. Proper white balance is the foundation of realistic color.
3. Use Contrast Gently
Too much contrast makes photos look harsh. Use small contrast adjustments or a soft tone curve to add depth while keeping details visible.
4. Control Saturation
Lower overall saturation slightly, then boost specific colors if needed. This approach keeps colors clean and avoids a cartoonish look.
5. Protect Skin Tones
Skin should never look orange, red, or gray. Use HSL adjustments or AI masking to fine-tune skin color separately from the background.
6. Avoid Overusing Clarity & Texture
High clarity and texture can make skin rough and unnatural. Apply them lightly, and use negative clarity for portraits if needed.
7. Make Local Adjustments
Instead of heavy global edits, use local masks to adjust specific areas like the subject, background, or sky. This keeps edits subtle and controlled.
8. Keep Sharpening Minimal
Sharpening should enhance details, not create halos. Mask sharpening to edges and avoid sharpening smooth areas like skin.
Simple Natural Editing Workflow
- Correct exposure and white balance
- Adjust contrast with a gentle tone curve
- Refine colors using HSL
- Apply local masks for subject enhancement
- Add subtle sharpening and noise reduction
Pro tip: Take a short break and recheck your edit later. Fresh eyes help you notice over-editing quickly.
Common Mistakes to Avoid
- Over-saturated colors
- Extreme HDR effects
- Too much clarity or texture
- Ignoring skin tone accuracy
Best Photography Types for Natural Editing
| Photography Type | Why Natural Editing Works |
|---|---|
| Portrait | Maintains realistic skin tones |
| Lifestyle | Authentic and clean storytelling |
| Travel | True-to-life colors and mood |
| Product | Professional and trustworthy look |
Conclusion
Natural photo editing is about subtle enhancement, not heavy transformation. By focusing on exposure, color balance, and gentle local adjustments, you can create images that look clean, realistic, and professional. Mastering these tips will help your photos stand out while still feeling natural.
If you want, I can turn this into a Lightroom preset, a short blog post, or Instagram carousel content.