Cine Tone Lightroom
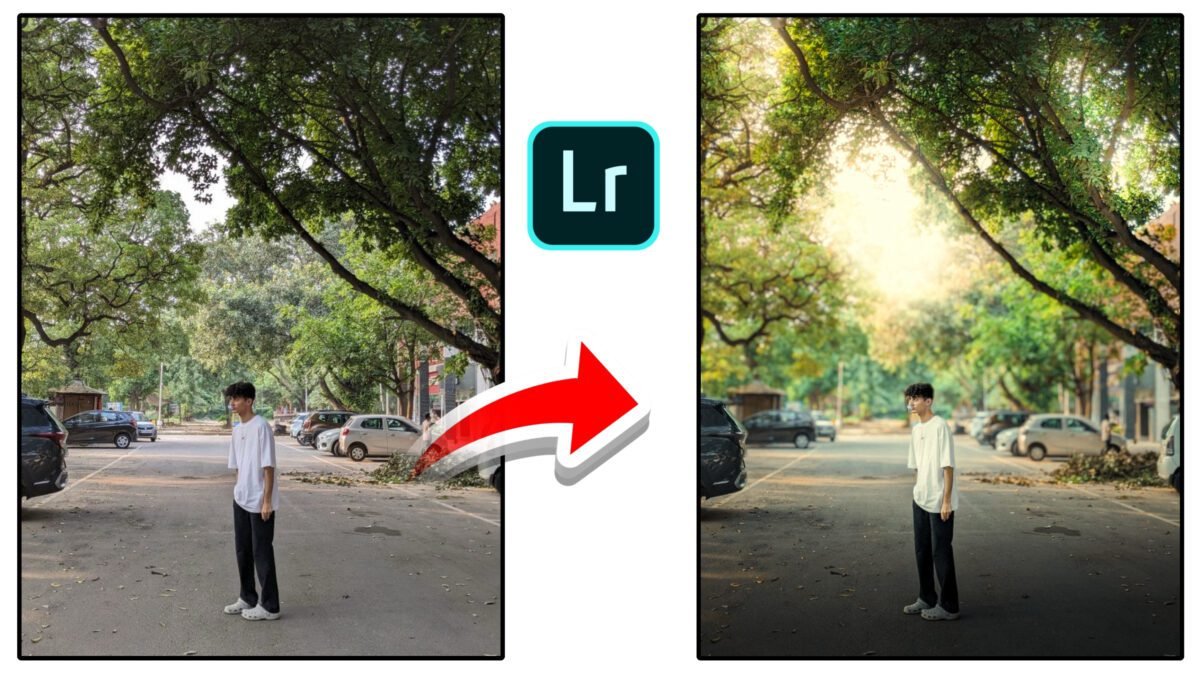
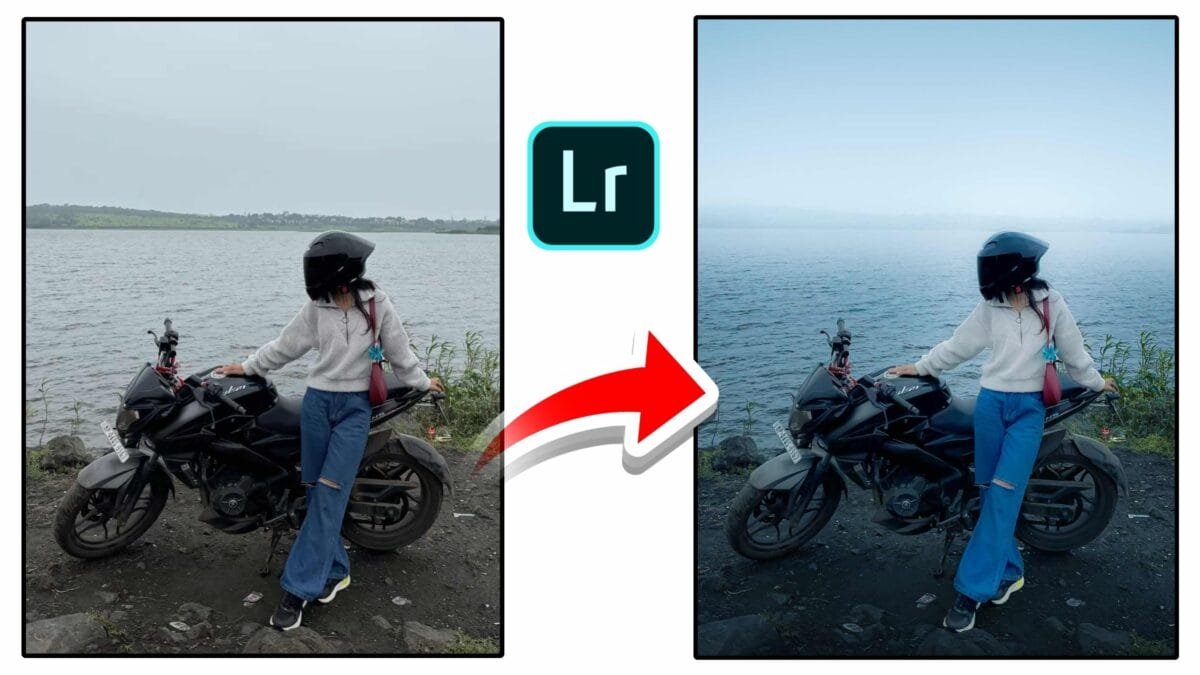
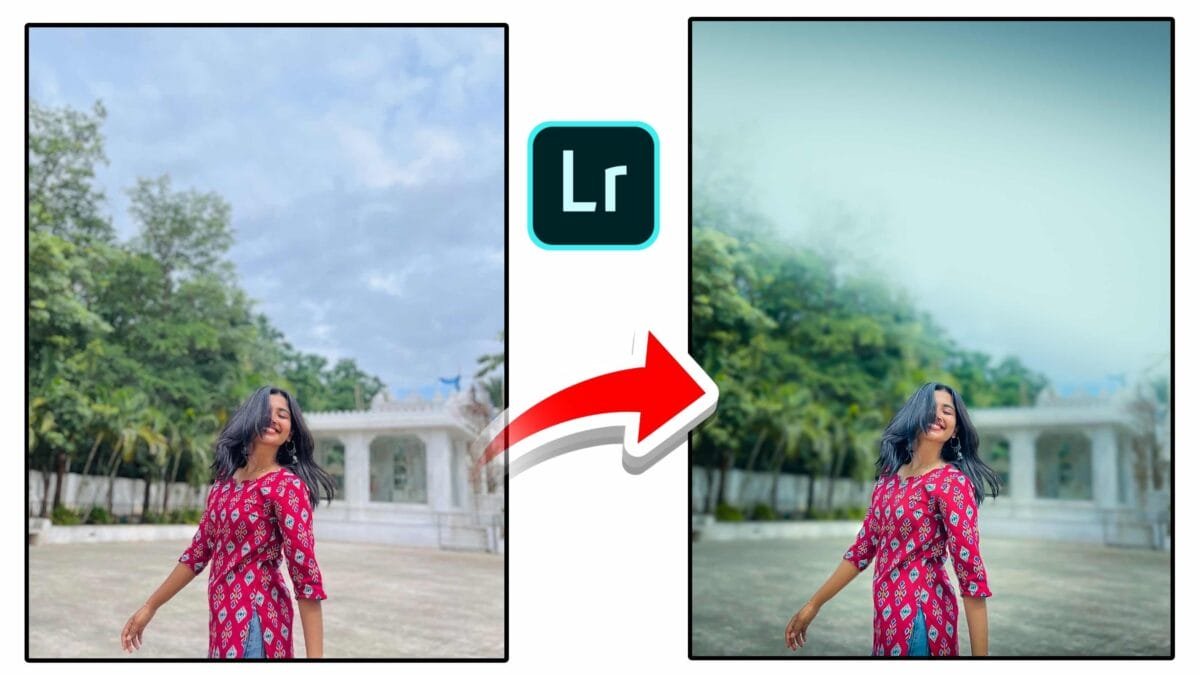
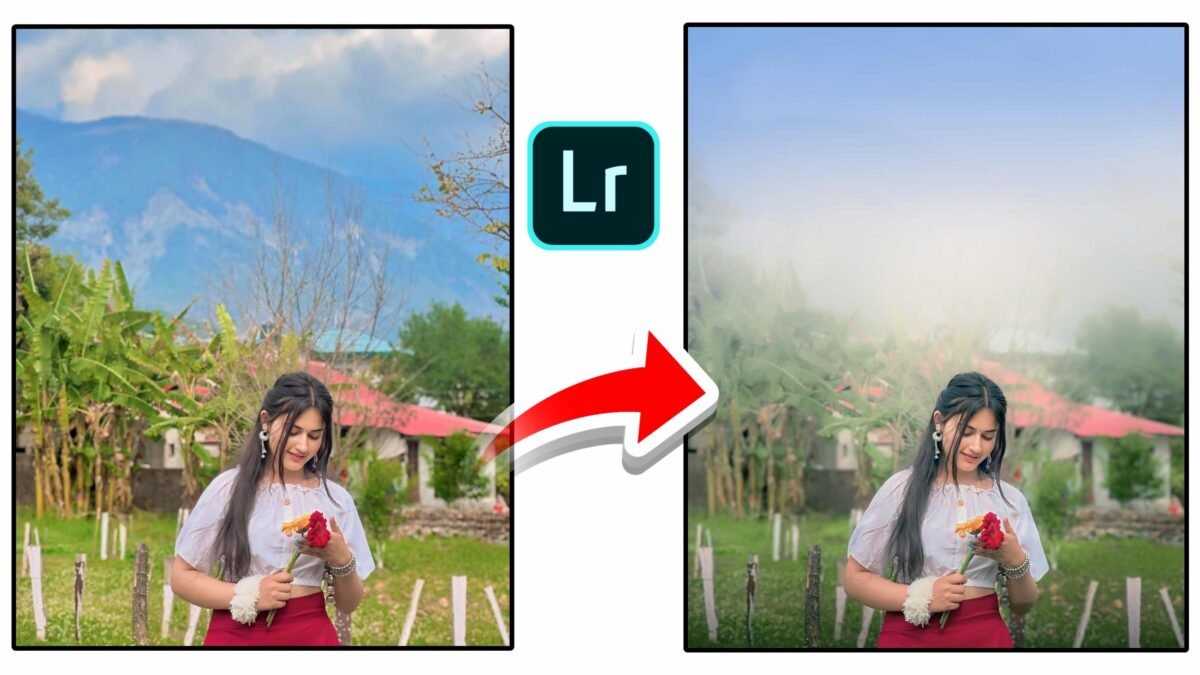
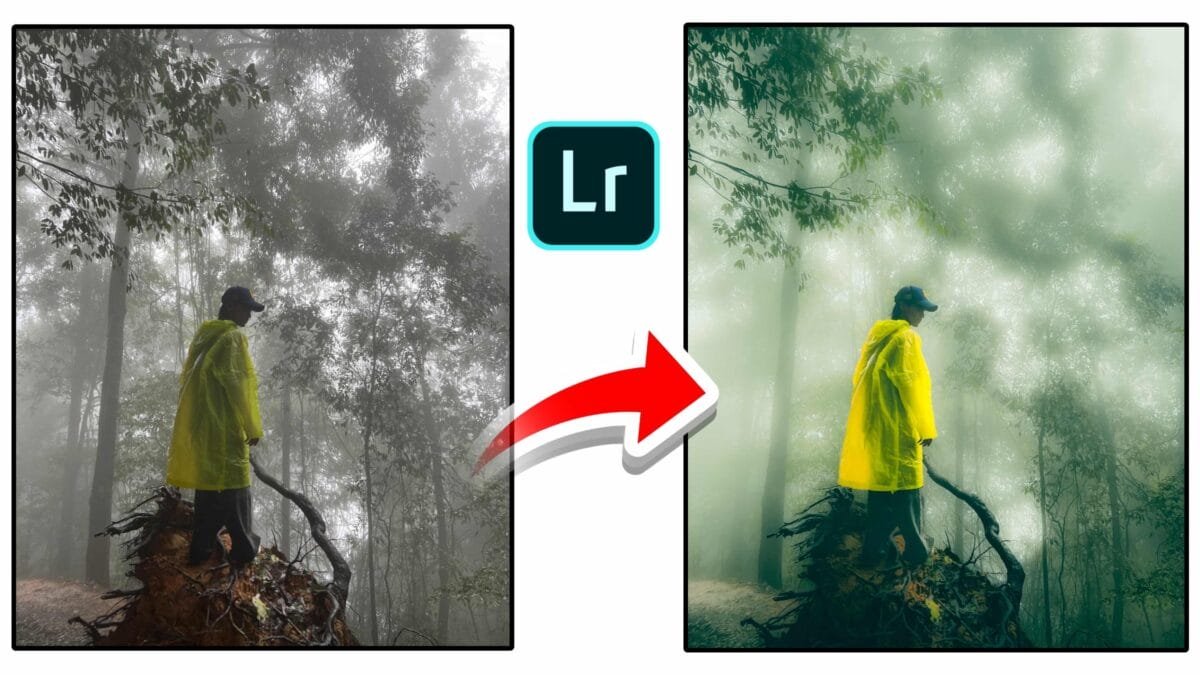
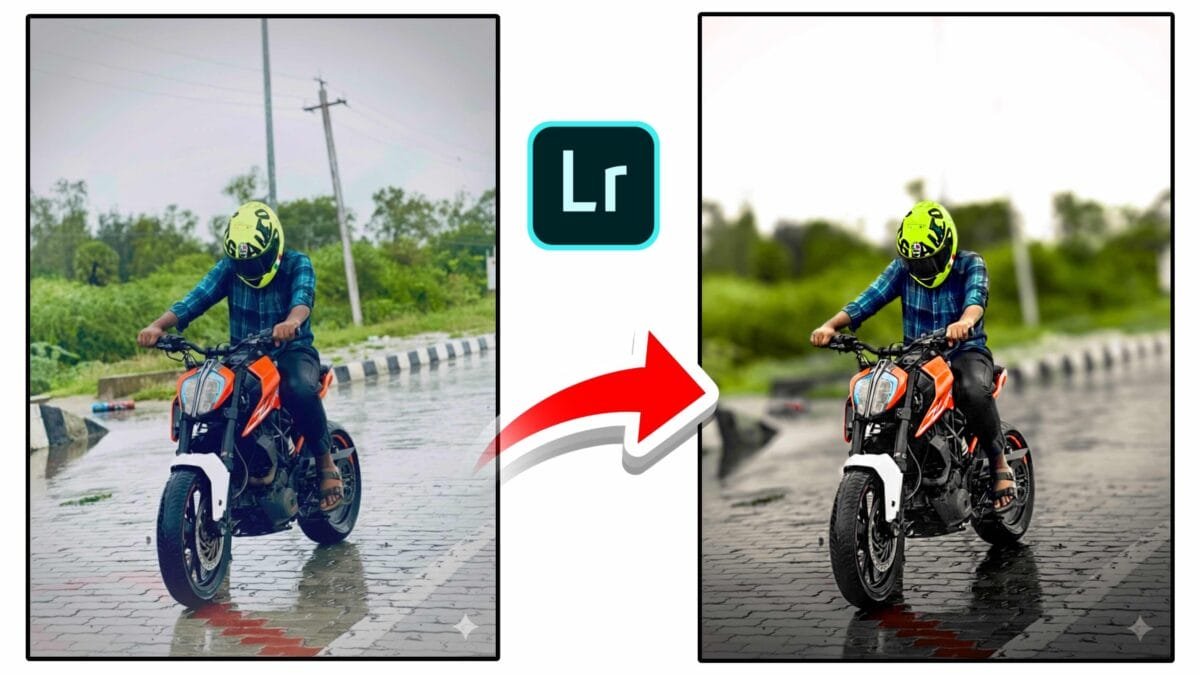
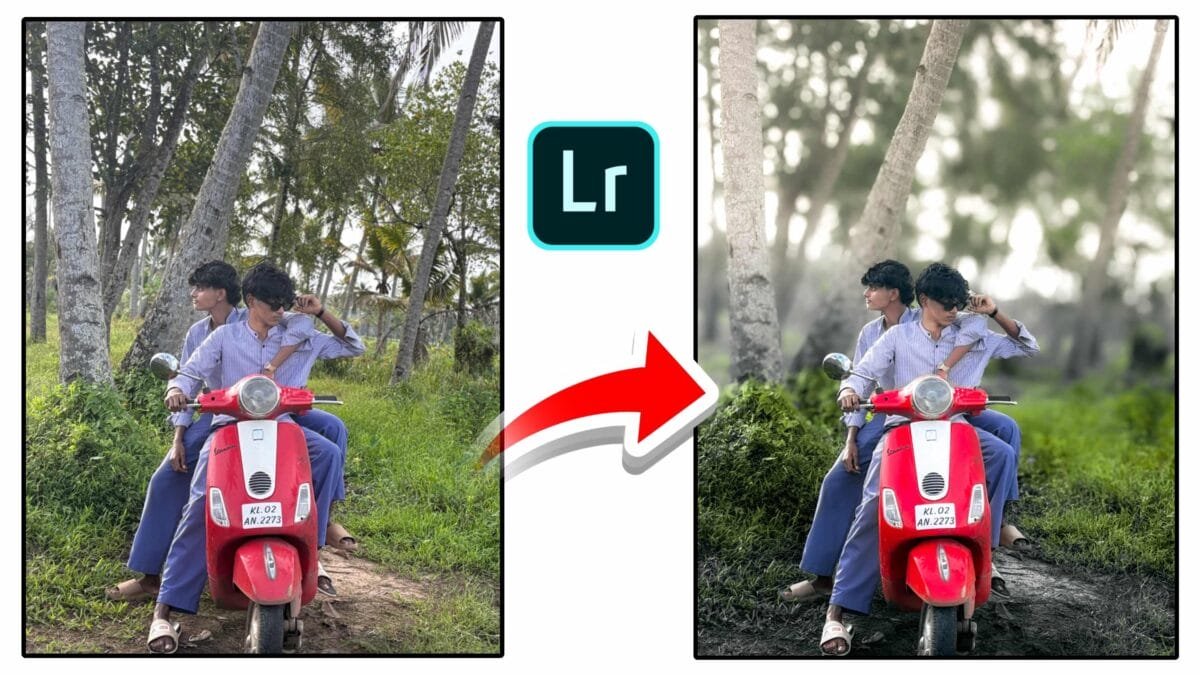
Cine tone editing in Lightroom is all about creating a film-inspired, cinematic mood while keeping the image natural and visually balanced. This style is popular for portraits, travel photos, reels, and storytelling visuals because it adds emotion without looking over-processed. In this article, you’ll learn what cine tone is, why it works, and how to achieve it step by step in Lightroom.
What Is Cine Tone in Lightroom?
Cine tone refers to a cinematic color palette inspired by movies. It typically features soft contrast, slightly faded blacks, warm highlights, cooler shadows, and controlled saturation. Unlike heavy filters, cine tone edits aim for subtlety and realism.
Why Cine Tone Is So Popular
- Film-like feel: Inspired by professional cinema color grading.
- Natural skin tones: Maintains realistic human colors.
- Emotional impact: Adds mood and depth to images.
- Social media friendly: Works well for Instagram and reels.
Core Elements of a Cine Tone Edit

1. Soft Contrast & Faded Blacks
Use the Tone Curve to slightly lift the blacks and add a gentle S-curve. This creates a cinematic contrast without crushing shadow details.
2. Controlled Color Saturation
Lower overall saturation slightly, then selectively enhance important colors like skin tones or subject clothing using the HSL panel.
3. Warm Highlights & Cool Shadows
In the Color Grading panel, add a touch of warm color to highlights and cooler tones (teal or blue) to shadows. Keep midtones neutral for balance.
4. Natural Skin Tone Protection
Use HSL adjustments or AI-based masking to protect skin tones from turning too orange or too blue during grading.
5. Subtle Texture & Grain
Add light grain to break digital smoothness and enhance the cinematic feel. Avoid excessive clarity or sharpening.
Step-by-Step Cine Tone Workflow in Lightroom
- Basic corrections: Fix exposure, contrast, and white balance.
- Tone curve: Lift blacks slightly and add a gentle S-curve.
- HSL tuning: Adjust orange luminance for skin and reduce green saturation.
- Color grading: Warm highlights, cool shadows, neutral midtones.
- Mask the subject: Use AI masking to enhance the subject separately.
- Finish touches: Add grain, vignette, and fine sharpening.
Pro tip: After finishing the edit, reduce overall preset intensity by 20–30% for a more natural cinematic result.
Common Mistakes to Avoid
- Overusing teal & orange color grading
- Too much clarity or texture on skin
- Crushed shadows or clipped highlights
- Ignoring white balance before grading
Where Cine Tone Edits Work Best
| Photo Type | Why Cine Tone Works |
|---|---|
| Portraits | Soft skin tones and emotional mood |
| Travel | Story-driven cinematic atmosphere |
| Street photography | Film-inspired realism |
| Reels & thumbnails | Eye-catching but natural look |
Conclusion
Cine tone Lightroom edits combine film-inspired colors with natural realism. By controlling contrast, color balance, and texture carefully, you can create cinematic images that feel professional and timeless. Mastering cine tone editing is about subtle adjustments — small changes create the biggest impact.
If you want, I can convert this into a ready-to-use Lightroom preset or create a shorter version for blog or Instagram captions.