AI-Based Masking
AI-based masking has transformed photo editing by replacing time-consuming manual selections with intelligent, one-click masks. Using machine learning, modern editing software can automatically detect subjects, skies, people, and objects — allowing photographers and designers to apply precise local adjustments in seconds. This article explains how AI masking works, its key features, and how to use it effectively in real-world workflows.
What Is AI-Based Masking?
AI-based masking uses trained neural networks to analyze an image and identify meaningful regions such as faces, bodies, skies, hair, clothing, or foreground objects. Instead of painting selections manually, the software generates an accurate mask that follows edges, textures, and depth — even in complex scenes.
Key AI Masking Features
1. Subject Mask
Subject masking automatically selects the main subject in a photo. It works well for portraits, wildlife, and product shots, isolating the subject from the background with impressive edge accuracy.
2. Sky Mask
Sky masking identifies the sky area in landscapes and cityscapes. You can adjust exposure, color, haze, or replace the sky’s mood without affecting buildings or foreground elements.
3. People & Facial Feature Masks
Advanced AI masking detects people and allows separate masks for:
- Face skin
- Body skin
- Eyes (iris & sclera)
- Lips
- Hair
This level of precision enables natural skin tone correction, eye enhancement, and hair color grading without spillover.
4. Object & Background Masks
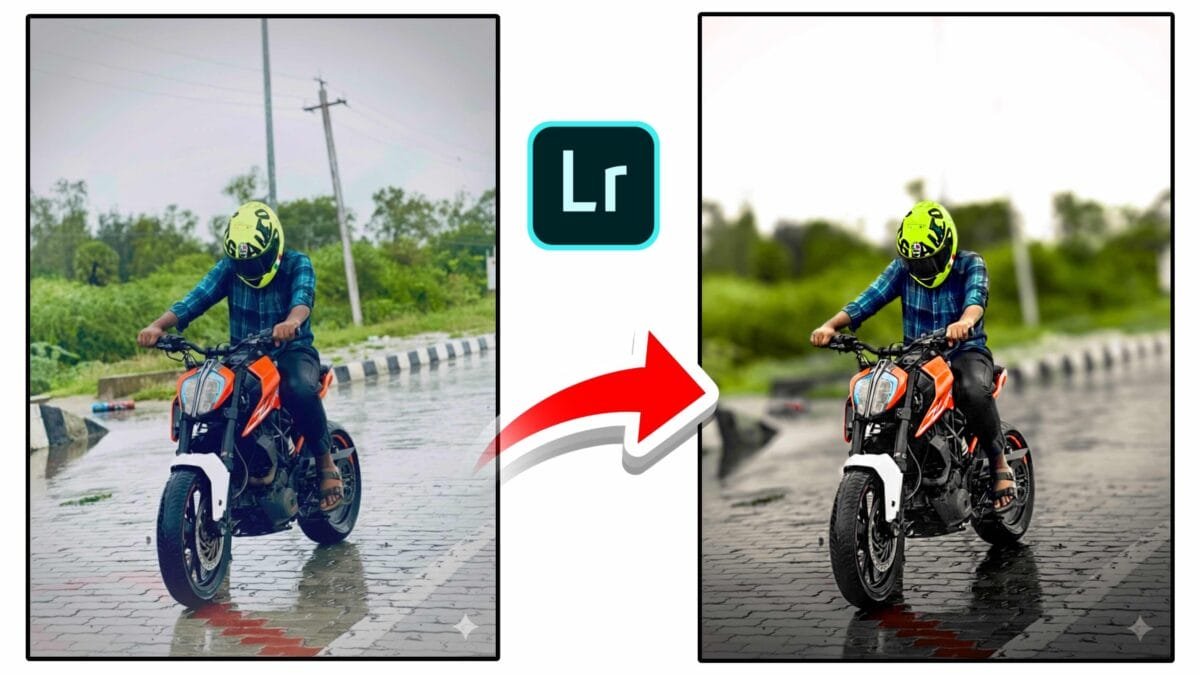
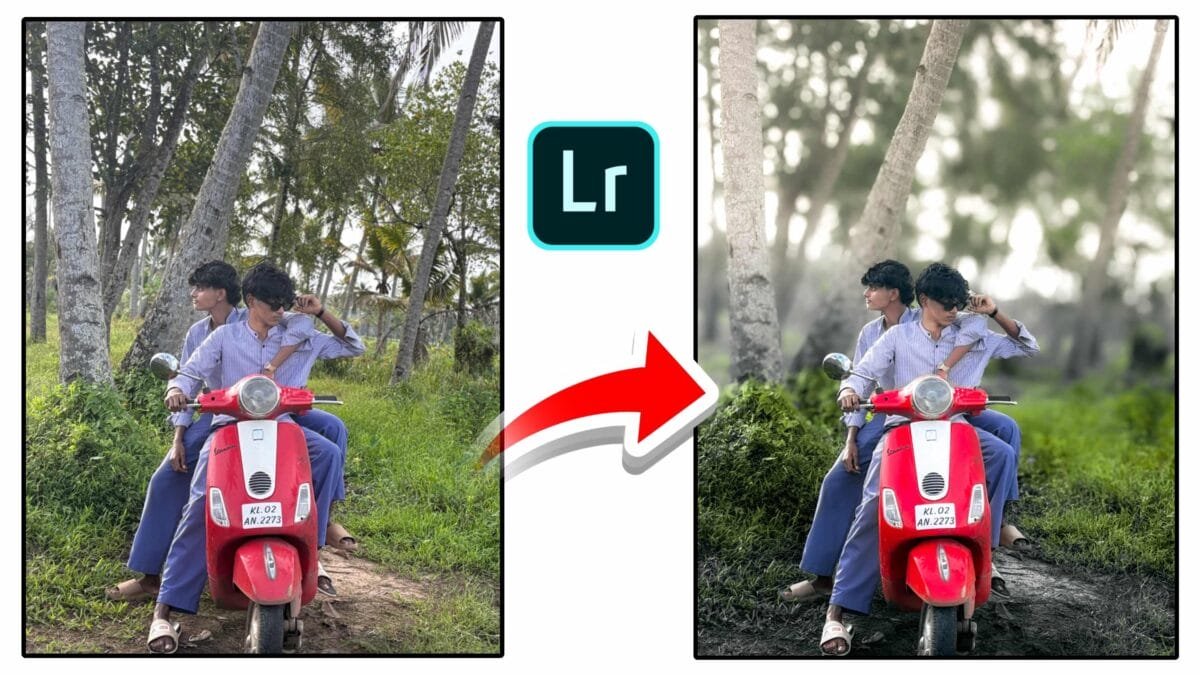
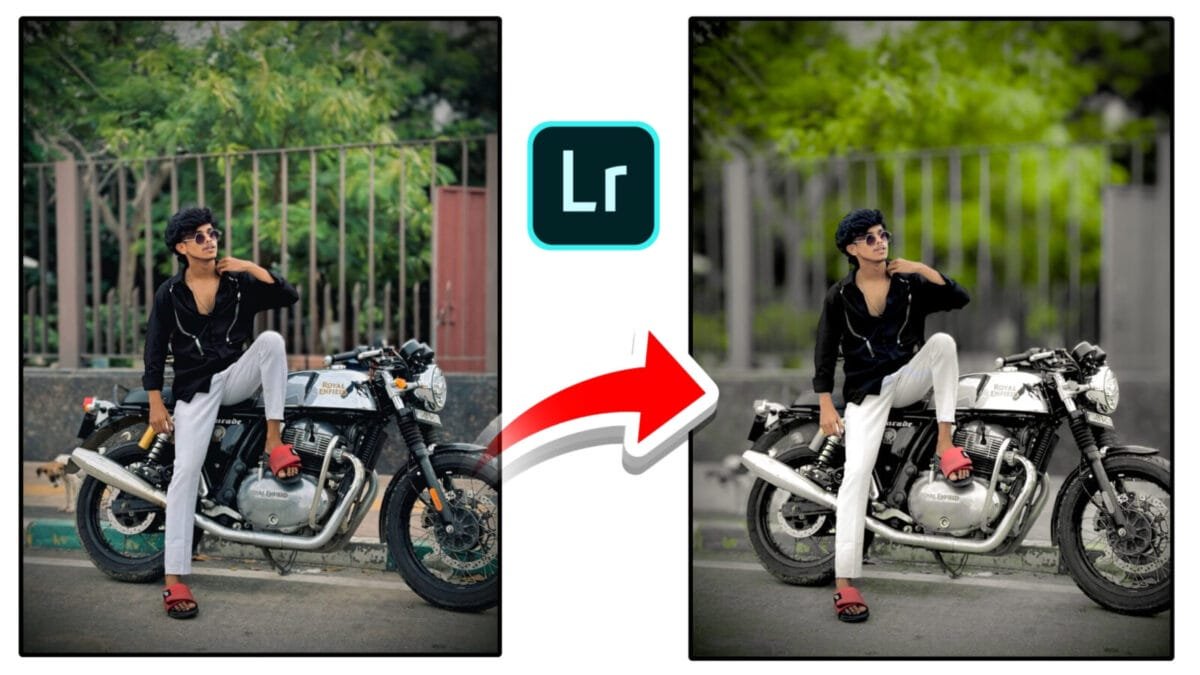
Object-based masking lets you draw a loose selection around an item, and the AI refines it automatically. Background masks isolate everything except the subject, making it easy to blur, darken, or recolor the background.
Why AI-Based Masking Is a Game Changer
- Speed: Masks that once took minutes now appear instantly.
- Accuracy: Edge detection handles hair, fur, and fine details better than manual tools.
- Consistency: Batch edits remain uniform across multiple images.
- Non-destructive: Masks are editable and can be refined at any time.
Practical Workflow Using AI Masking
- Create an AI mask: Choose Subject, Sky, or People from the masking panel.
- Refine if needed: Add or subtract areas using brush or range tools.
- Apply local adjustments: Modify exposure, contrast, color, texture, or clarity.
- Combine masks: Stack multiple masks for complex edits.
- Sync across images: Apply the same masks to similar photos for batch processing.
Pro tip: Combine AI masks with color range or luminance range refinements to increase precision, especially in challenging lighting.
Common Use Cases
| Use Case | AI Masking Benefit |
|---|---|
| Portrait retouching | Natural skin, eye, and hair adjustments |
| Landscape editing | Independent sky and foreground control |
| Product photography | Clean background isolation |
| Creative color grading | Different looks for subject and background |
Limitations & Best Practices
While AI masking is powerful, it’s not perfect. Complex overlaps, motion blur, or extreme lighting may require manual refinement. Avoid extreme adjustments on small facial masks, and always zoom to 100% to check edges before final export.
Conclusion
AI-based masking has revolutionized local editing by combining speed, precision, and flexibility. From one-click subject selection to detailed facial feature masks, these tools allow creators to focus on creativity rather than technical selection work. By understanding how and when to use AI masks — and refining them when needed — you can achieve professional results faster than ever before.
Want this article optimized specifically for Lightroom, Photoshop, or another editor with screenshots and step-by-step examples? I can customize it for you.